Editing product images
This guide covers how to change the images on a listing that's already live with a retail partner. In this guide, you'll learn how to open a published product for editing, how to upload and reformat images, how to assign them to variants and set the display order, and how to send the update to the retailer.
Before you startDirect link to Before you start
For an overview of what can and can't be edited on a published product, see Editing published products.
Open the product for editingDirect link to Open the product for editing
- Open the Rokt Catalog App.
- Select your retail partner from the Partners tab on the left.
- Scroll down to the products section and open the Approved tab.
- Scroll the table across to the Actions column, click the three dots on the product's row, then click Edit product data.
- Open the Images tab.
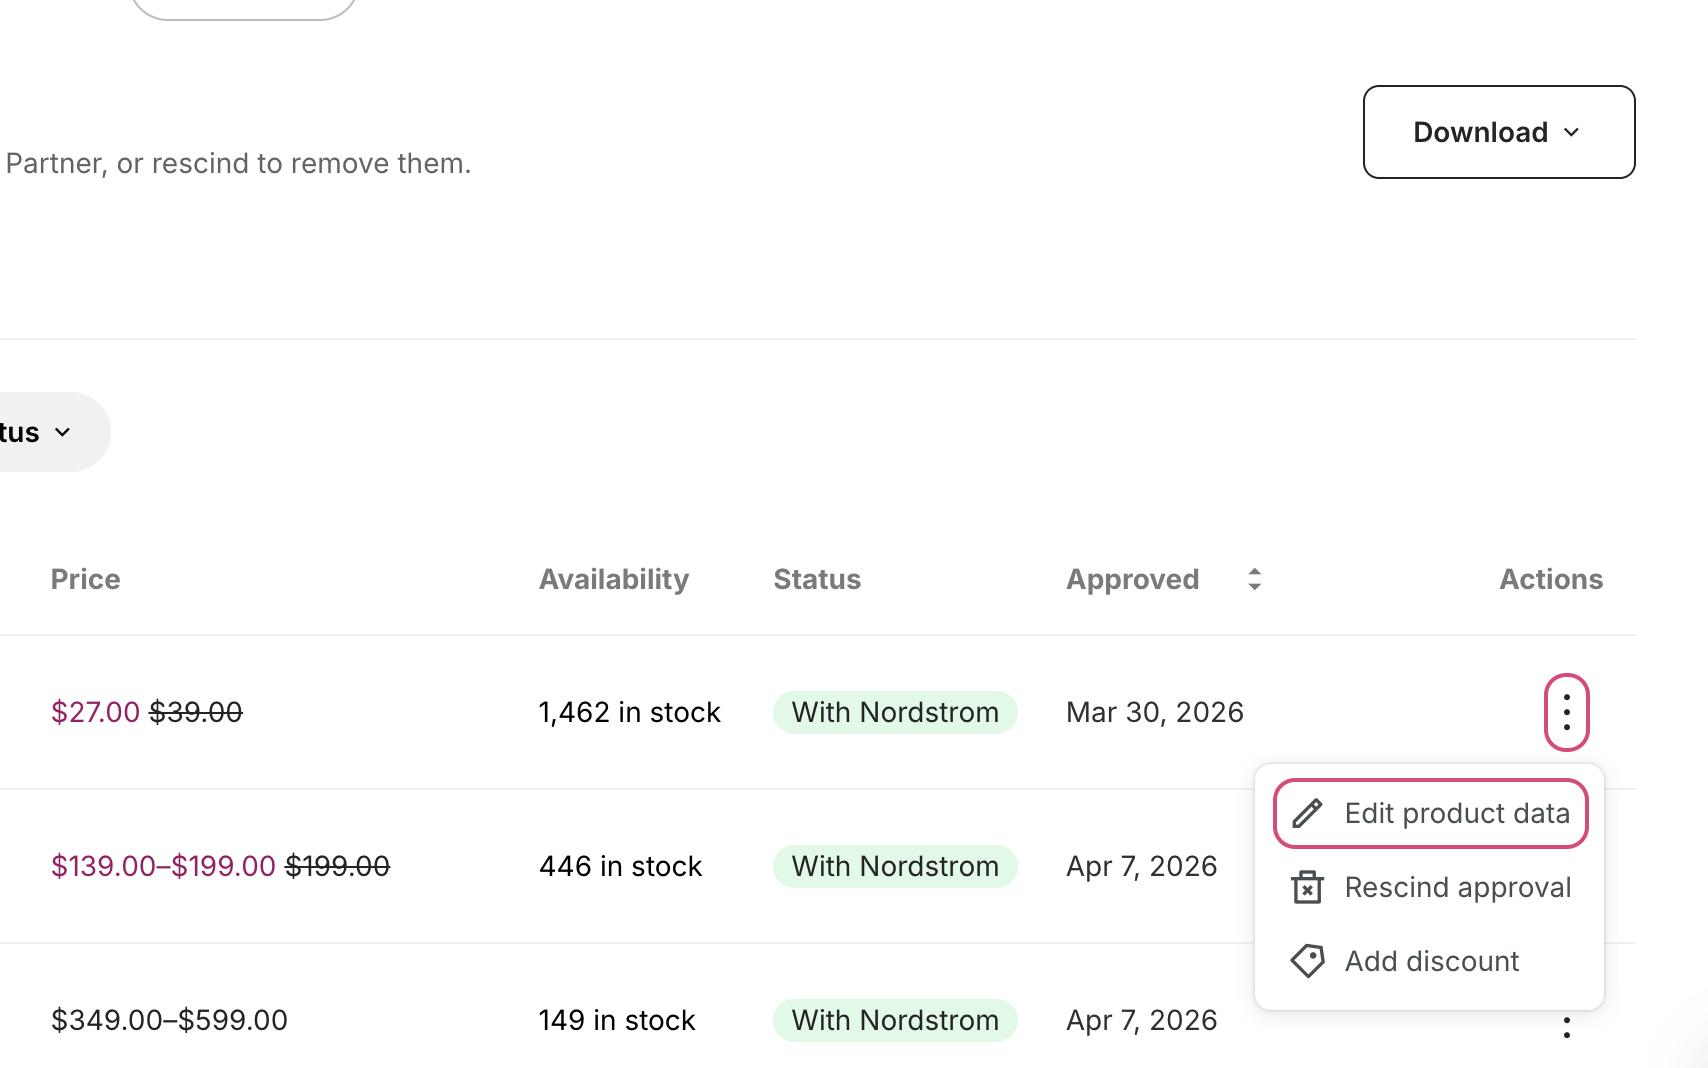
This opens the Image manager, which is split into two numbered steps: editing and assigning images, then ordering them. Every image is shown as a tile with its pixel dimensions and the number of variants it's assigned to underneath. Your retail partner's image requirements are linked at the top of the screen.
Upload and reformat imagesDirect link to Upload and reformat images
Click + Upload at the top of the image carousel to add an image that isn't in your store but that you want on the retailer's site.
The tool includes built-in transformations to help you get images to spec. You can apply them individually or in bulk.
Individual transformationsDirect link to Individual transformations
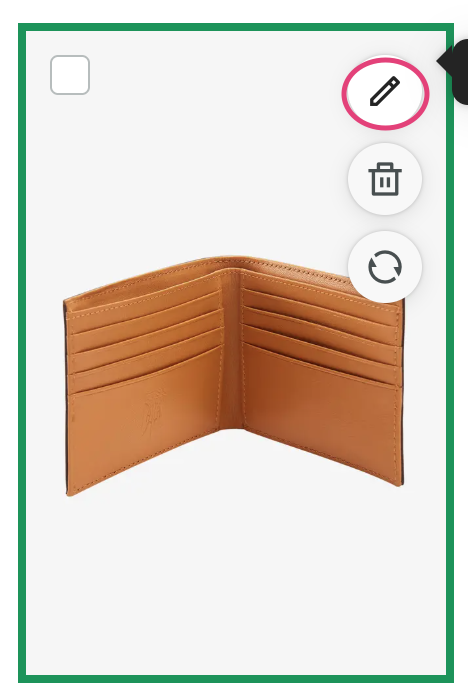
To edit a single image, hover over it and click the pen icon in the upper-right corner. Choose the transformation you want, then click Apply.
Bulk transformationsDirect link to Bulk transformations
To transform multiple images at once, hover over each image and click the checkbox in the top-left corner, or click Select all above the image carousel. Then choose a transformation to apply to all selected images.

Available transformationsDirect link to Available transformations
| Transformation | What it does |
|---|---|
| Resize | Crops and scales the image to the size and pixel count your retailer requires. |
| Pad | Adds padding around the image to match the required size. Click the color box to open the color picker. |
| Remove Background | Removes the background from a product image. Use this with Background Color to create a compliant image. |
| Background Color | Adds a solid background color to a product image. Use Remove Background before using this transformation. |
| Manual Crop | Lets you crop an image to the correct aspect ratio while keeping the product in frame. Only available for individual transformations, and you need to follow it with a Resize to meet pixel requirements. |
Troubleshooting transformationsDirect link to Troubleshooting transformations
If an image shows an error during transformation, click Retry in the center of the image. You can also save your changes and reapply the transformation using the bulk or individual editor. Some transformations may need to be applied more than once.
Assign images to variantsDirect link to Assign images to variants
- Once your transformations are complete, select the images that belong to a specific variant. Hover over each image and click the checkbox in the top-right corner, or click Select all above the carousel.
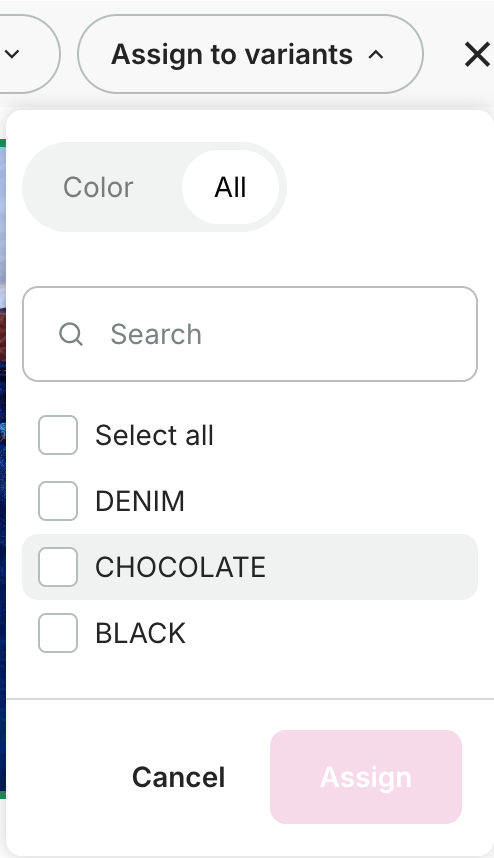
- Click the Assign to variants button at the top of the image carousel.
- Select the variants you want to connect these images to. You can select variants individually, grouped by color, or all variants at once.
Order images within variantsDirect link to Order images within variants
- Scroll down to the Order variant images section.
- Drag and drop each image into the correct display order for each variant. The first image is the one customers see first, so make sure it's the right one for that color.
- To make this faster, use Group by at the top of the section to work through variants individually or grouped by color or style.
Tips and shortcutsDirect link to Tips and shortcuts
- Understanding border colors: a red border means the image does not meet your retailer's pixel or aspect ratio requirements. A green border means it meets pixel and aspect ratio requirements, but not necessarily all image requirements.
- Resetting images: hover over an image and click the Reset icon to revert it to its original state. To reset all images at once, use the Reset icon at the top of the image carousel. This is sometimes needed after uploading new images to your store.
- Removing assigned images: hover over an image in the Order variant images section and click the X to remove it from that variant grouping. This does not delete the image entirely. To remove all assigned images, click Clear images in the top-right of the section.
Save and republishDirect link to Save and republish
- Click Save at the bottom of the screen. Cancel discards your changes instead.
- Click Republish to Mirakl in the top-right corner to send the updated images to your retail partner.
Saving on its own doesn't reach the retailer — nothing is sent until you republish. Your changes usually appear on the retailer's site within 48 hours, and your product stays live while the update is being reviewed.
Related articlesDirect link to Related articles
You might also find these helpful: