RoktTemplate
Integrating via the Rokt Tag TemplateDirect link to Integrating via the Rokt Tag Template
Tag template setupDirect link to Tag template setup
- Add the Rokt Tag Integration template to your website.
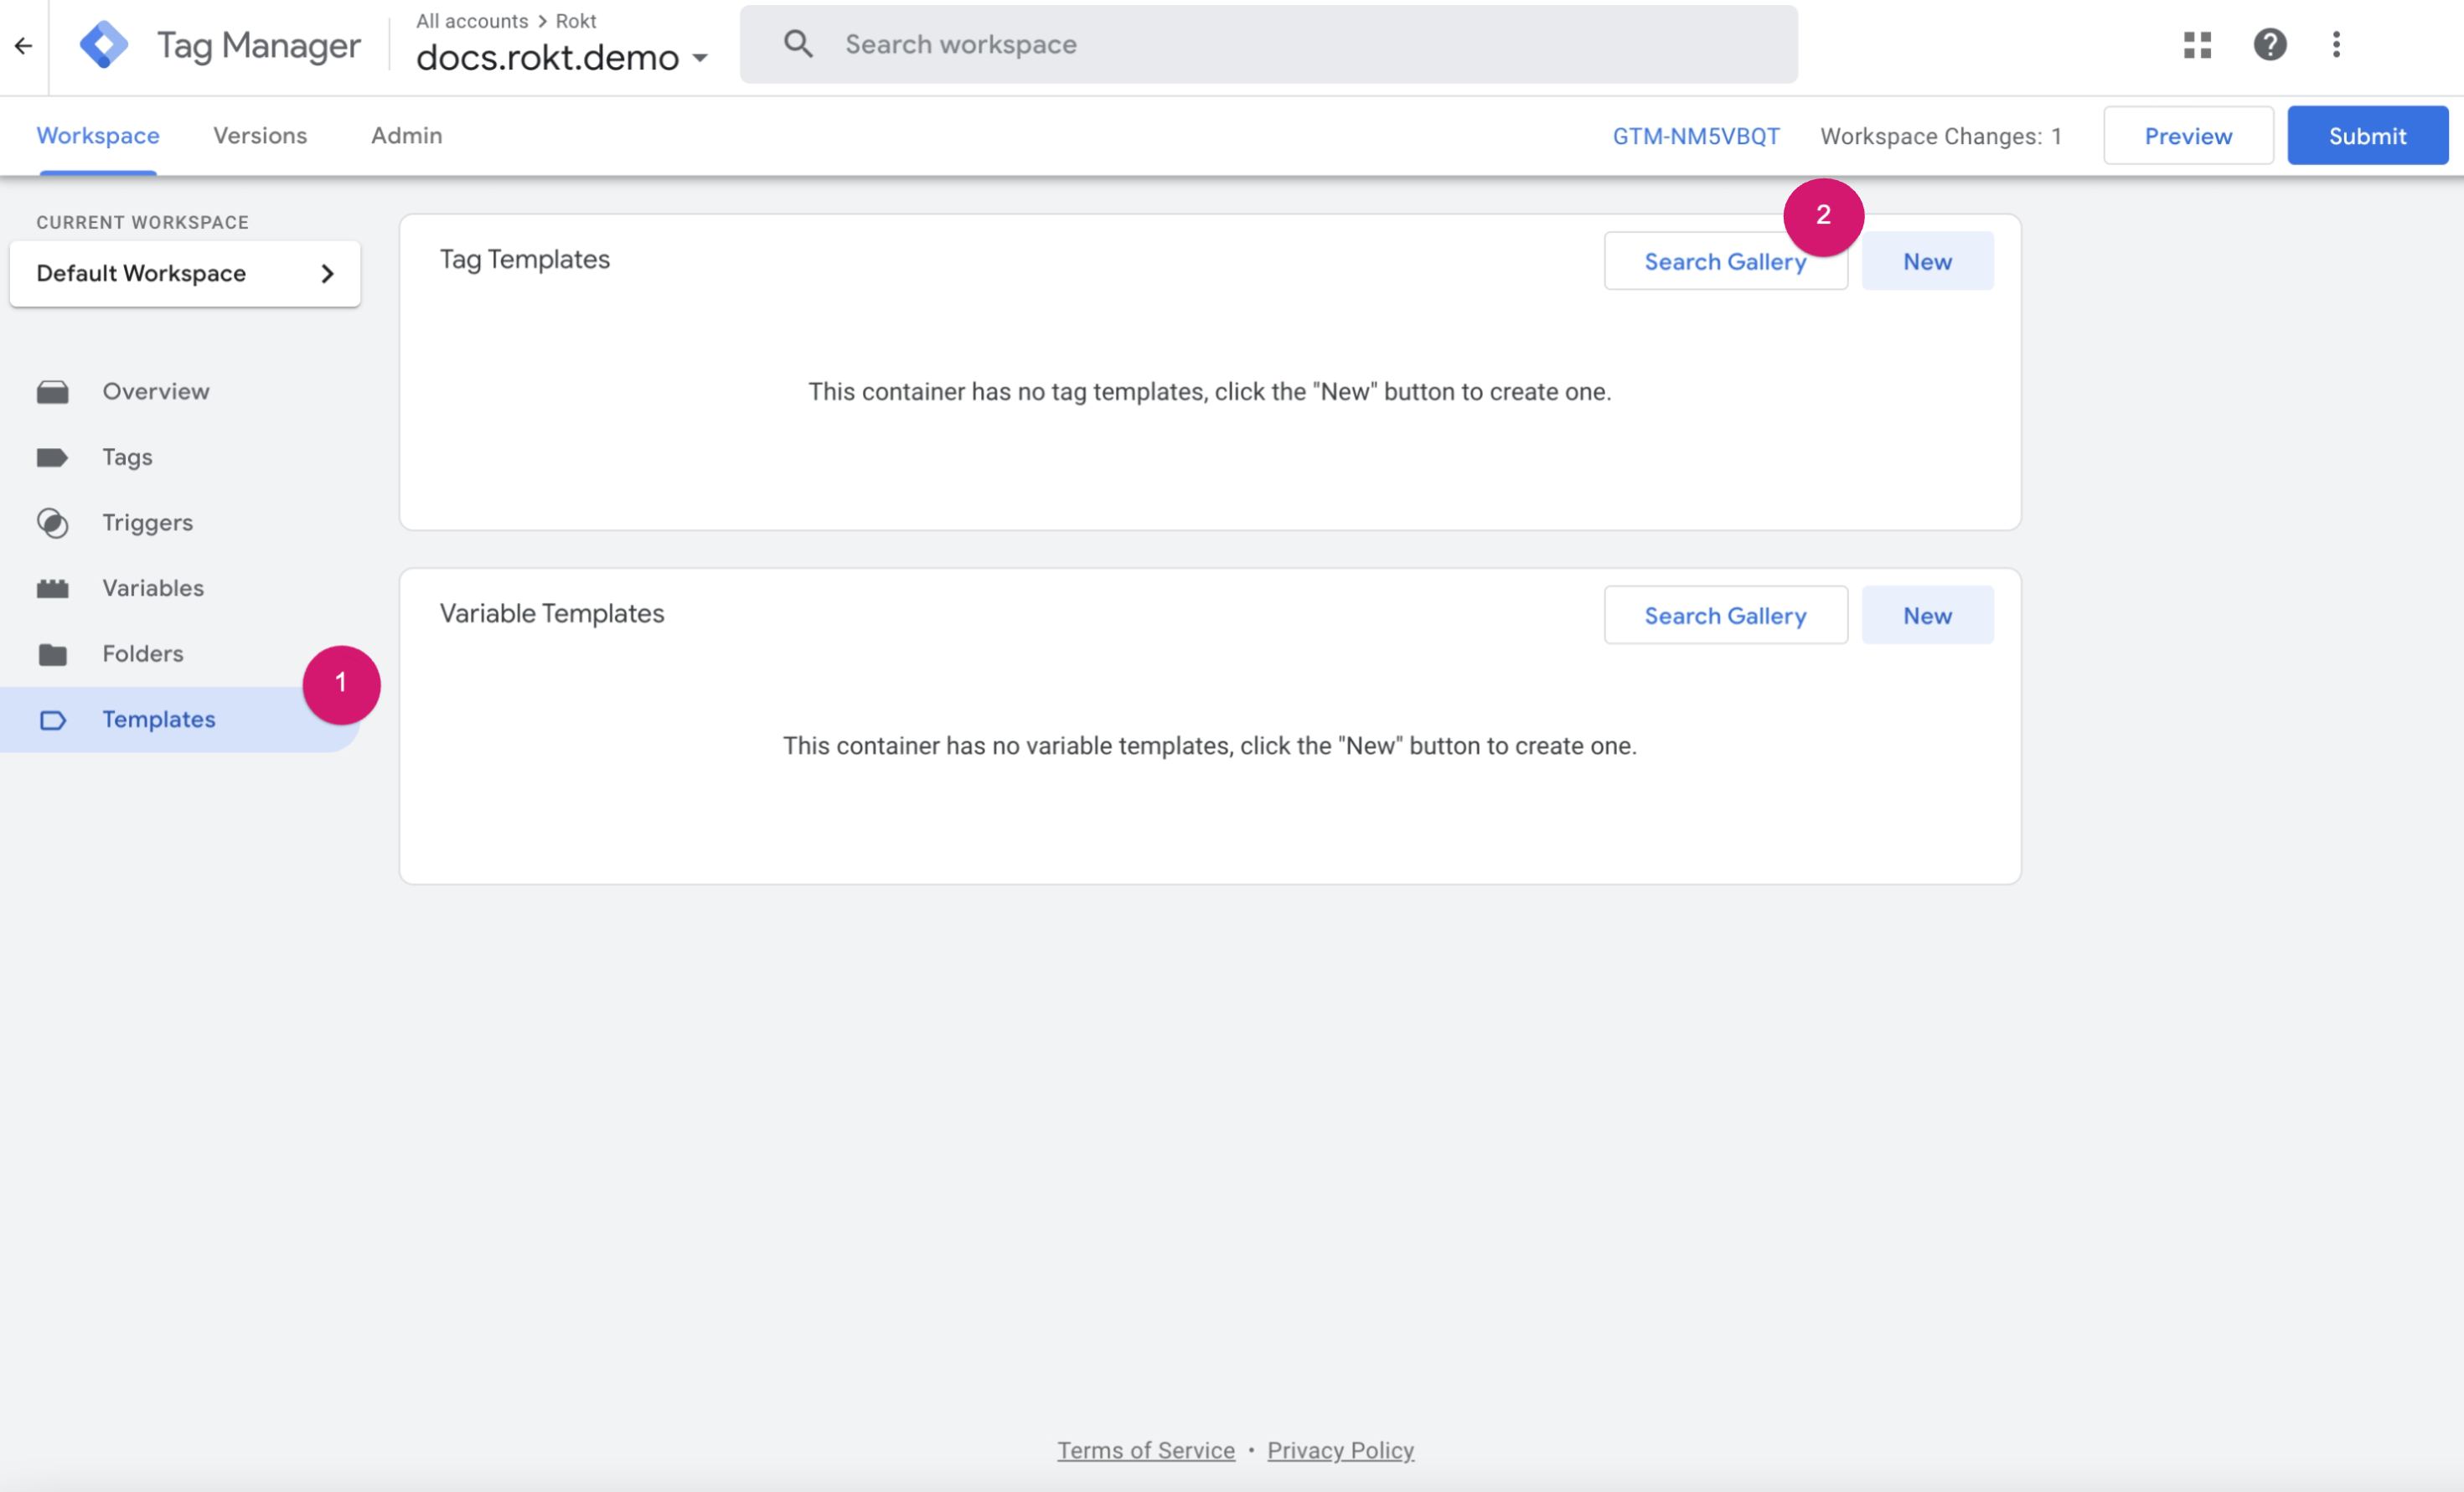
- Within your Google Tag Manager Container navigate to Templates.
- Select Search Gallery.
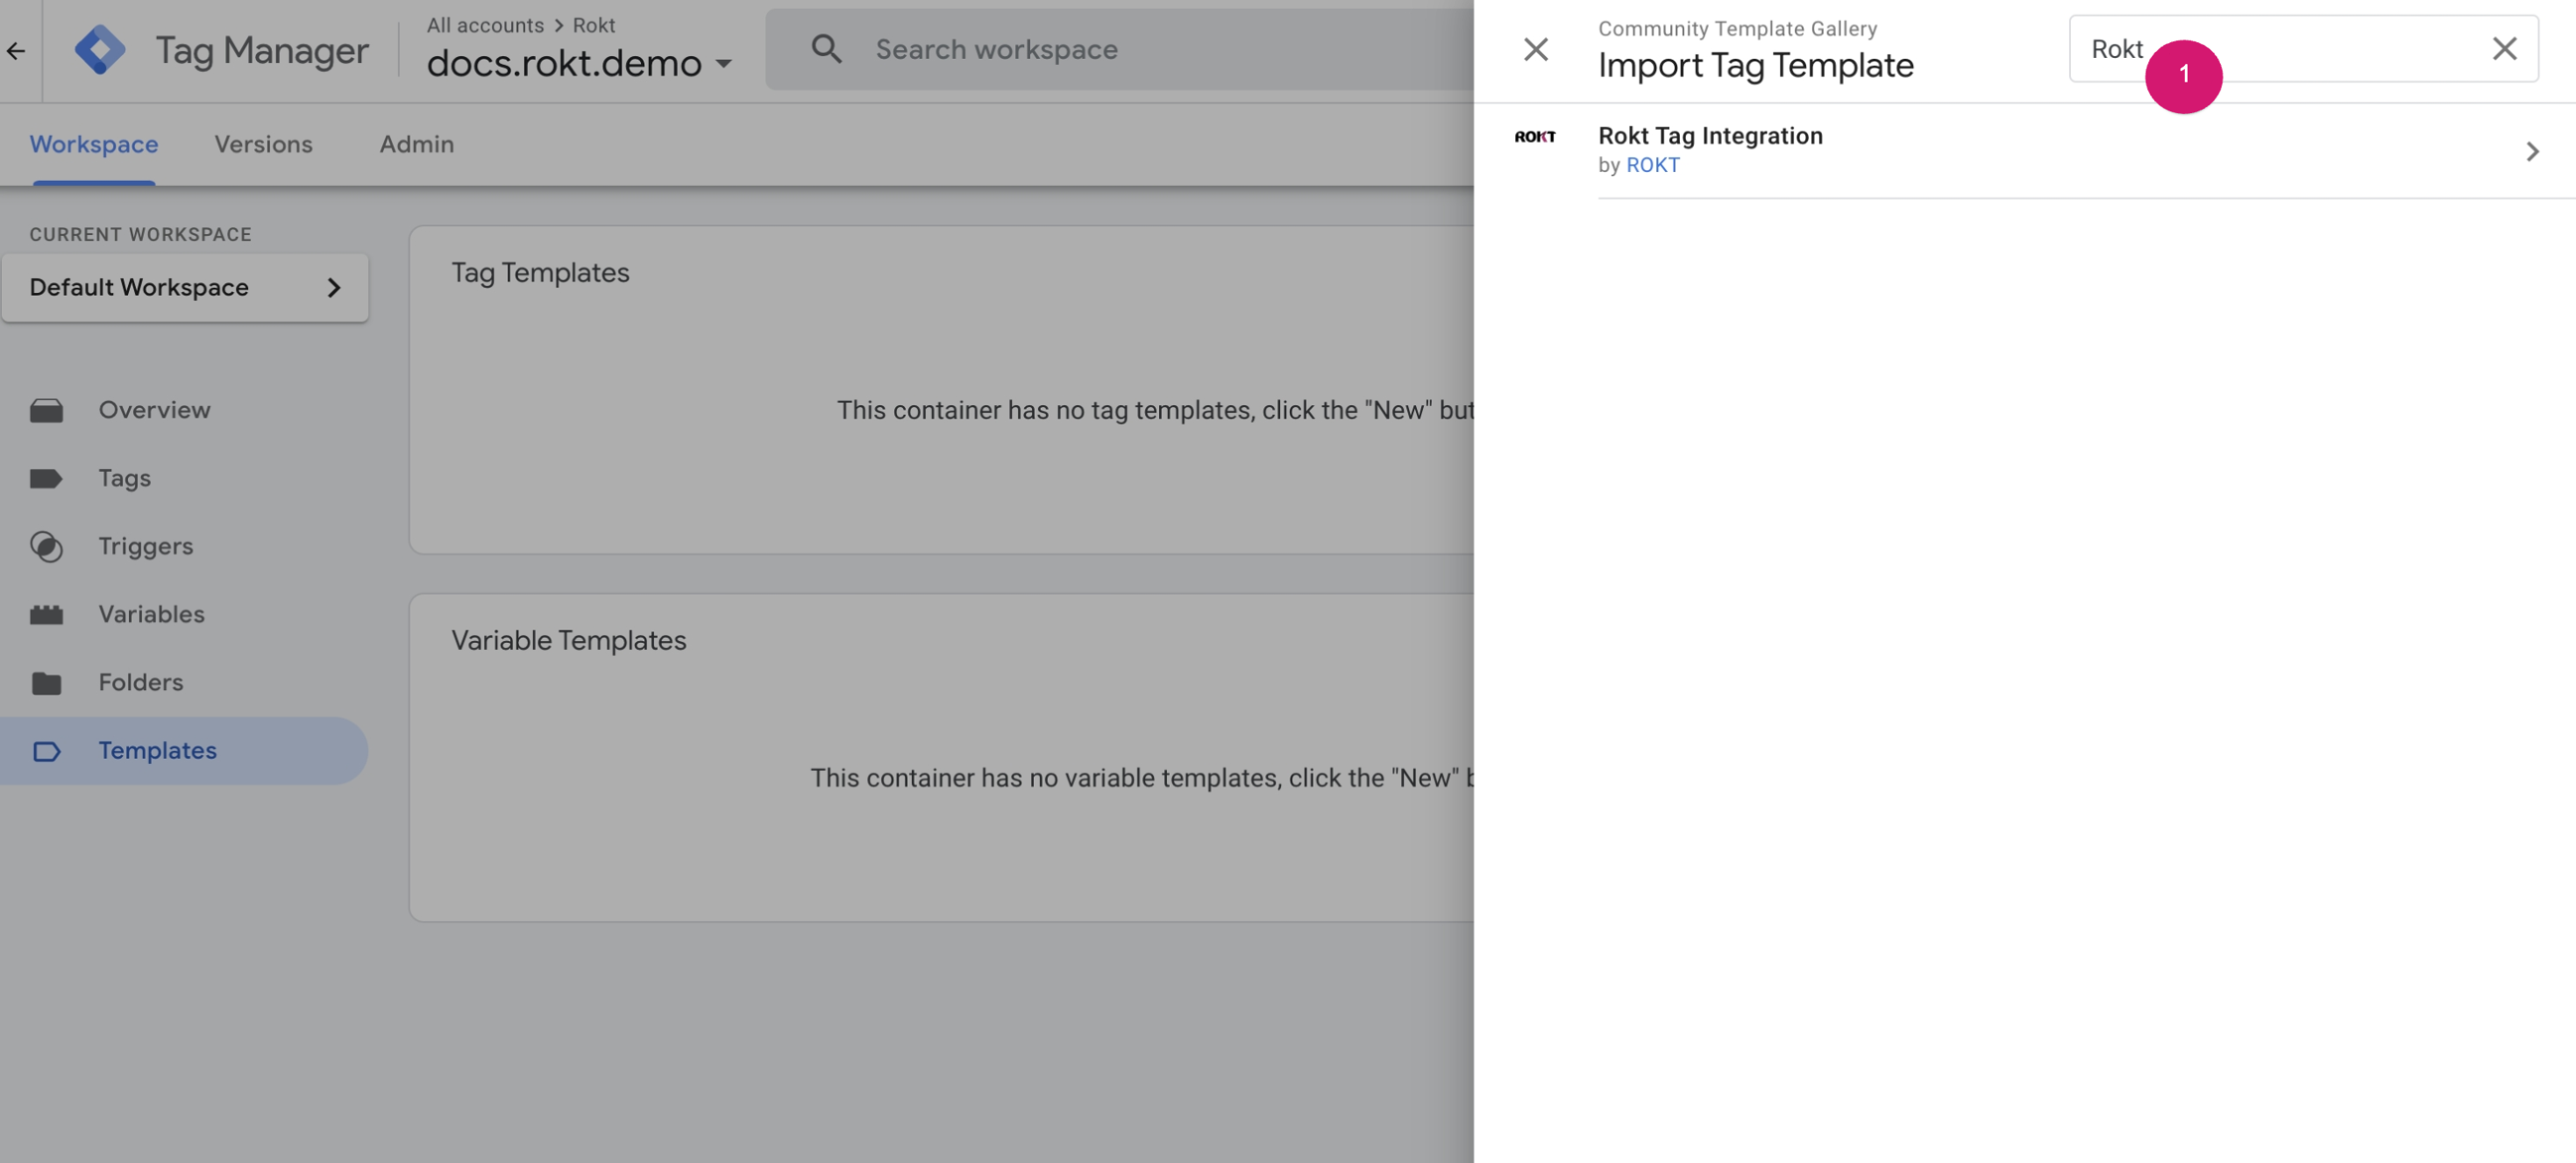
- Search for Rokt and select the Rokt Tag Integration.
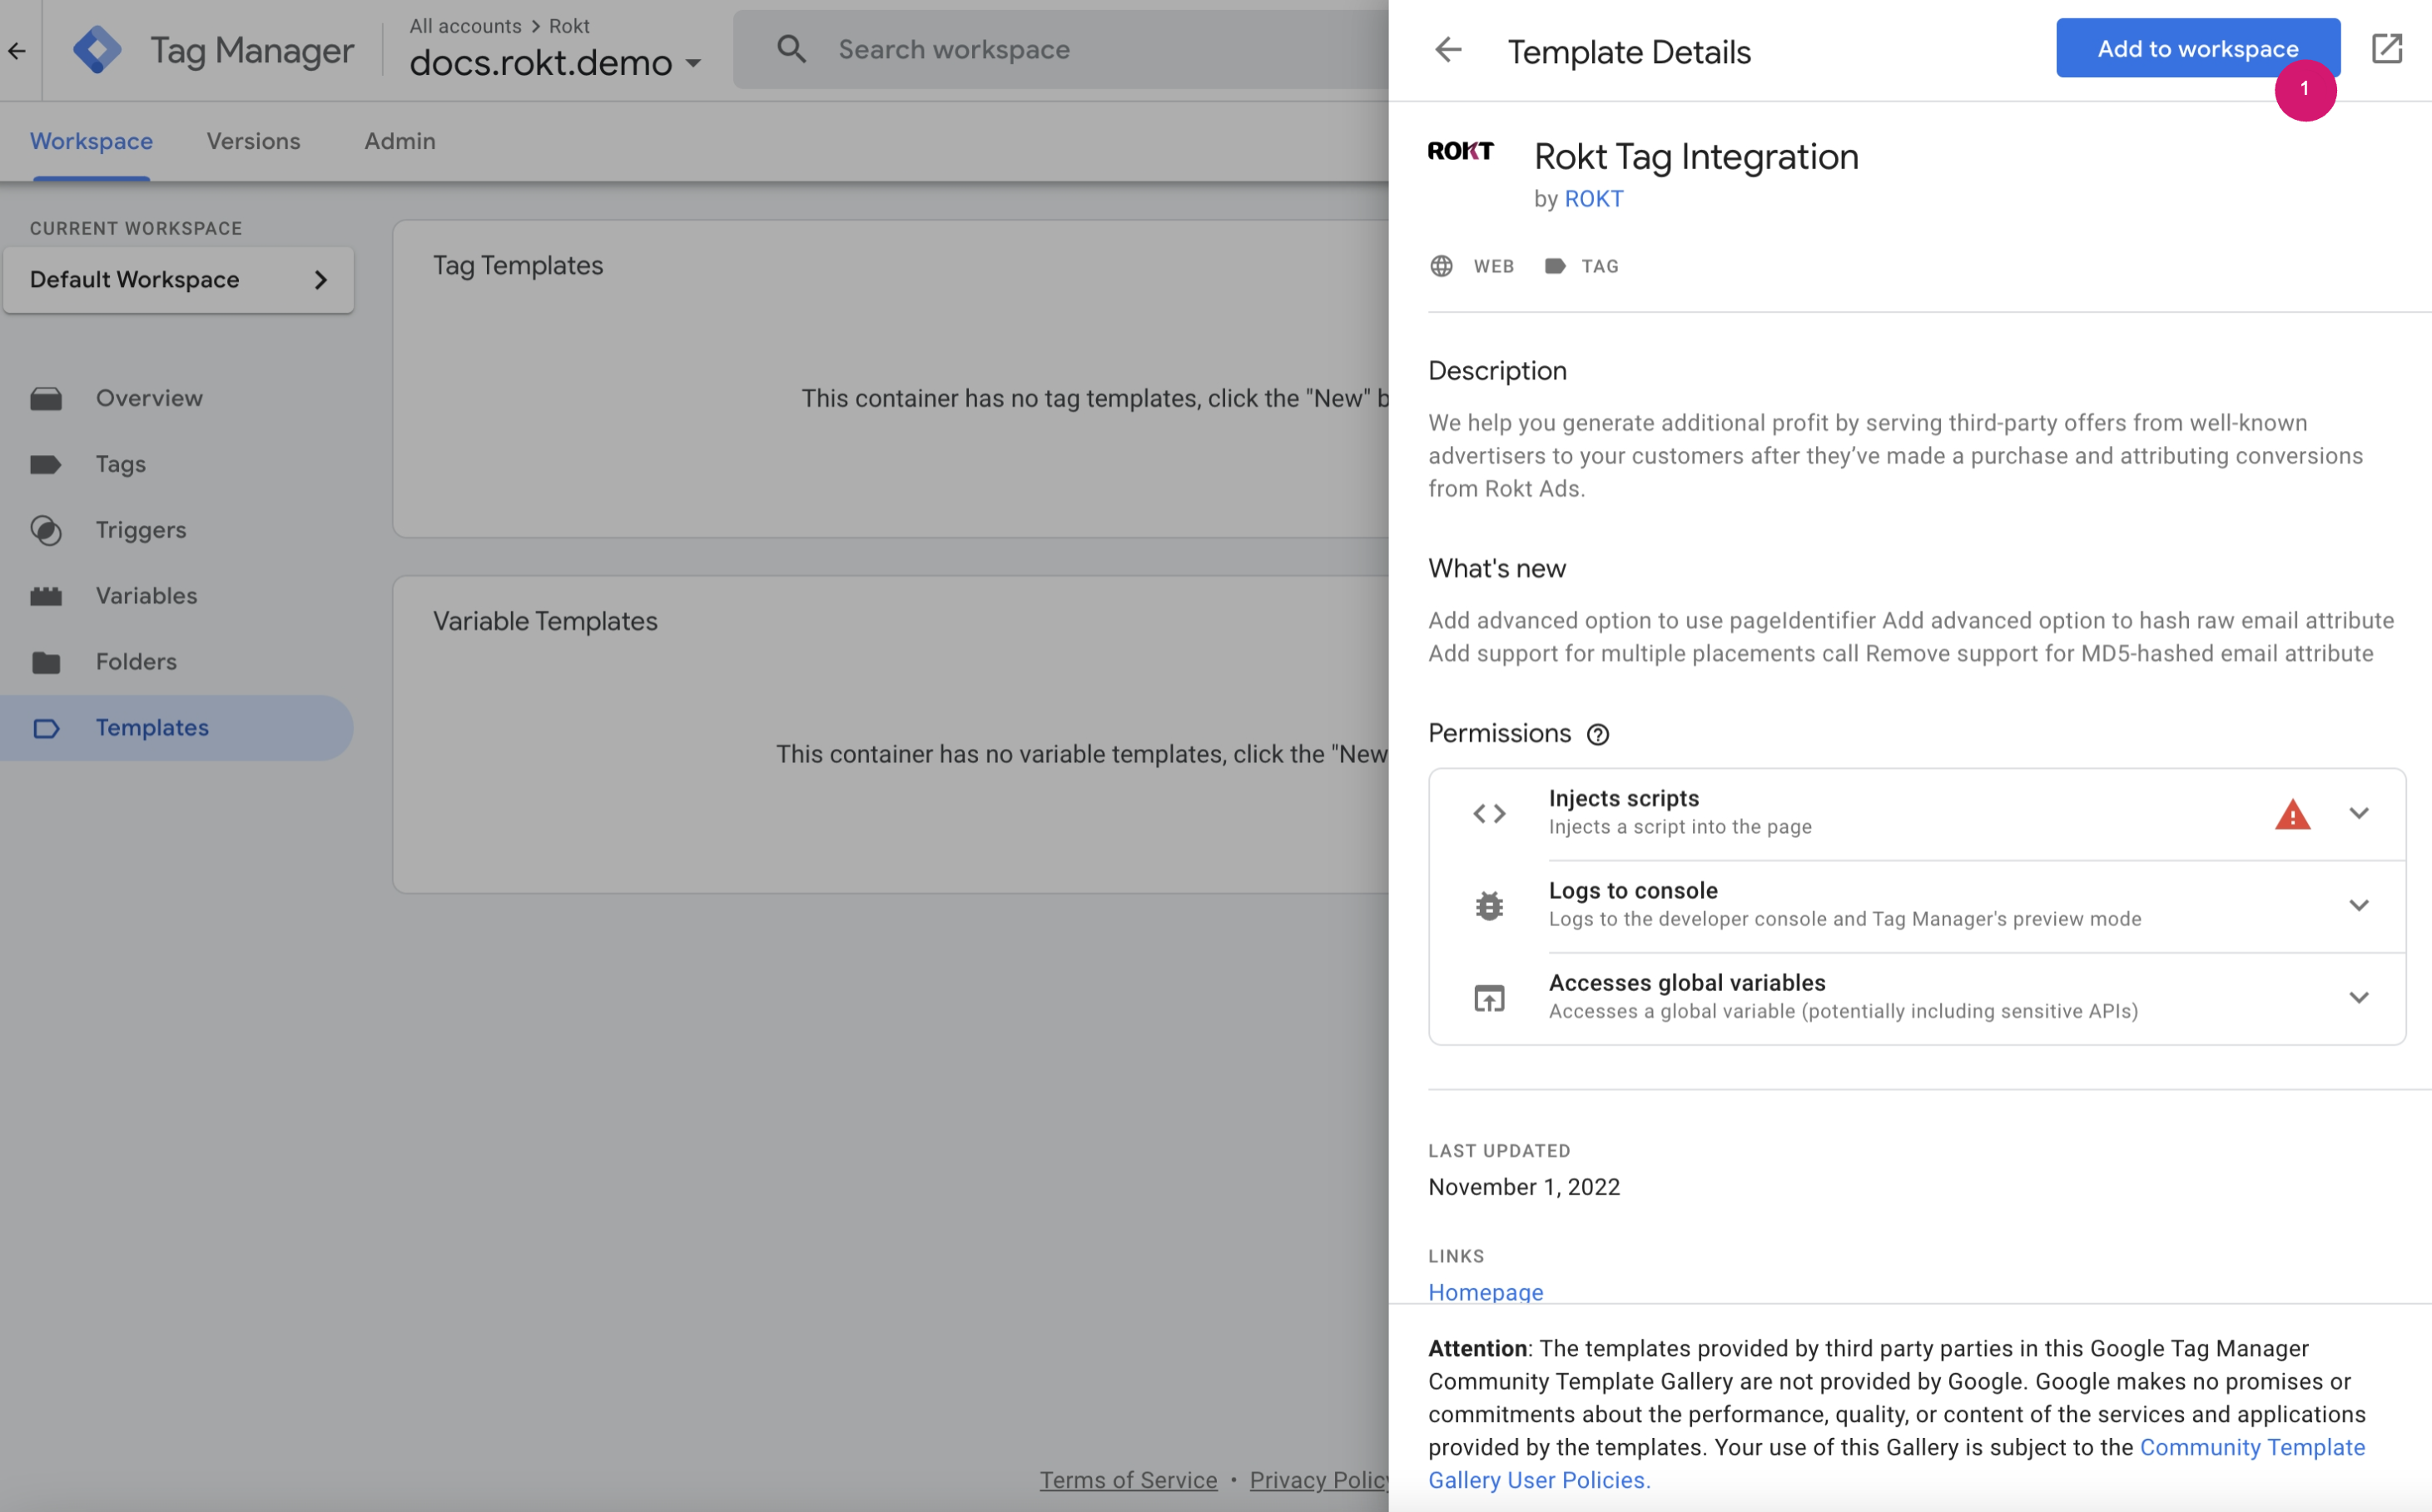
- Click Add to workspace.
- Configure the Tag template, setting up the data attributes and firing rules.
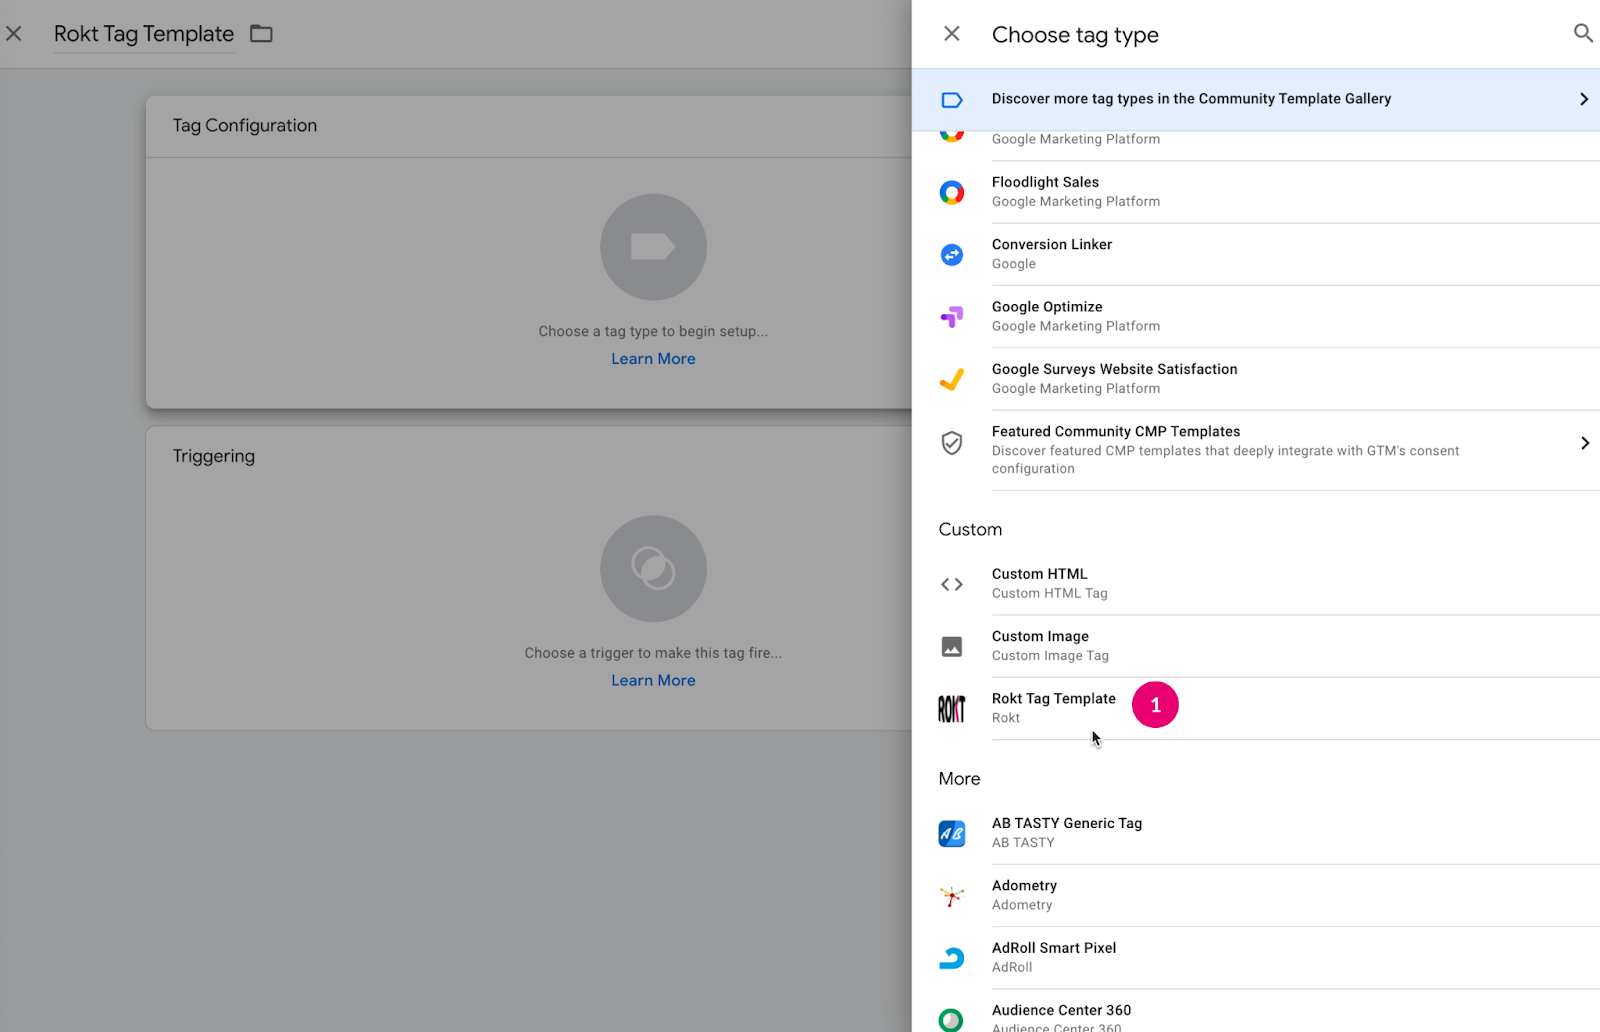
- Choose Tags and select New.

- Name the tag “Rokt Tag Template”, then select Tag Configuration.
- Scroll to the Custom section and choose the Rokt Tag Template.
- Configure your account details and preferences.
- Enter your Rokt Account ID, provided by your Rokt account manager.
- Ensure the sandbox checkbox is selected.
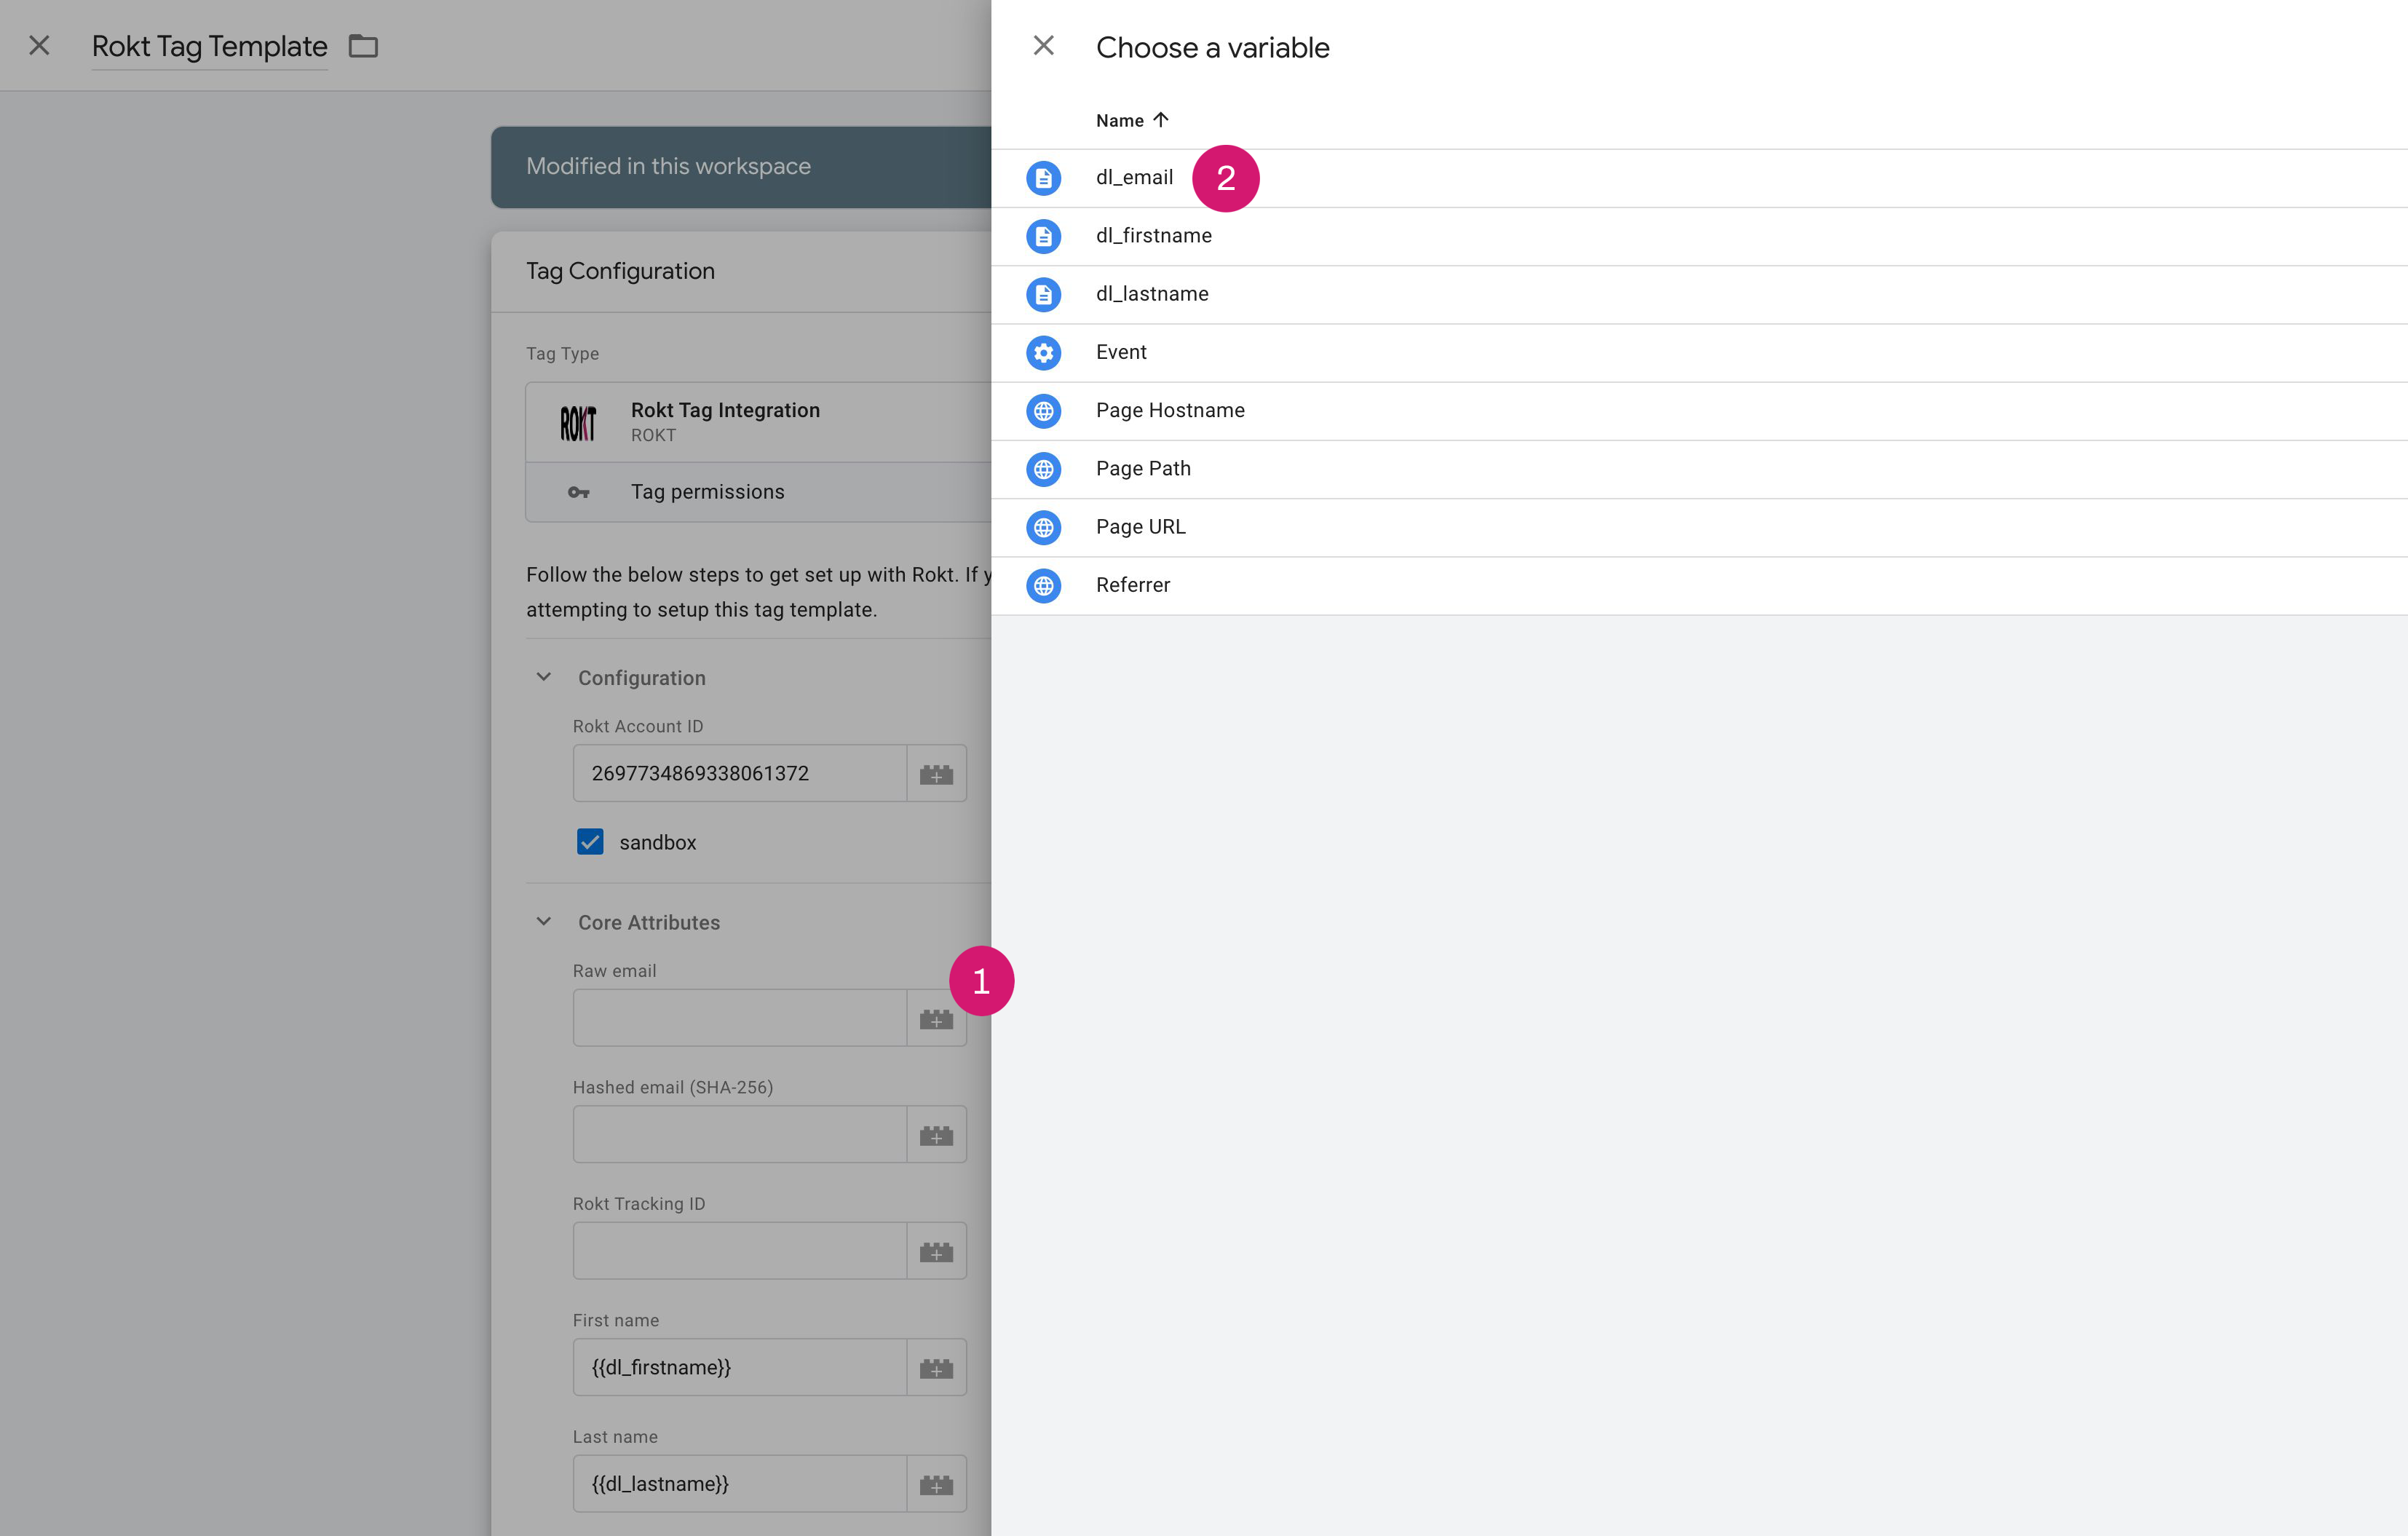
- Configure your data attributes.
- For each of the attributes click the add icon beside the text box to expand the list of attributes in your data layer.
- Choose the appropriate variable in your data layer for the appropriate field. For example, click the add icon for the email field and then select the correct email variable in your data layer.
- Once connected you should see your variable name appear in the input box (see circle #1 in the image below).
- If the appropriate variable is not showing in your data layer check out our documentation on setting up attributes in the Google Tag Manager data layer here, and check with your Rokt account manager for next steps.
- Add a Page Identifier under Advanced.

- Configure a trigger to determine when the Rokt Tag Template should fire. Click on Triggering rules to add one.
-
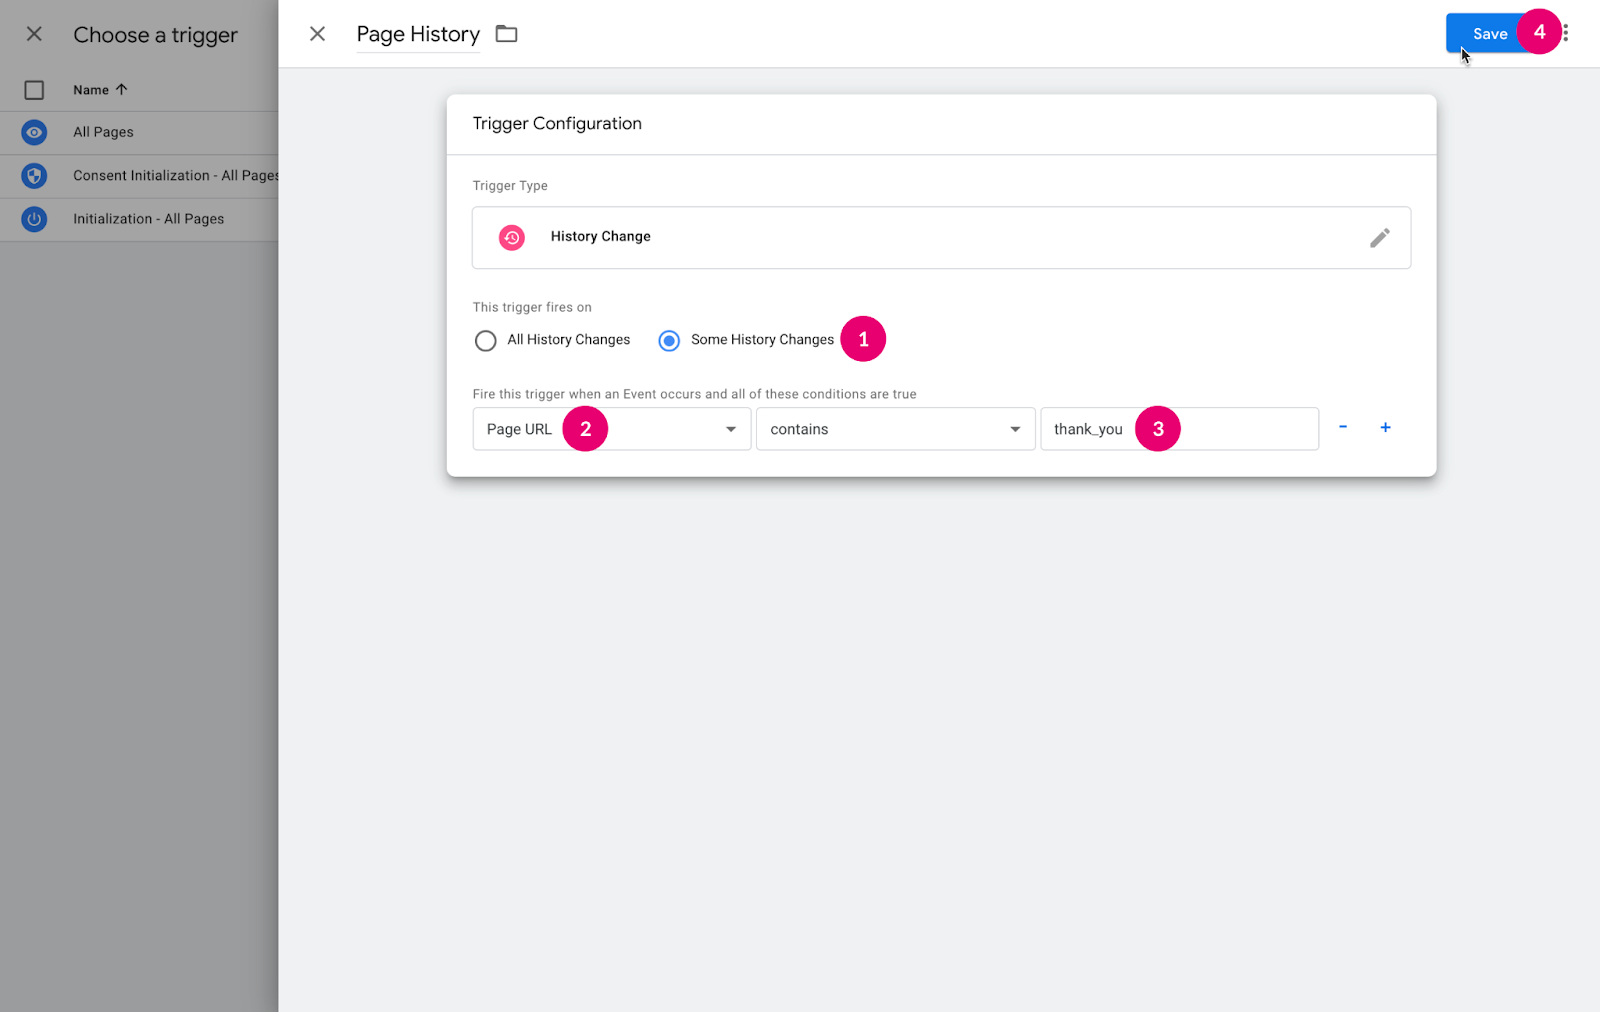
If your webapp is a Single Page Application (Created with React, Angular, Vue, ...) Click the plus on the top right and then choose a trigger type of History Change.

- Change the trigger firing rules to “Some History Changes”.
- Enter the URL parameter that identifies the page where the tag should fire. For example, if your confirmation page is
example.com/cart/payment/shippingthe identifying parameter can be any ofcart,payment, orshipping. - Click Save.
-
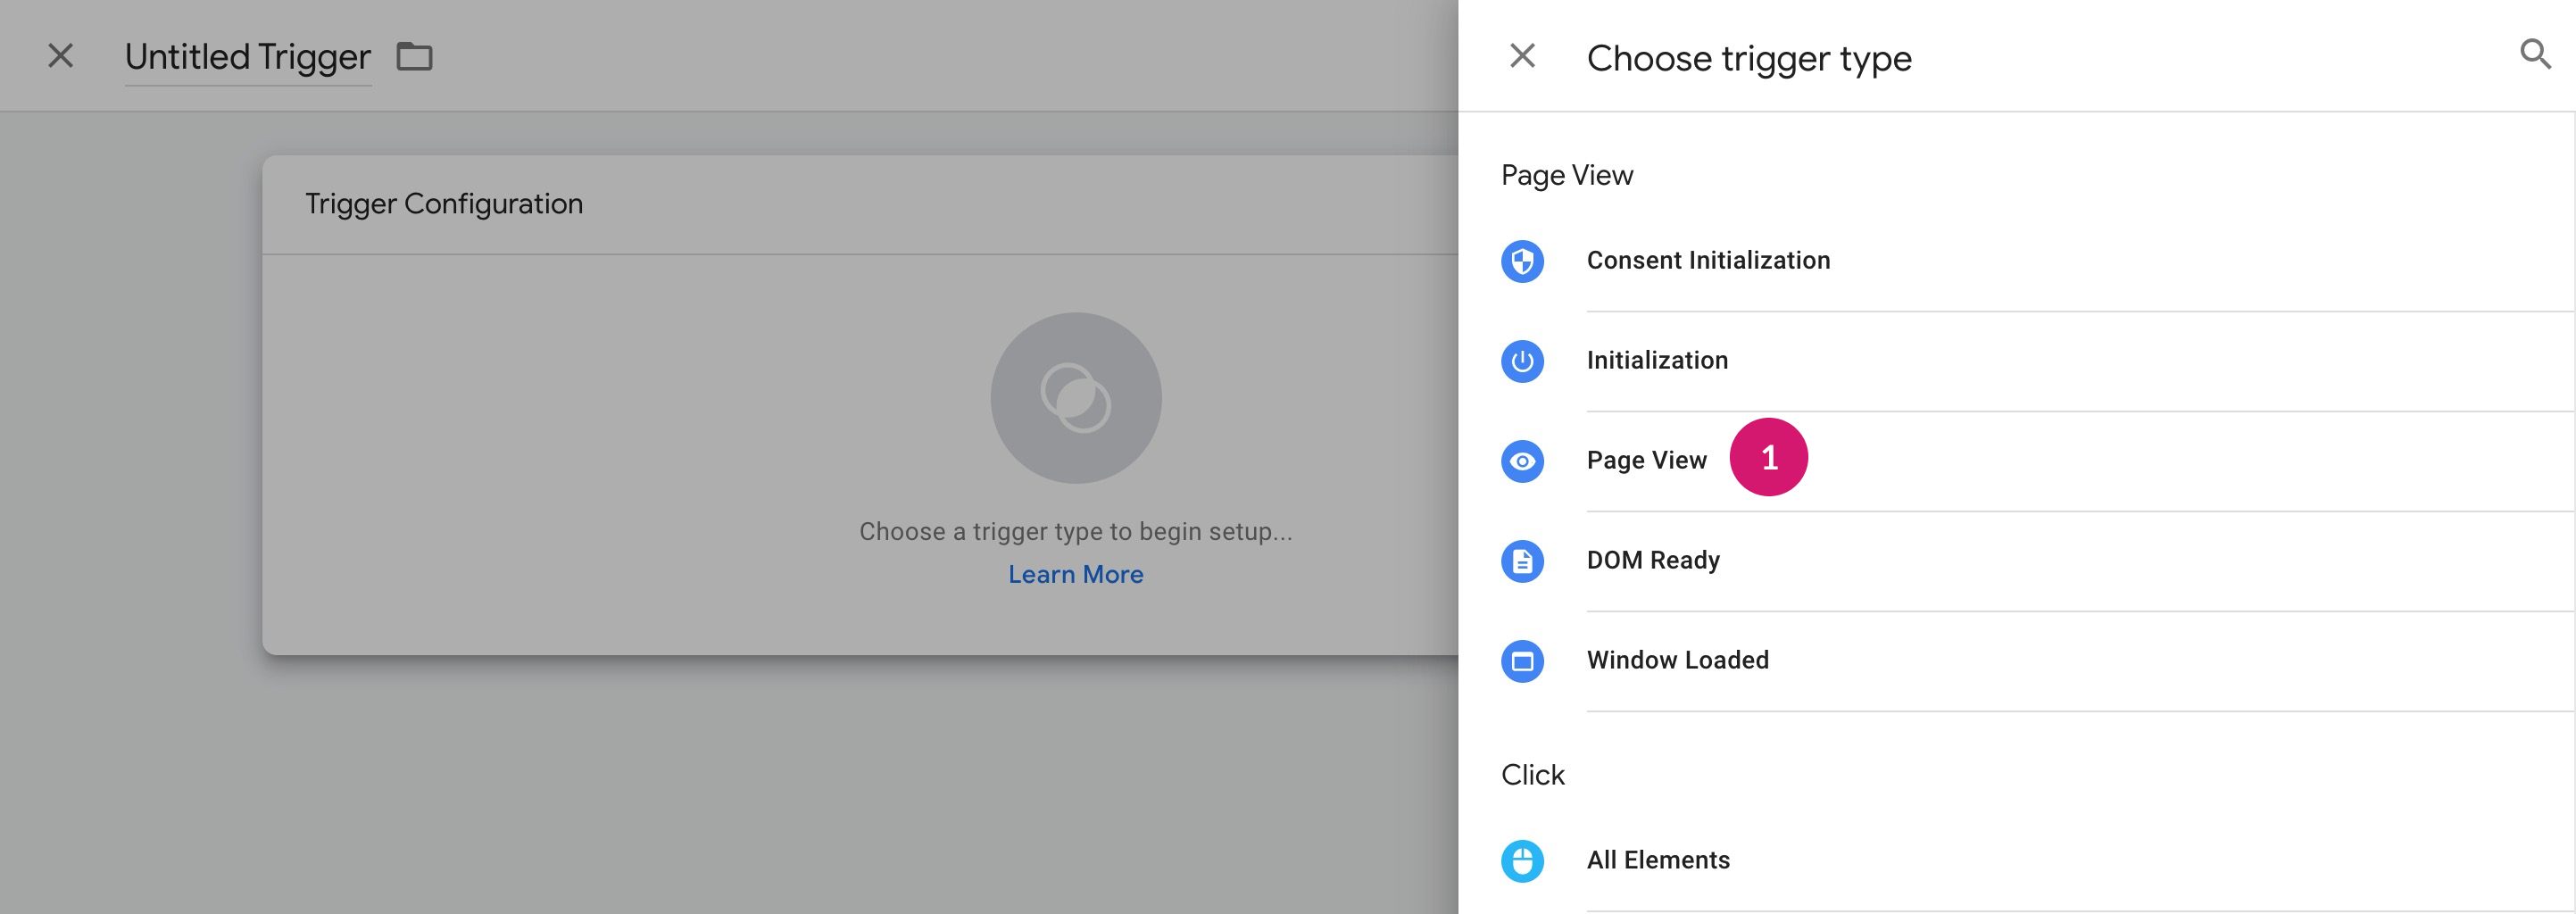
If your webapp is not a Single Page Application, Click the plus icon in the top right to create a new trigger, name it and choose a trigger type of Page View.
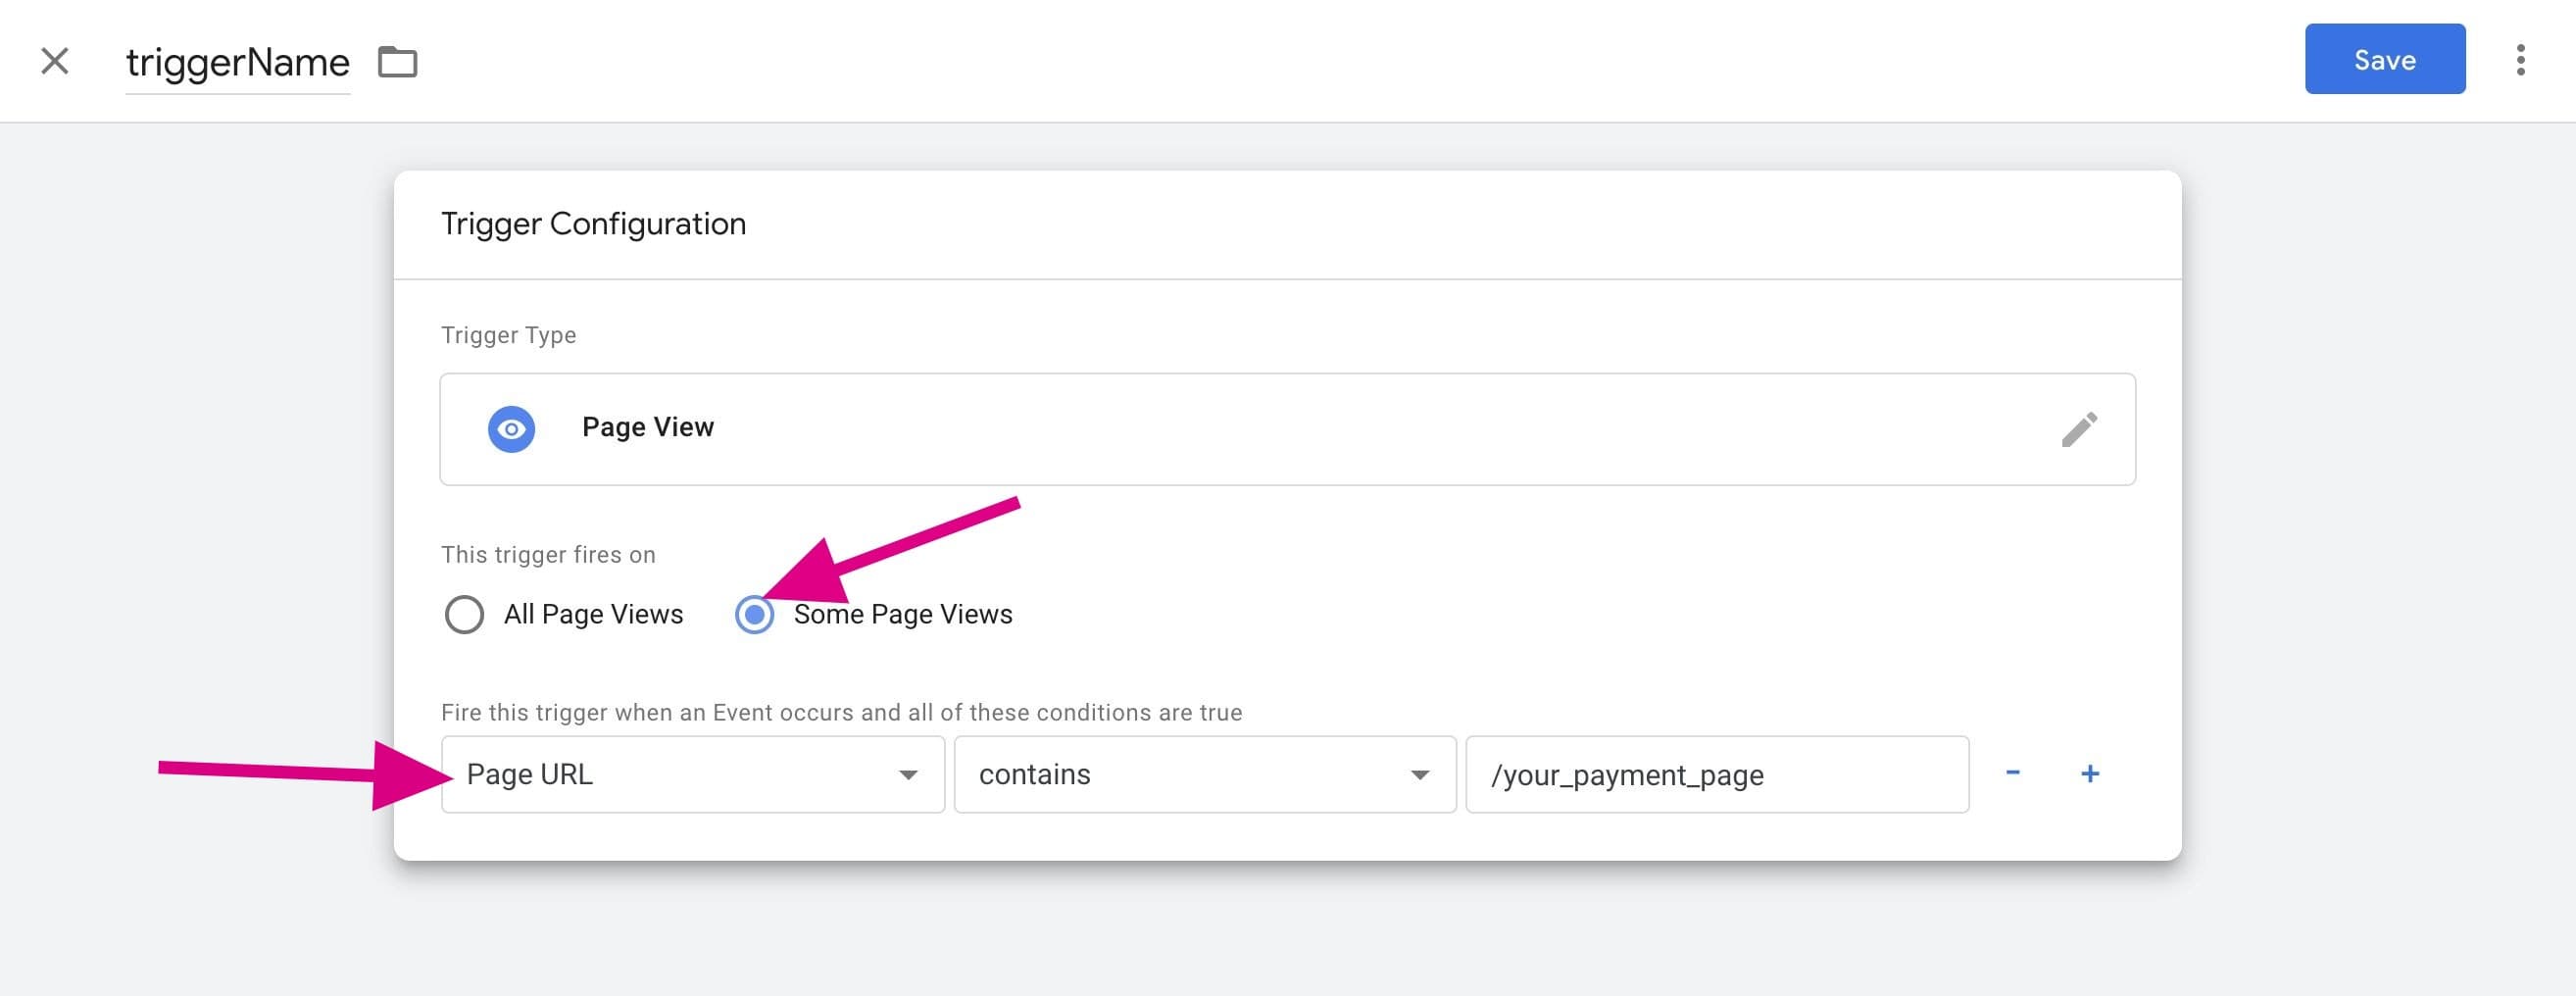
- Change the trigger firing rules to “Some Page Views".
- Enter the URL parameter(s) that identify each unique page where the tag should fire. For example, if your confirmation page is
example.com/cart/payment/shippingthe identifying parameter can be any ofcart,payment, orshipping. - Click Save.
- Click Save.
- Save the Rokt Tag Template.