CustomHtml
Integrating via a Custom HTML TagDirect link to Integrating via a Custom HTML Tag
Custom HTML tag setupDirect link to Custom HTML tag setup
- From Google Tag Manager, go to Tags.
- Click New.
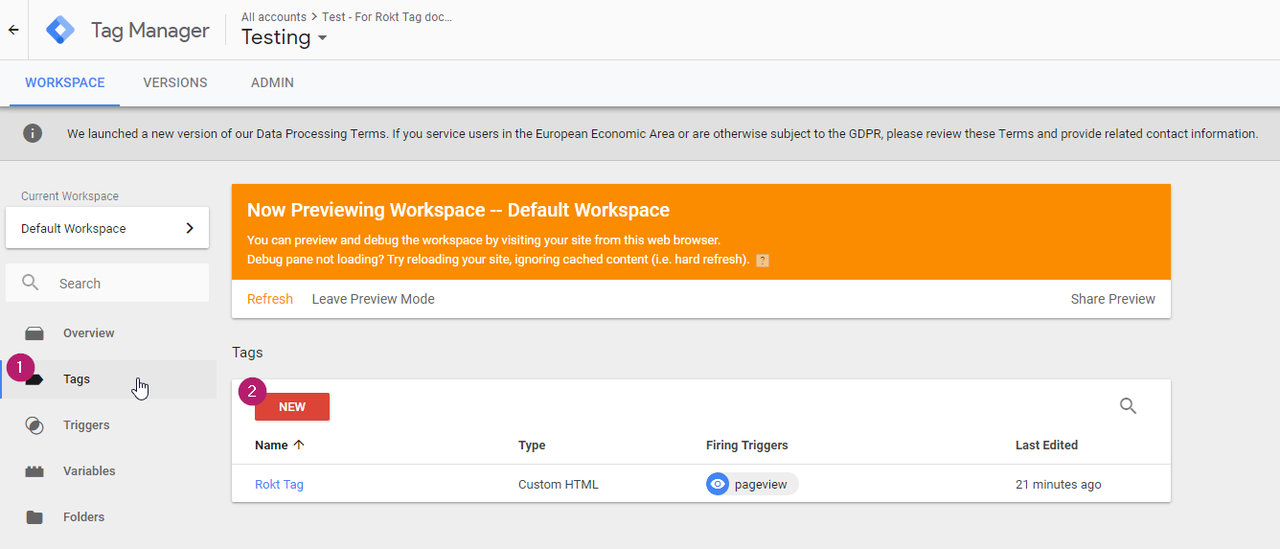
- For Tag Type, select Custom HTML.
- Add the Rokt integration code. If you don't have a custom snippet, you can use the following:
<script type="module">
  const attributes = {
    email: "",
    firstname: "",
    lastname: "",
    mobile: "",
    confirmationref: "",
    amount: "",
    currency: "",
    paymenttype: "",
    ccbin: "",
    billingzipcode: "",
    country: "",
    language: "",
  };

  if(!window.roktLauncher){
    const target = document.head || document.body;
    const script = document.createElement("script");
    script.type = "text/javascript";
    script.src = "https://apps.rokt.com/wsdk/integrations/launcher.js";
    script.importance = "high";
    script.crossOrigin = "anonymous";
    script.async = true;
    script.id = "rokt-launcher";
    target.appendChild(script);
    await new Promise((resolve) =>
    window.Rokt
      ? resolve()
      : document
        .getElementById("rokt-launcher")
        .addEventListener("load", () => resolve())
    );
    window.roktLauncher = await window.Rokt.createLauncher({
      accountId: "rokt-account-id",
      sandbox: true,
    });
  }

  const selection = await window.roktLauncher.selectPlacements({
    attributes,
    identifier: "payment_page"
  });
</script>
- Assign your dataLayer variables to their corresponding attribute fields (e.g., email:
{{dl_email}}).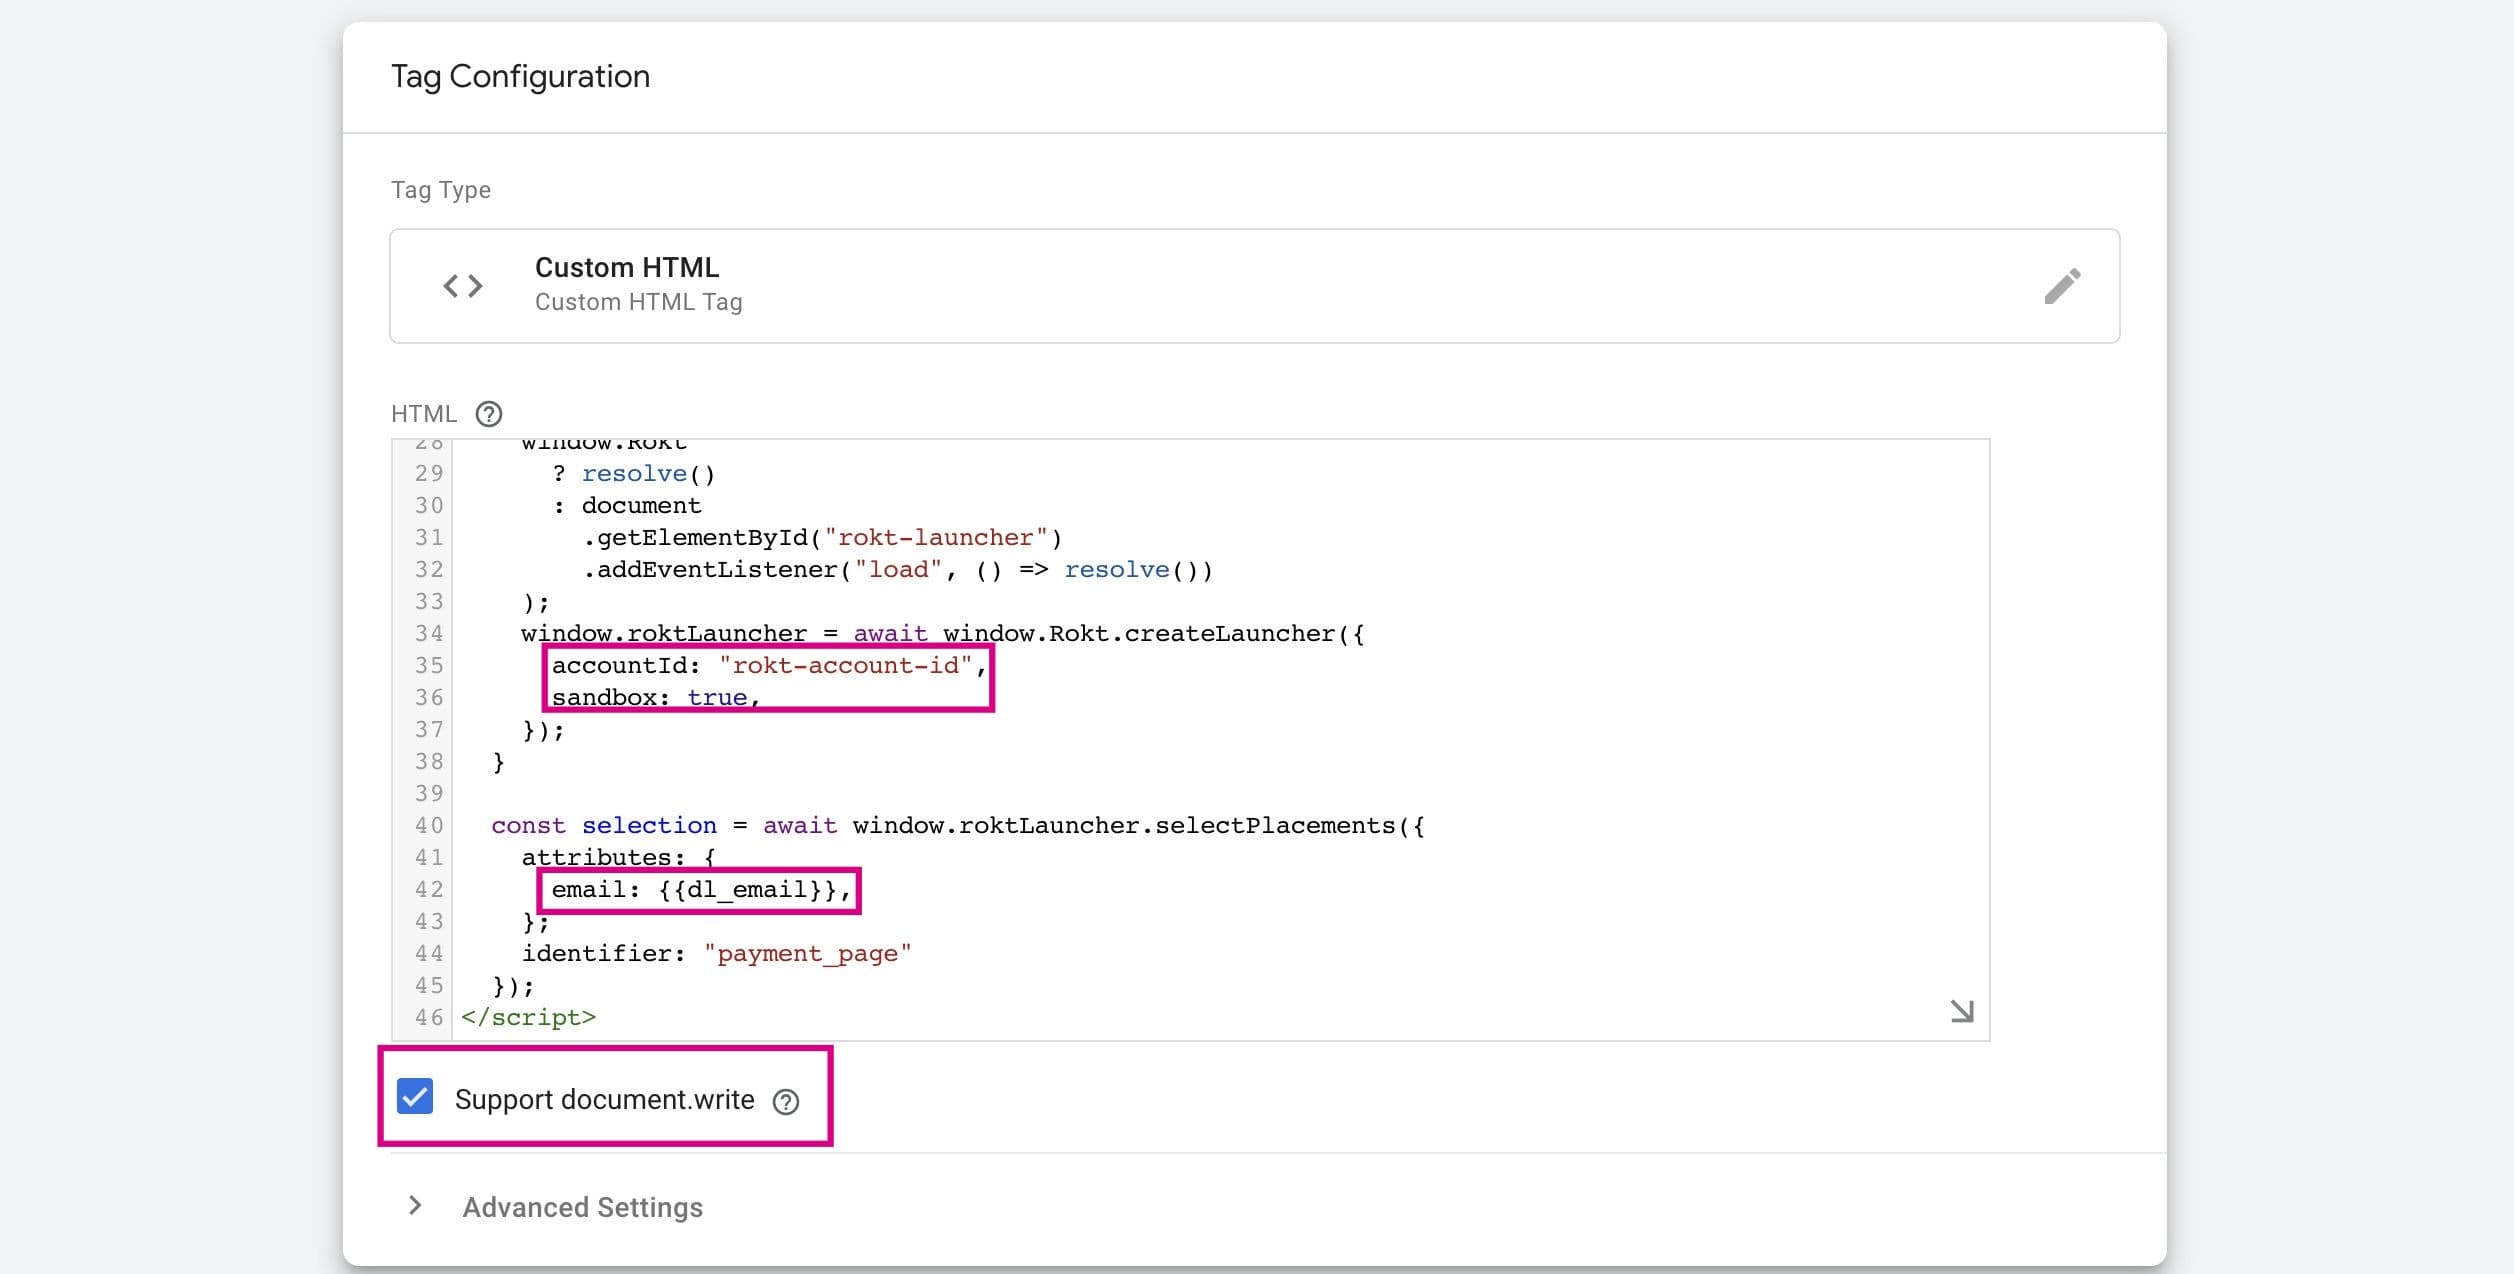
note
Please make sure the document.write checkbox is enabled, otherwise Google will prevent the changes from being published. Also be sure to update accountId with the value your account manager provided you and to set sandbox to true during testing.
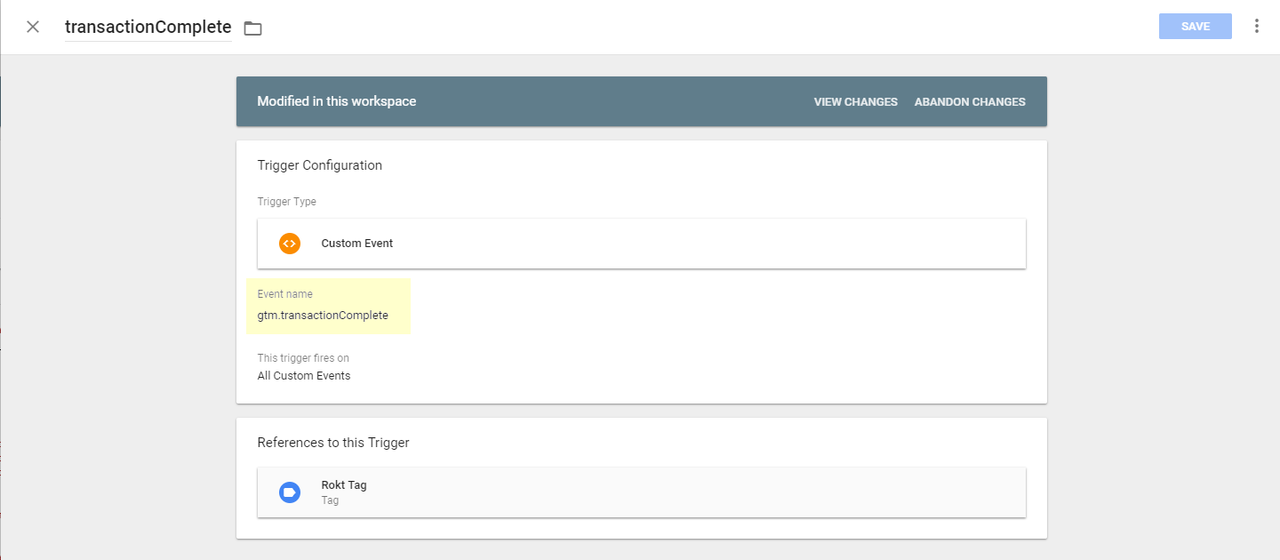
-
Add a trigger.
-
Save and publish.