Hightouch
![]()
mParticle and Rokt are the same platform. mParticle is a Rokt company, and the two are a single product. In Hightouch's integration directory you'll see two destinations that both feed into Rokt:
- mParticle by Rokt: used for sending conversion events (covered in the first part of this guide).
- Rokt: used for syncing audiences (covered at the bottom of this guide).
These are two destinations only because Hightouch lists them separately. They are not two different integrations or two different vendors. Pick the destination that matches the data you're sending; both connect you to the same Rokt platform under one account.
Over time, Rokt is migrating all of its data interfaces onto mParticle as the underlying data platform. The Rokt destination used for audiences today will eventually be retired and folded into mParticle by Rokt, so any setup you do now will continue to work as that transition happens.
Hightouch is a customer data platform that syncs data from your data warehouse to downstream tools. This guide walks you through connecting Hightouch to Rokt so you can send conversion events directly from your warehouse. No additional engineering required after setup.
By the end of this guide you will have:
- Created a mParticle by Rokt destination in Hightouch
- Mapped your warehouse data to Rokt's Events API fields
- Sent conversion events that Rokt can use for campaign attribution and optimization
PrerequisitesDirect link to Prerequisites
Before you begin:
- A Hightouch account with a connected data source: your data warehouse (e.g. Snowflake, BigQuery, Redshift) must already be connected to Hightouch as a source.
- Rokt API credentials: an API key and API secret. These are provided by your Rokt account manager.
Step 1: Get your Rokt API credentialsDirect link to Step 1: Get your Rokt API credentials
Contact your Rokt account manager to request an API key and API secret. You'll need both when creating the destination in Hightouch.
Step 2: Create the mParticle by Rokt destinationDirect link to Step 2: Create the mParticle by Rokt destination
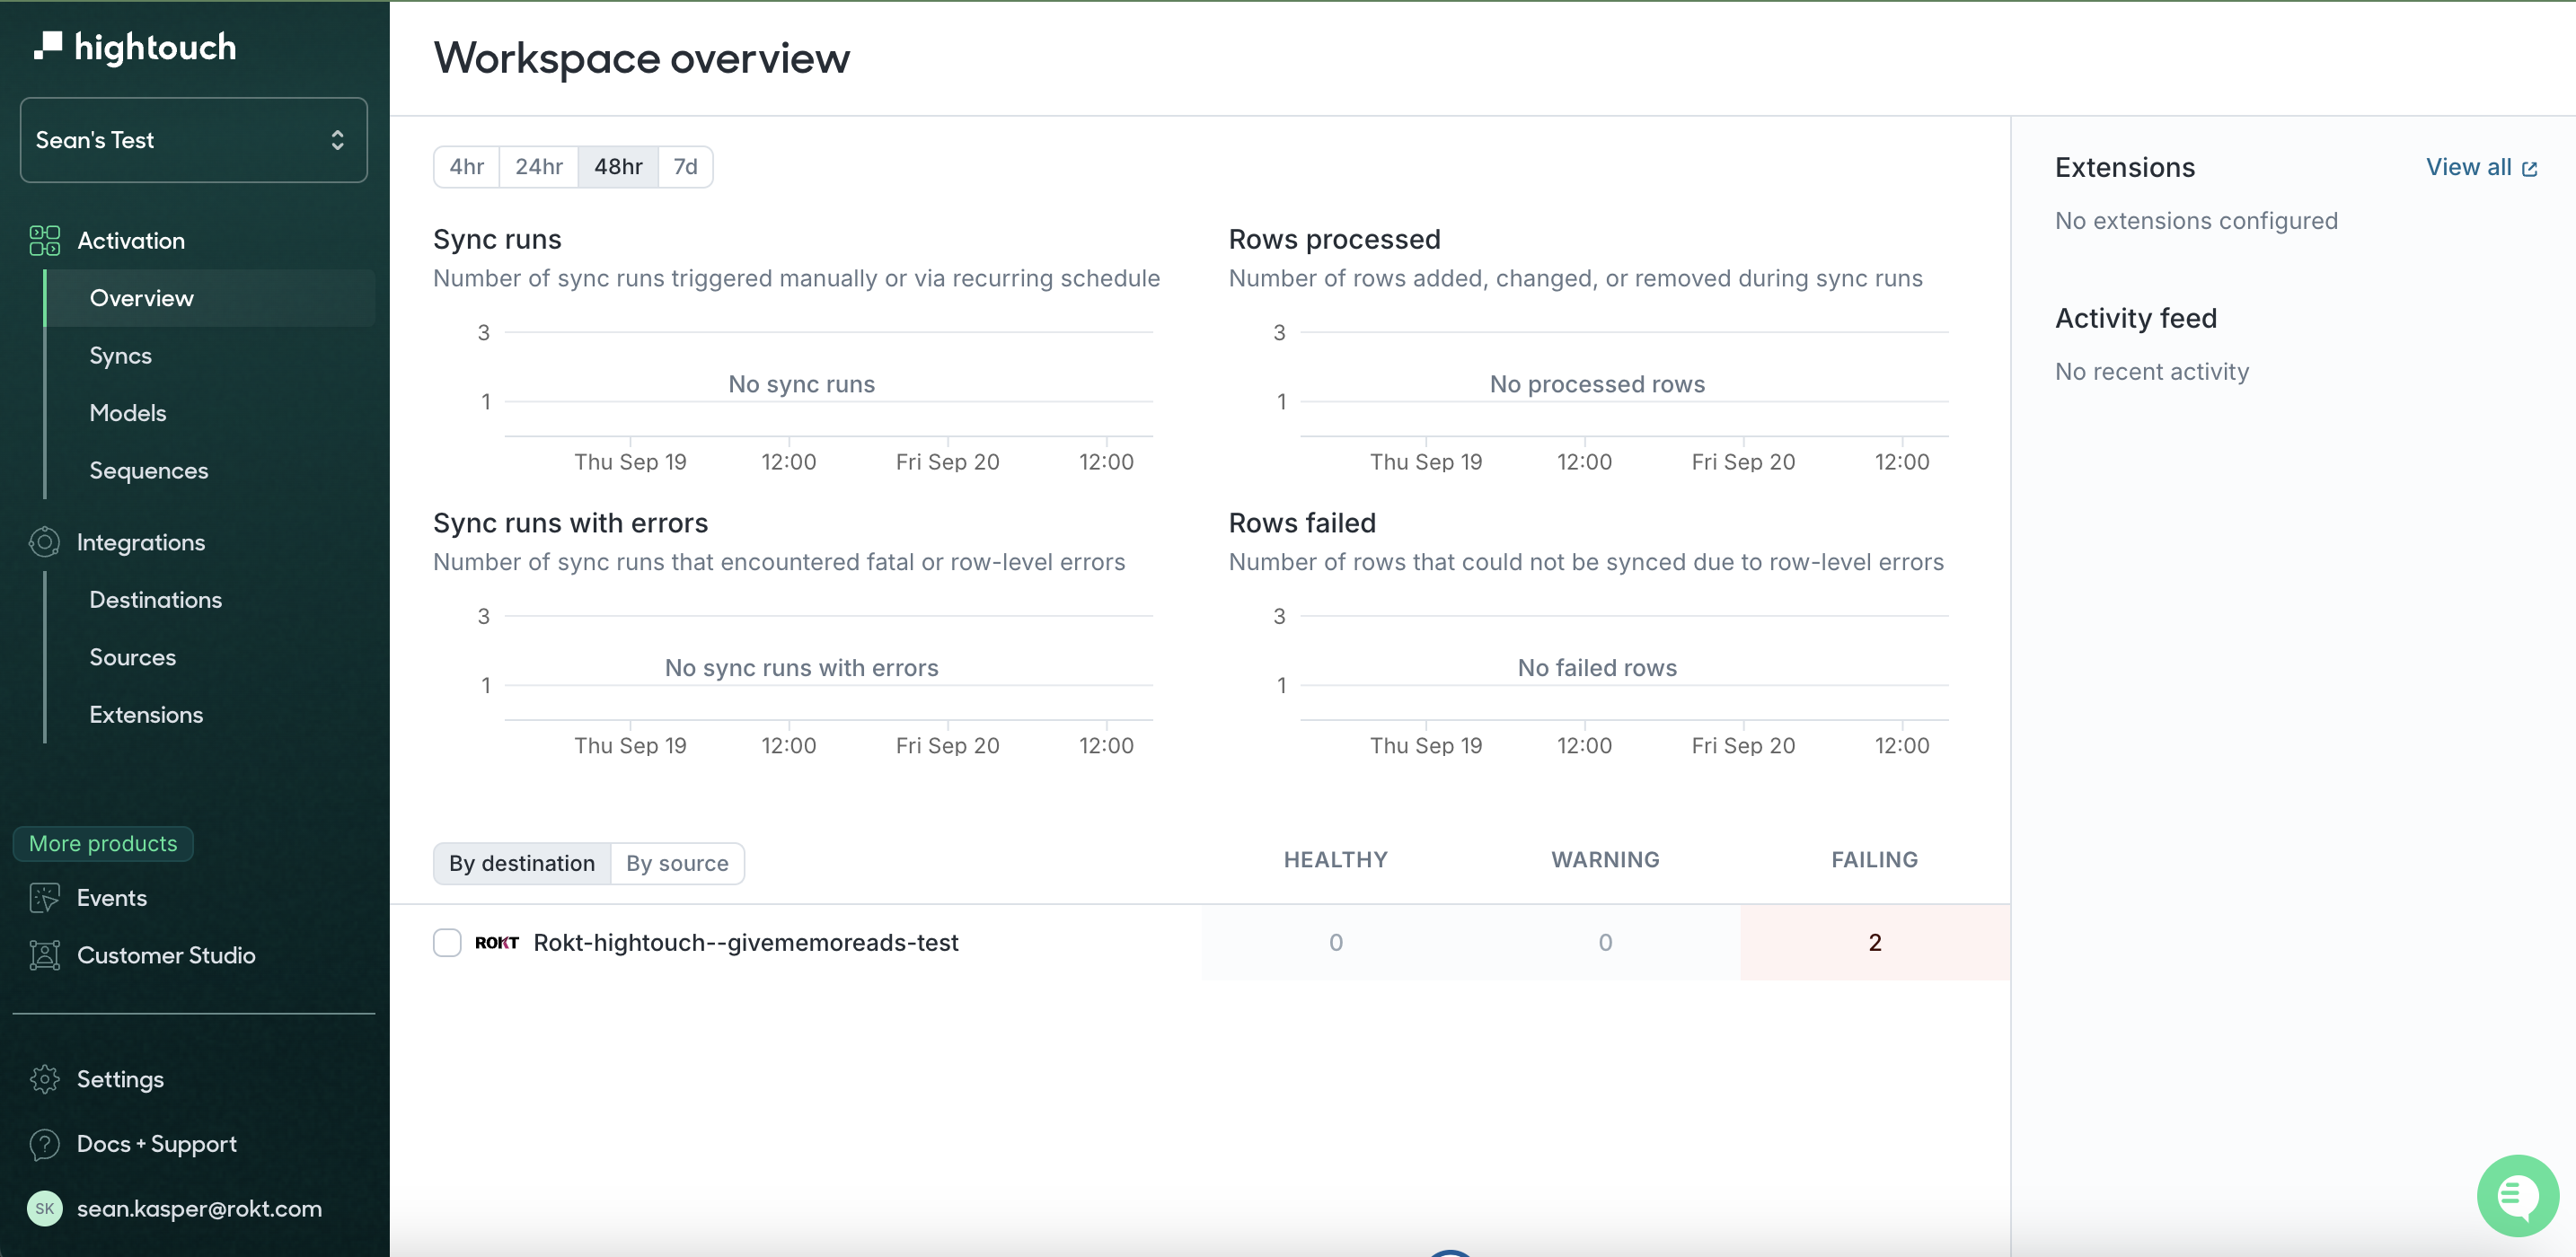
- In Hightouch, open your workspace.
- Go to Destinations → Add destination.
- Search for mParticle and select it.
- Enter your API key and API secret.
- Give the connection a name (e.g.
Rokt) and click Test connection to verify it works.
Step 3: Create a syncDirect link to Step 3: Create a sync
Once the destination is set up, create a sync to define which data gets sent and how it's mapped.
- Go to Syncs → Add sync.
- Select your data source model (the query or table that contains your conversion data).
- Select mParticle by Rokt as the destination.
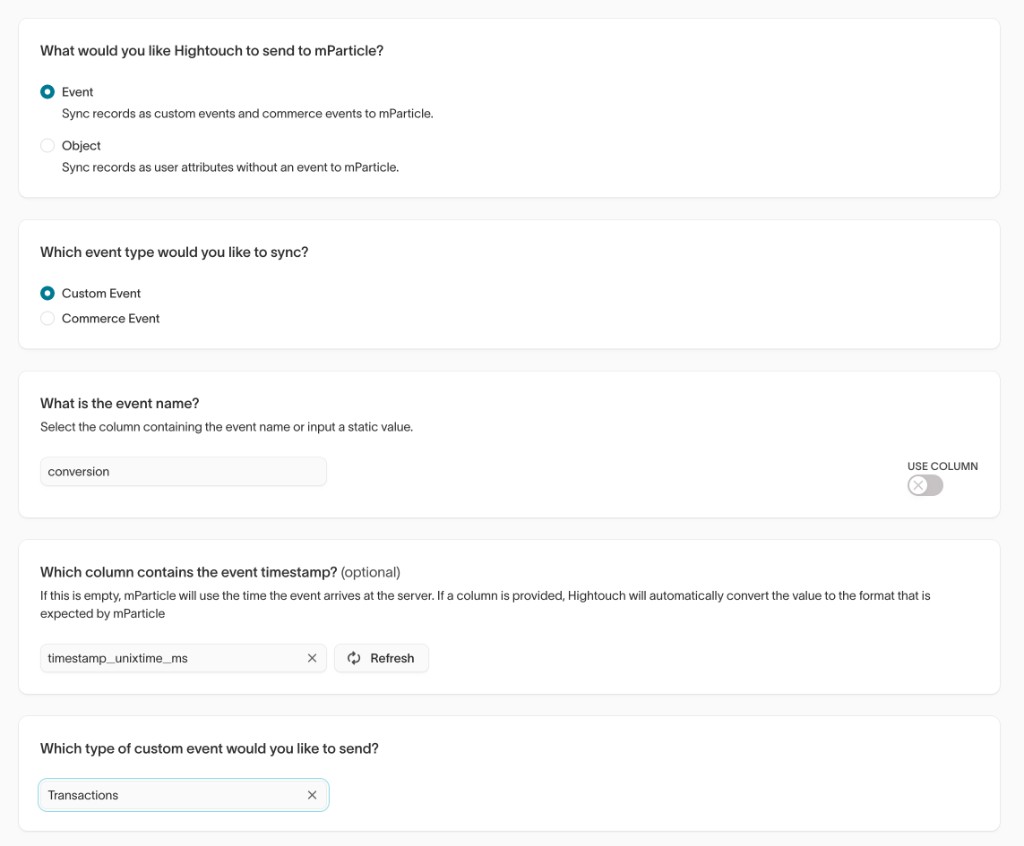
- Set the sync type to Custom Event.
Step 4: Map your fieldsDirect link to Step 4: Map your fields
This is the most important step. Rokt's Events API expects data in a specific shape. The tables below show exactly what to map and where.
Fixed values (set these manually in the mapper)Direct link to Fixed values (set these manually in the mapper)
These fields don't come from your warehouse; you set them as fixed values directly in Hightouch:
| Field | Value | Why |
|---|---|---|
| Environment | production | Always set to production, even during testing. This tells Rokt the data format version. |
| Event name | conversion | Tells Rokt this is a conversion event. |
| Custom event type | transaction | Required by the Rokt Events API schema. |
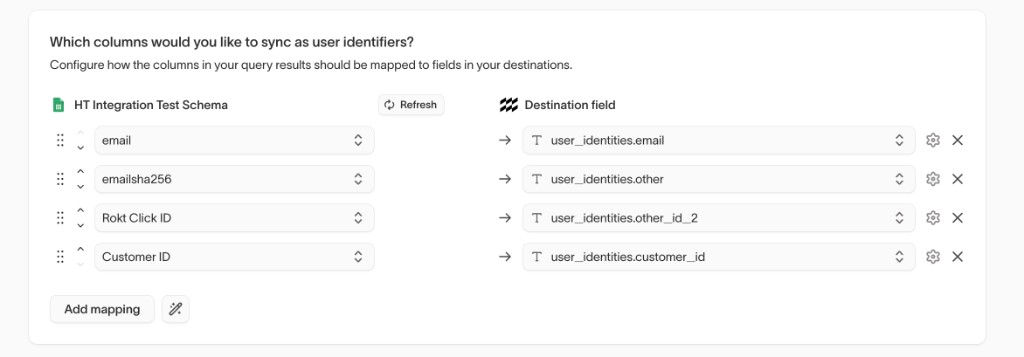
1. User identitiesDirect link to 1. User identities
Rokt needs at least one identifier to match the event to a user. Map as many as you have available; more identifiers means better match rates.
| Your data | Map to | Notes |
|---|---|---|
| Email address | user_identities.email | Must be lowercase with no leading or trailing spaces |
| SHA-256 hashed email | user_identities.other | Use this if you can't send plain-text email |
| Your internal customer ID | user_identities.customerid | Helps Rokt link events from the same user over time |
| Rokt Click ID | user_identities.other2 | If captured, this directly links the conversion to the Rokt ad click that drove it |
When a user clicks a Rokt ad, Rokt generates a unique Click ID that gets passed to your site (typically as a URL parameter). If your warehouse captures this value, include it; it significantly improves attribution accuracy.
Before hashing any value with SHA-256: lowercase all text, trim whitespace, and normalize phone numbers to 5551234567 format (no dashes, spaces, or country code).
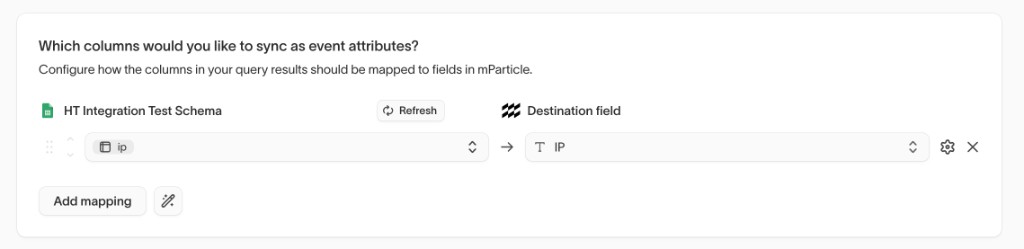
2. Event detailsDirect link to 2. Event details
| Your data | Map to | Notes |
|---|---|---|
| When the event happened | events[].data.timestamp_unixtime_ms | Unix timestamp in milliseconds. Most warehouses store this as epoch milliseconds. If yours stores seconds, multiply by 1000. |
| A unique ID for this event | events[].data.source_message_id | Use an order ID, transaction ID, or any stable unique value. Rokt uses this to deduplicate events. |
| Customer's IP address | ip | Optional. Used for geolocation and fraud detection. |
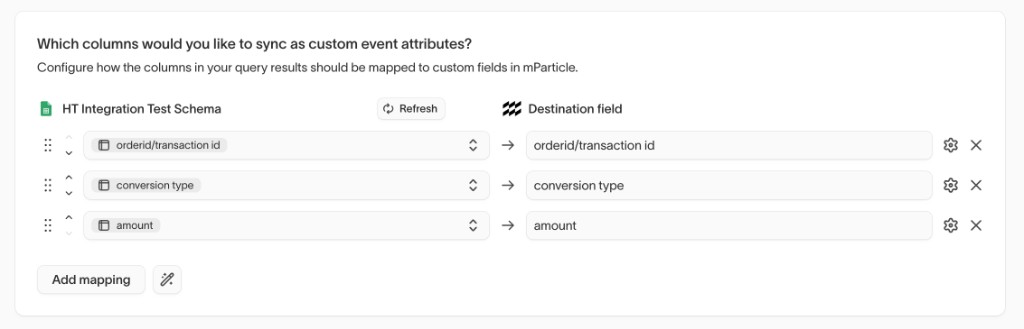
3. Conversion attributesDirect link to 3. Conversion attributes
These fields describe what the user did and are used directly in Rokt's reporting and optimization.
| Your data | Map to | Required | Notes |
|---|---|---|---|
| Type of conversion | events[].data.custom_attributes.conversiontype | Yes | A short label for the action: purchase, signup, subscription, etc. You define this value; be consistent across events. |
| Order or confirmation number | events[].data.custom_attributes.confirmationref | Recommended | Used by Rokt to deduplicate events if the same conversion is received more than once. |
| Transaction value | events[].data.custom_attributes.amount | No | Send as a string: "99.99" |
| Currency | events[].data.custom_attributes.currency | No | ISO 4217 code: "USD", "EUR", "GBP" |
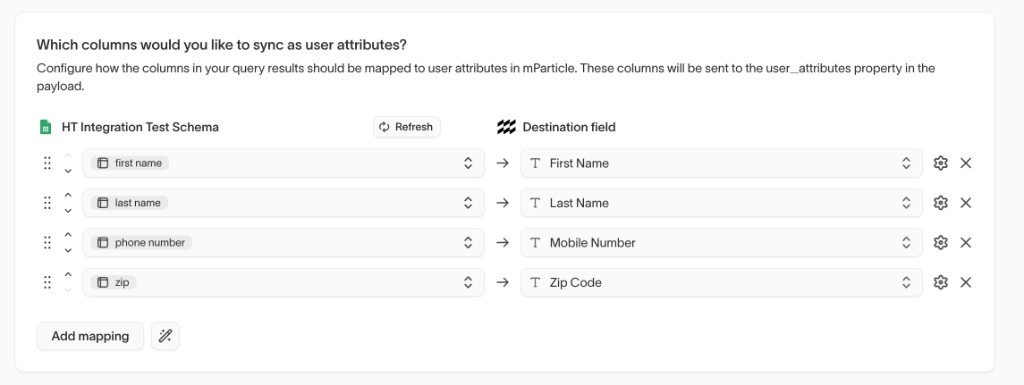
4. User attributesDirect link to 4. User attributes
The more user attributes you send, the better Rokt can match and optimize. None of these are required, but Rokt strongly recommends mapping as many as you have.
| Your data | Map to |
|---|---|
| First name | user_attributes.firstname |
| First name (SHA-256) | user_attributes.firstnamesha256 |
| Last name | user_attributes.lastname |
| Last name (SHA-256) | user_attributes.lastnamesha256 |
| Mobile number | user_attributes.mobile |
| Mobile number (SHA-256) | user_attributes.mobilesha256 |
| Age | user_attributes.age |
| Date of birth | user_attributes.dob (format: yyyymmdd) |
| Gender | user_attributes.gender (e.g. M, Female) |
| City | user_attributes.city |
| State | user_attributes.state |
| Zip code | user_attributes.zip |
| Title | user_attributes.title (e.g. Mr, Ms) |
| Language | user_attributes.language |
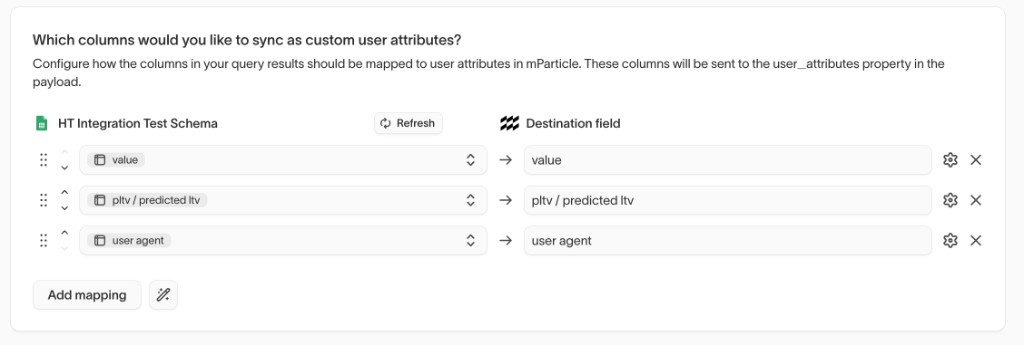
| Customer value | user_attributes.value |
| Predicted lifetime value | user_attributes.predictedltv |
If you have additional profile fields not listed above, you can map them to user_attributes.<your_custom_key> using Hightouch's custom attribute mapping.
5. Device infoDirect link to 5. Device info
If you have device-level data available, map it here. This improves match rates for mobile users. Do not put these in user attributes; they belong in the device_info object.
| Your data | Map to |
|---|---|
| Browser or device user agent | device_info.http_header_user_agent |
| iOS advertising ID (IDFA) | device_info.ios_advertising_id |
| Android advertising ID (AAID) | device_info.android_advertising_id |
Complete exampleDirect link to Complete example
Here's what a fully mapped conversion event looks like when it reaches Rokt:
{
  "environment": "production",
  "ip": "203.0.113.42",
  "device_info": {
    "http_header_user_agent": "Mozilla/5.0 (iPhone; CPU iPhone OS 17_0 like Mac OS X)"
  },
  "user_identities": {
    "email": "jane.smith@example.com",
    "customerid": "cust_123456",
    "other2": "rokt-click-id-from-url-param"
  },
  "user_attributes": {
    "firstname": "Jane",
    "lastname": "Smith",
    "zip": "10001",
    "city": "New York",
    "state": "NY"
  },
  "events": [
    {
      "event_type": "custom_event",
      "data": {
        "event_name": "conversion",
        "custom_event_type": "transaction",
        "source_message_id": "order_789012",
        "timestamp_unixtime_ms": 1735689600000,
        "custom_attributes": {
          "conversiontype": "purchase",
          "confirmationref": "ORD-789012",
          "amount": "149.99",
          "currency": "USD"
        }
      }
    }
  ]
}
LimitsDirect link to Limits
| Resource | Limit |
|---|---|
| Total request size | 256 KB |
| Batches per second | 270 |
| Event attribute value length | 4096 characters |
| User attributes per batch | 100 |
| User attribute value length | 4096 characters |
Error referenceDirect link to Error reference
If a sync fails, check the status code Hightouch reports:
| Status | Meaning | What to do |
|---|---|---|
202 Accepted | Success | No action needed |
400 Bad Request | Malformed payload or missing required field | Check that event_name, custom_event_type, and conversiontype are all set |
401 Unauthorized | API key or secret missing | Re-enter credentials in the destination settings |
403 Forbidden | API key or secret invalid | Contact your Rokt account manager to verify credentials |
429 Too Many Requests | Rate limit exceeded | Reduce sync frequency or batch size |
5xx Server Error | Rokt-side issue | Retry. Hightouch will typically handle this automatically |
Integration Setup (Audiences)Direct link to Integration Setup (Audiences)
For audience syncs, use the Rokt destination in Hightouch. (Hightouch labels this sync type as Segment in its UI; same thing.) This is the same Rokt platform as the mParticle by Rokt destination used for events above; Hightouch just lists them as two separate destinations. Audiences authenticate with an API key only (no App ID or App Secret).
As part of Rokt's broader move to mParticle as the underlying data platform, audience syncs will eventually move to the mParticle by Rokt destination as well. Until that change is rolled out, the Rokt destination remains the right place to set up audience syncs.
AuthenticationDirect link to Authentication
Authenticating with the Rokt Audiences destination requires an API key. Reach out to your account manager to be issued an API key.
Creating a Rokt destination (audiences)Direct link to Creating a Rokt destination (audiences)
-
Log in to your Hightouch account and click on the workspace that you want to connect Rokt to.
-
Click on Destinations in the left toolbar and then click on Add Destination.
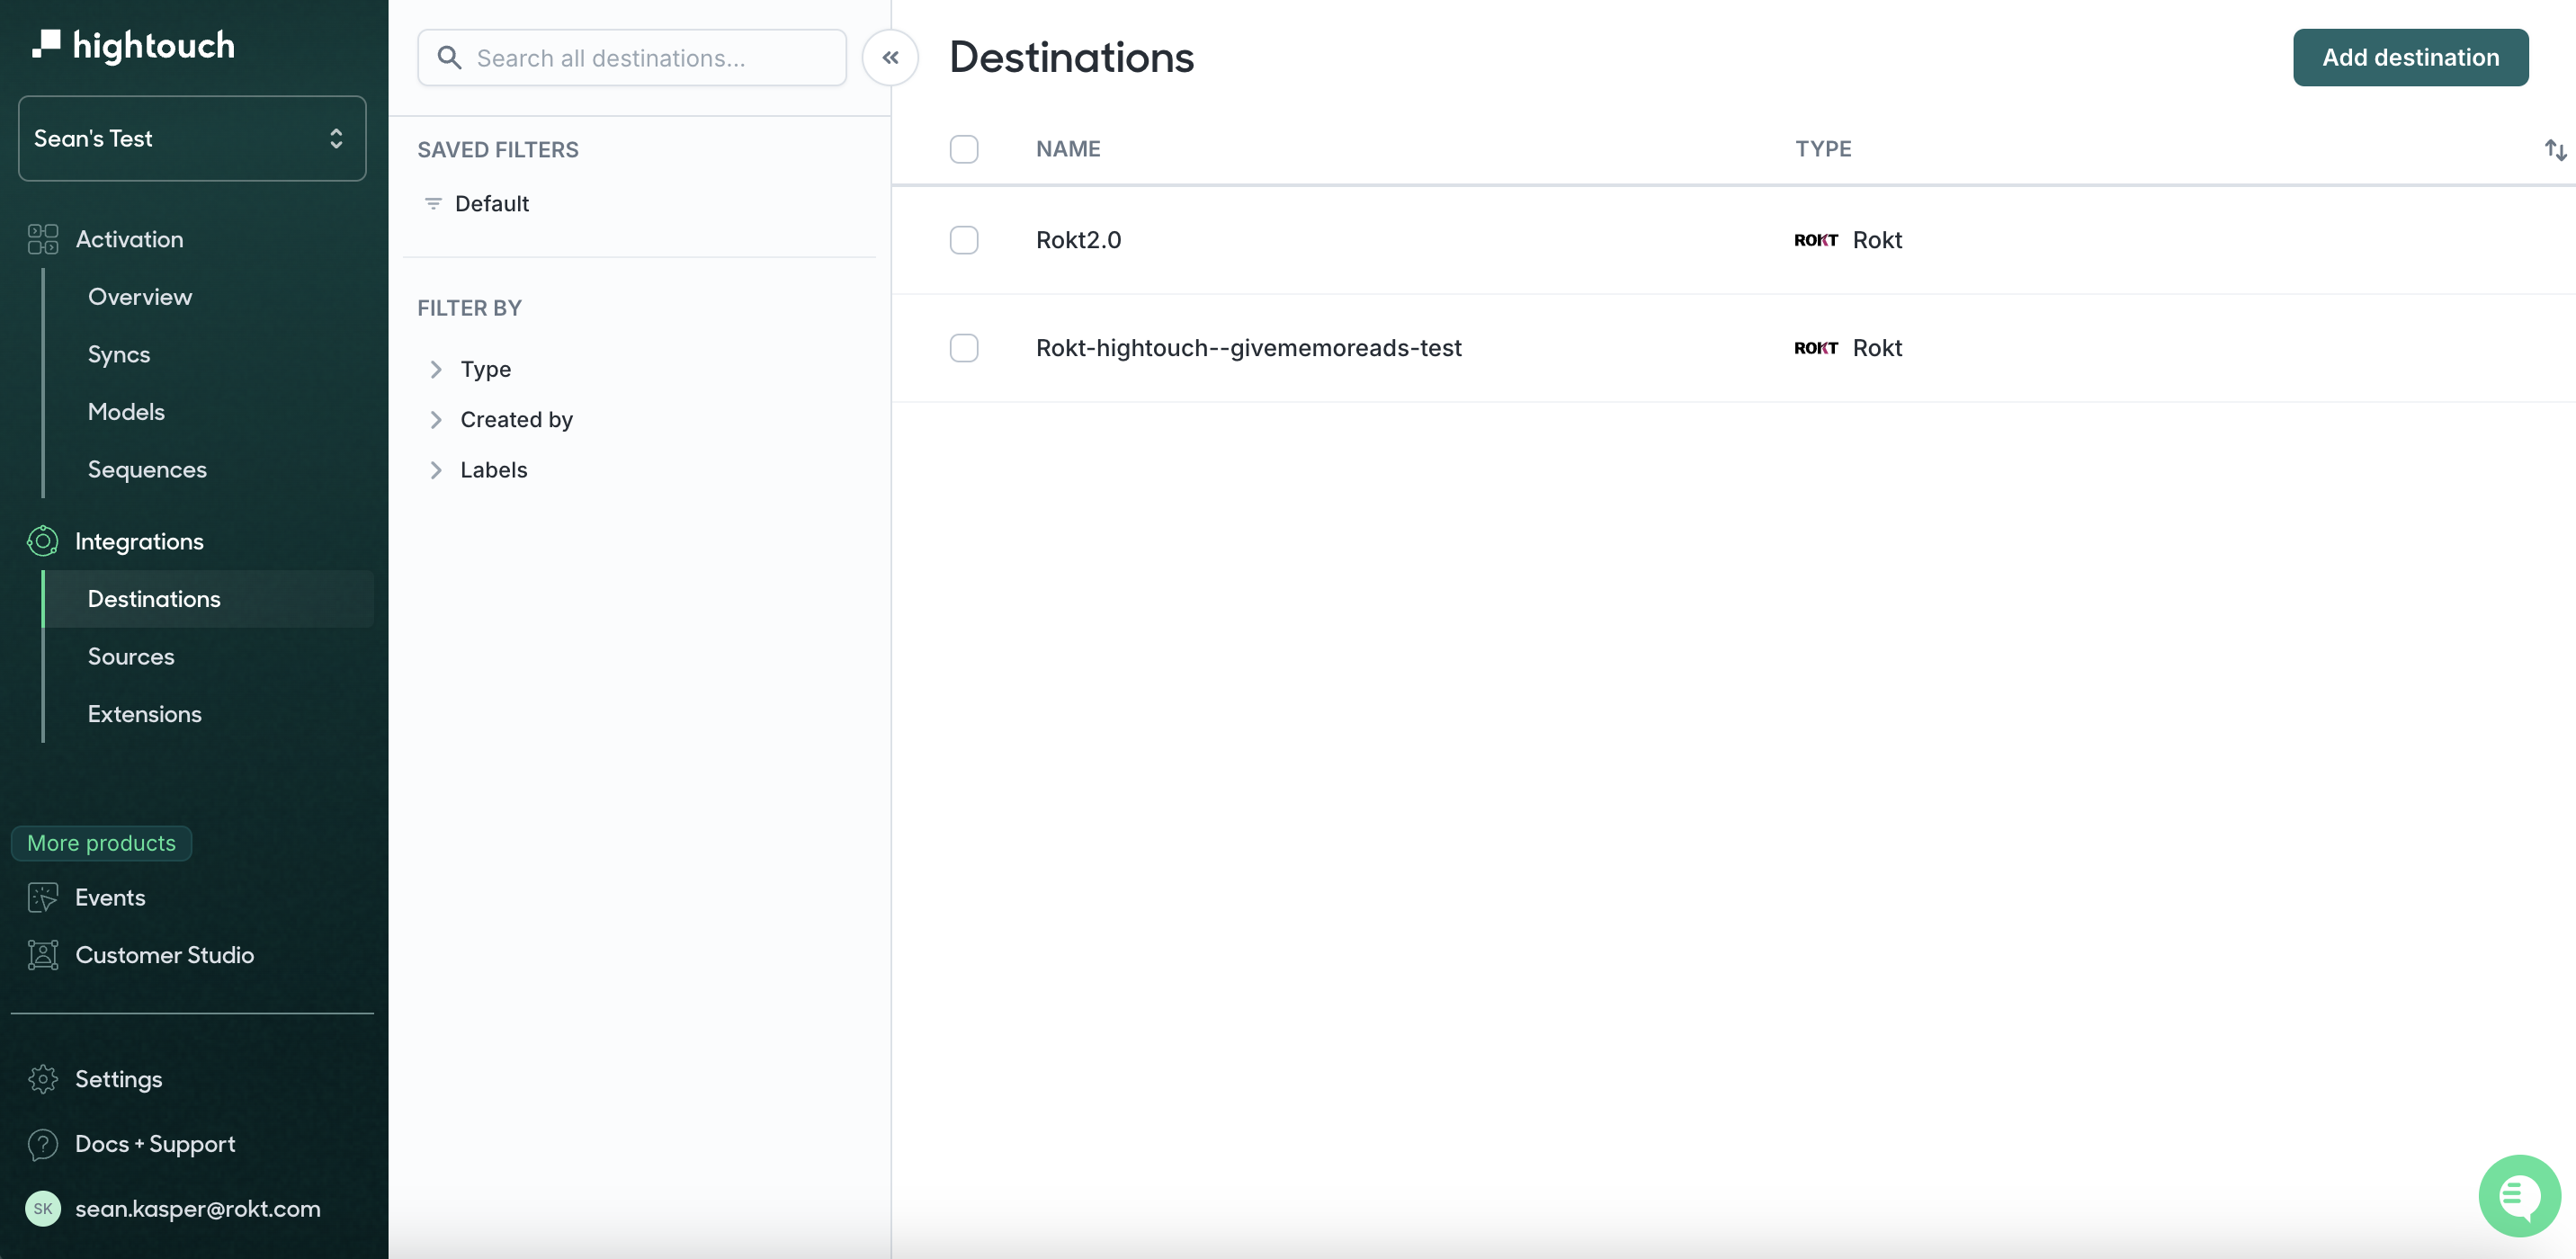
-
Search for Rokt, click on Rokt, and click Continue.
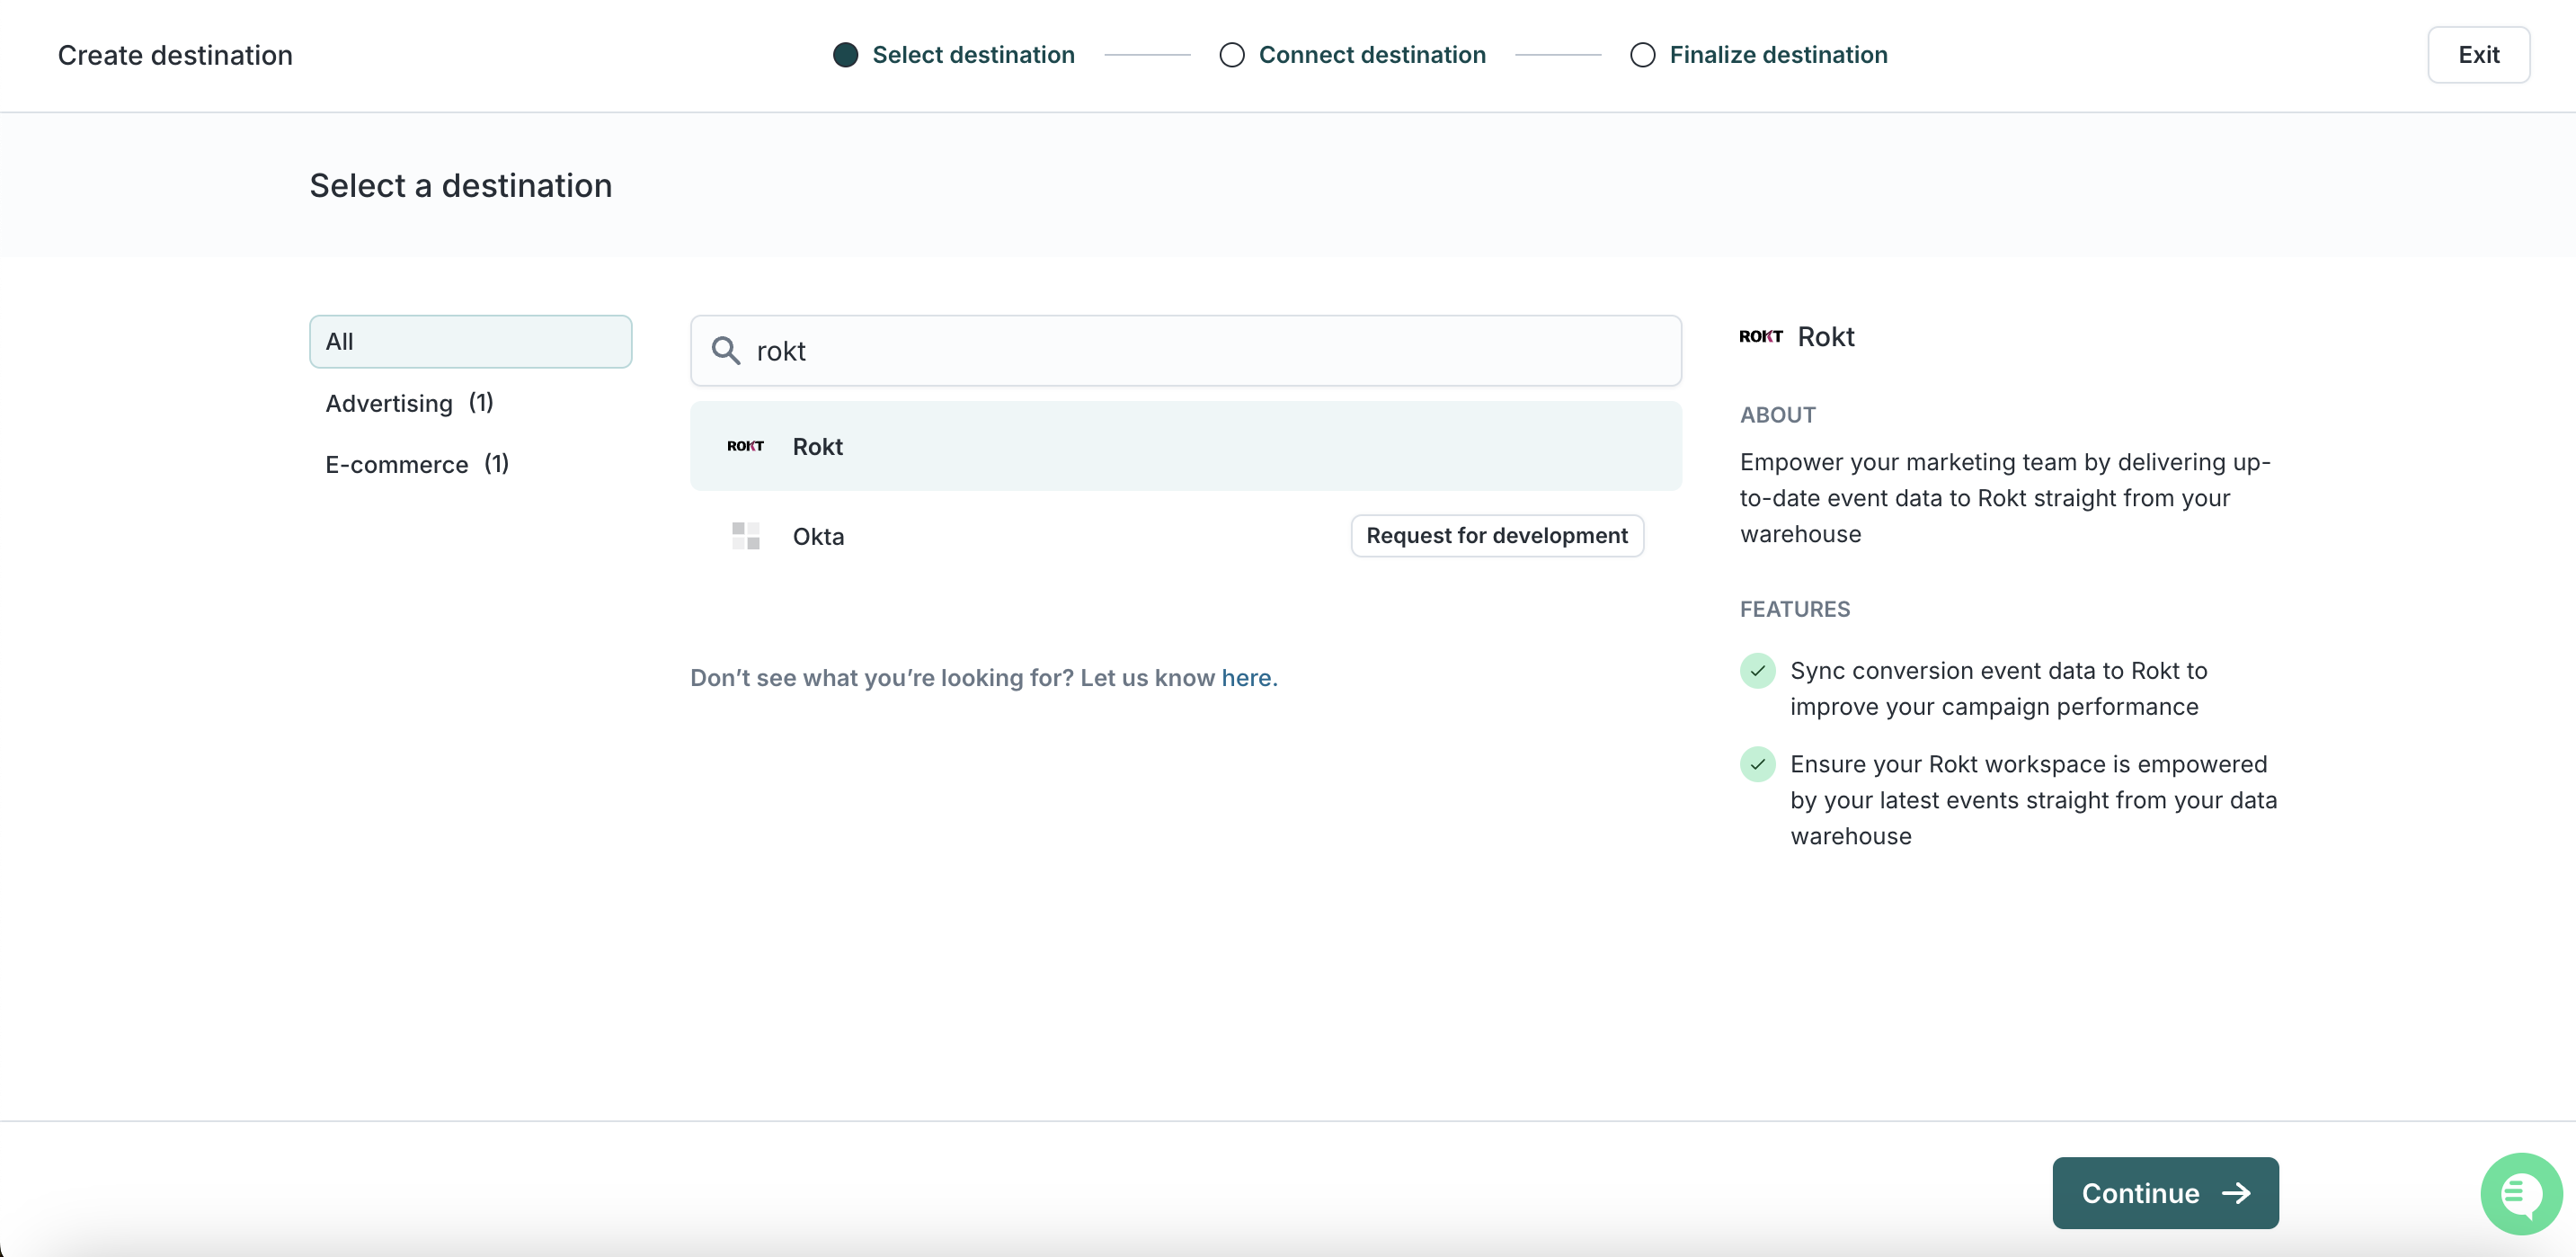
-
Add your API key here. Note that you do not need the Account ID, App ID, and App Secret for the audience (segment) integration.
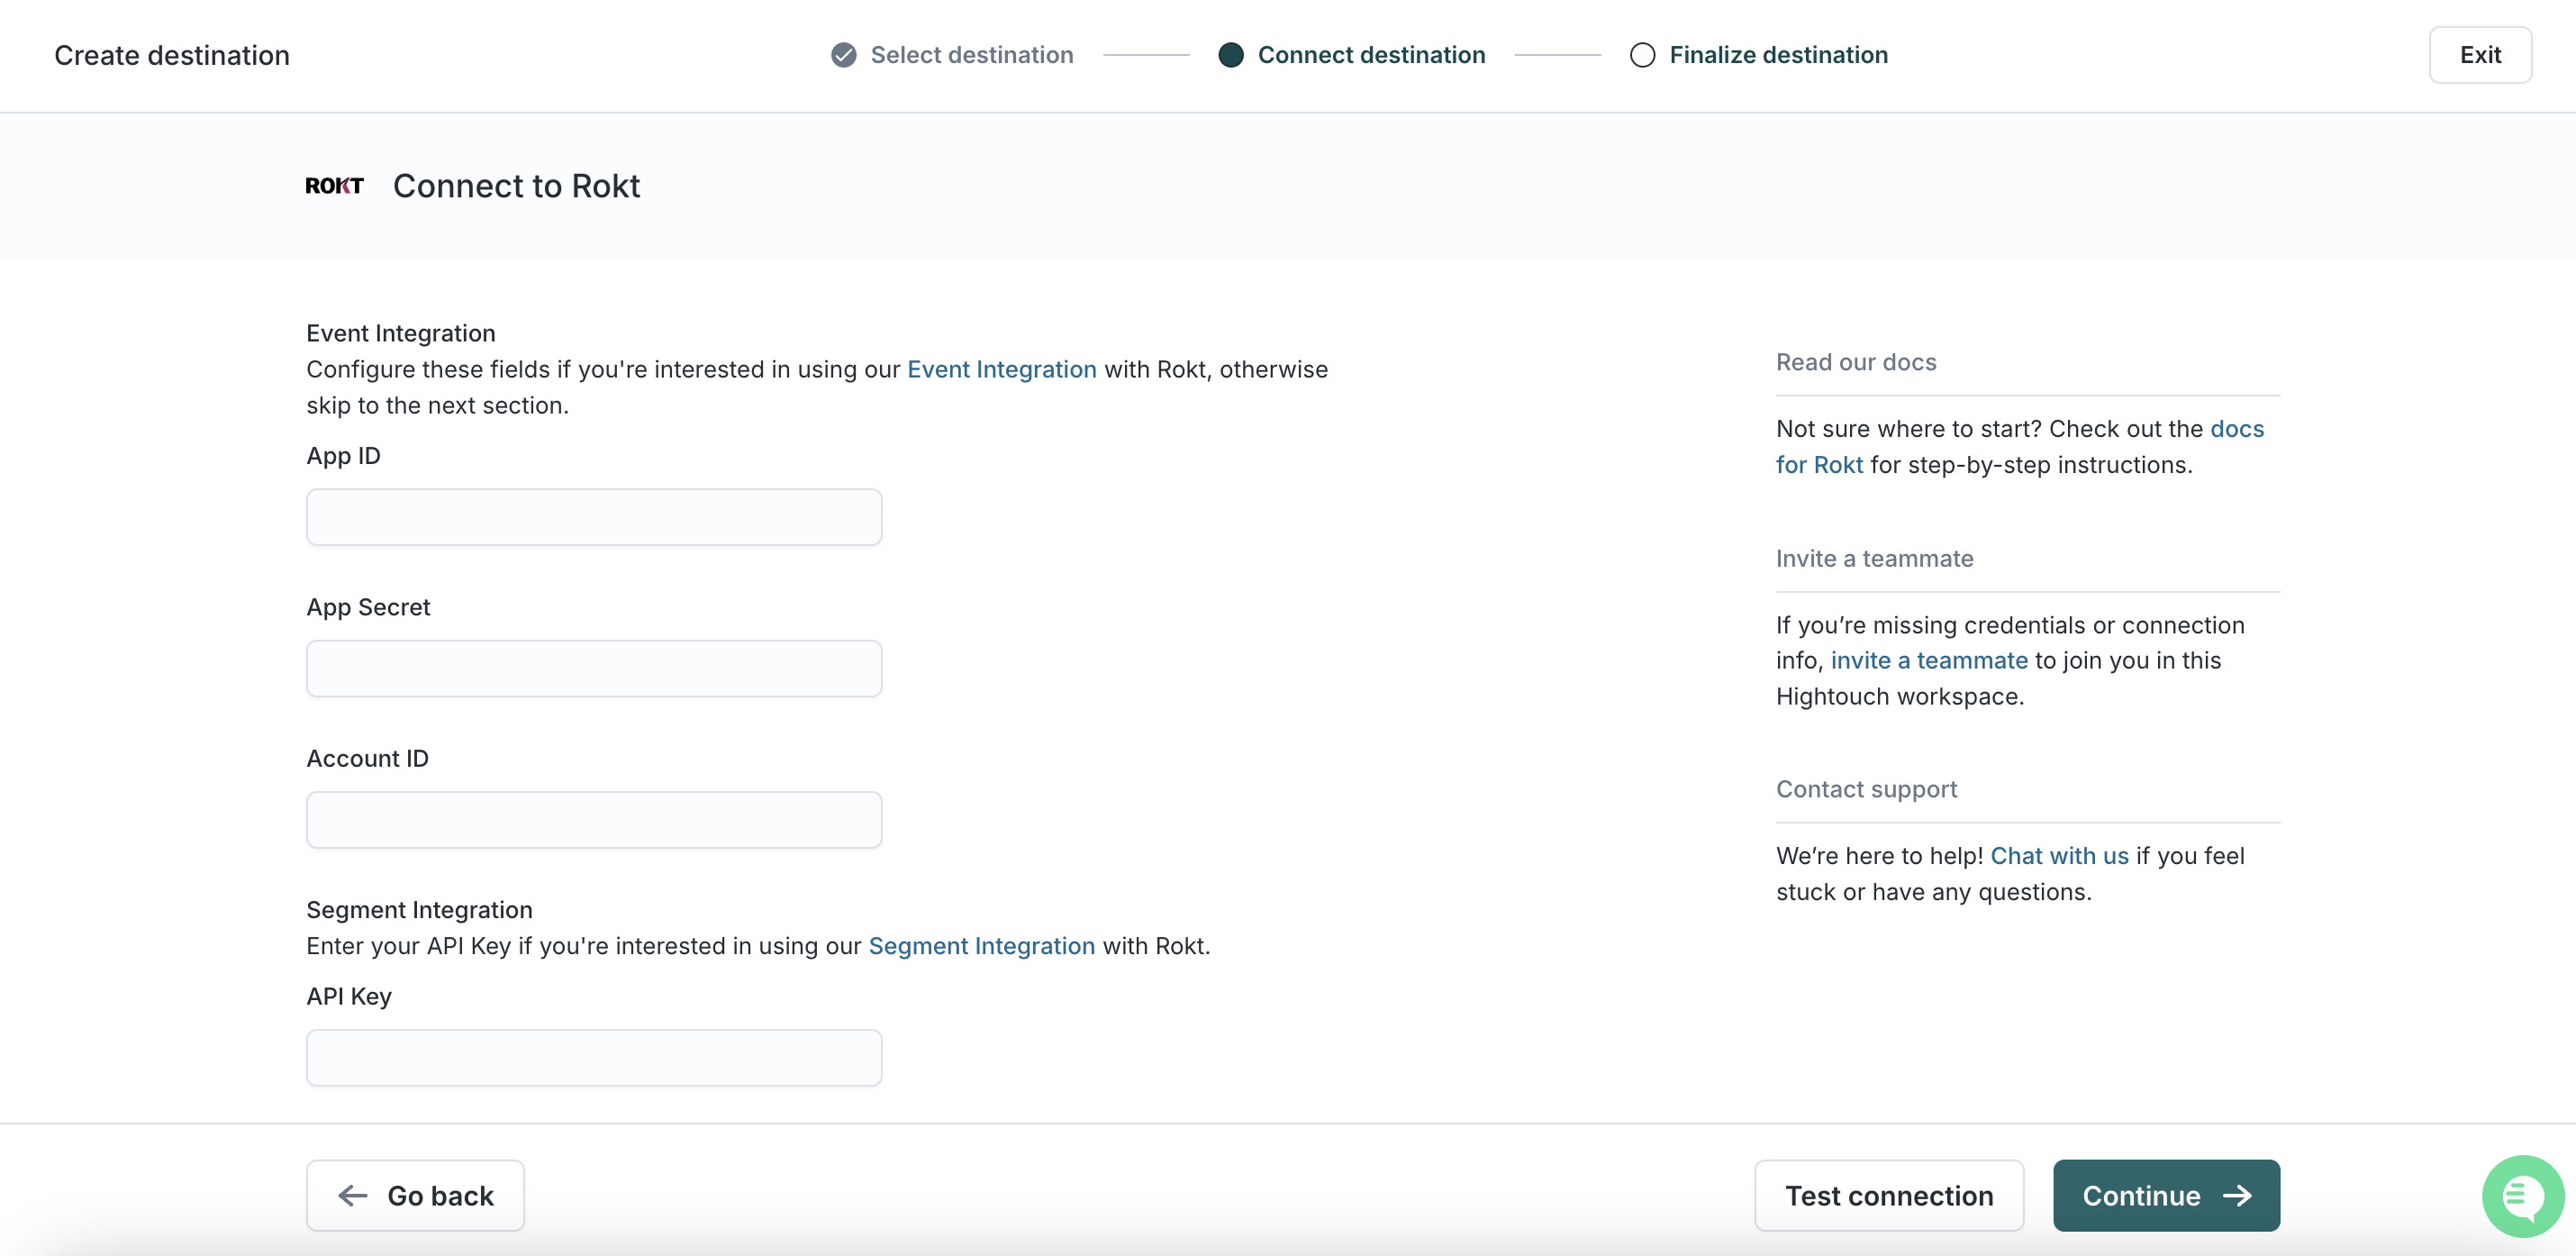
-
Click Continue.
-
Name your connection, e.g. Rokt Integration.
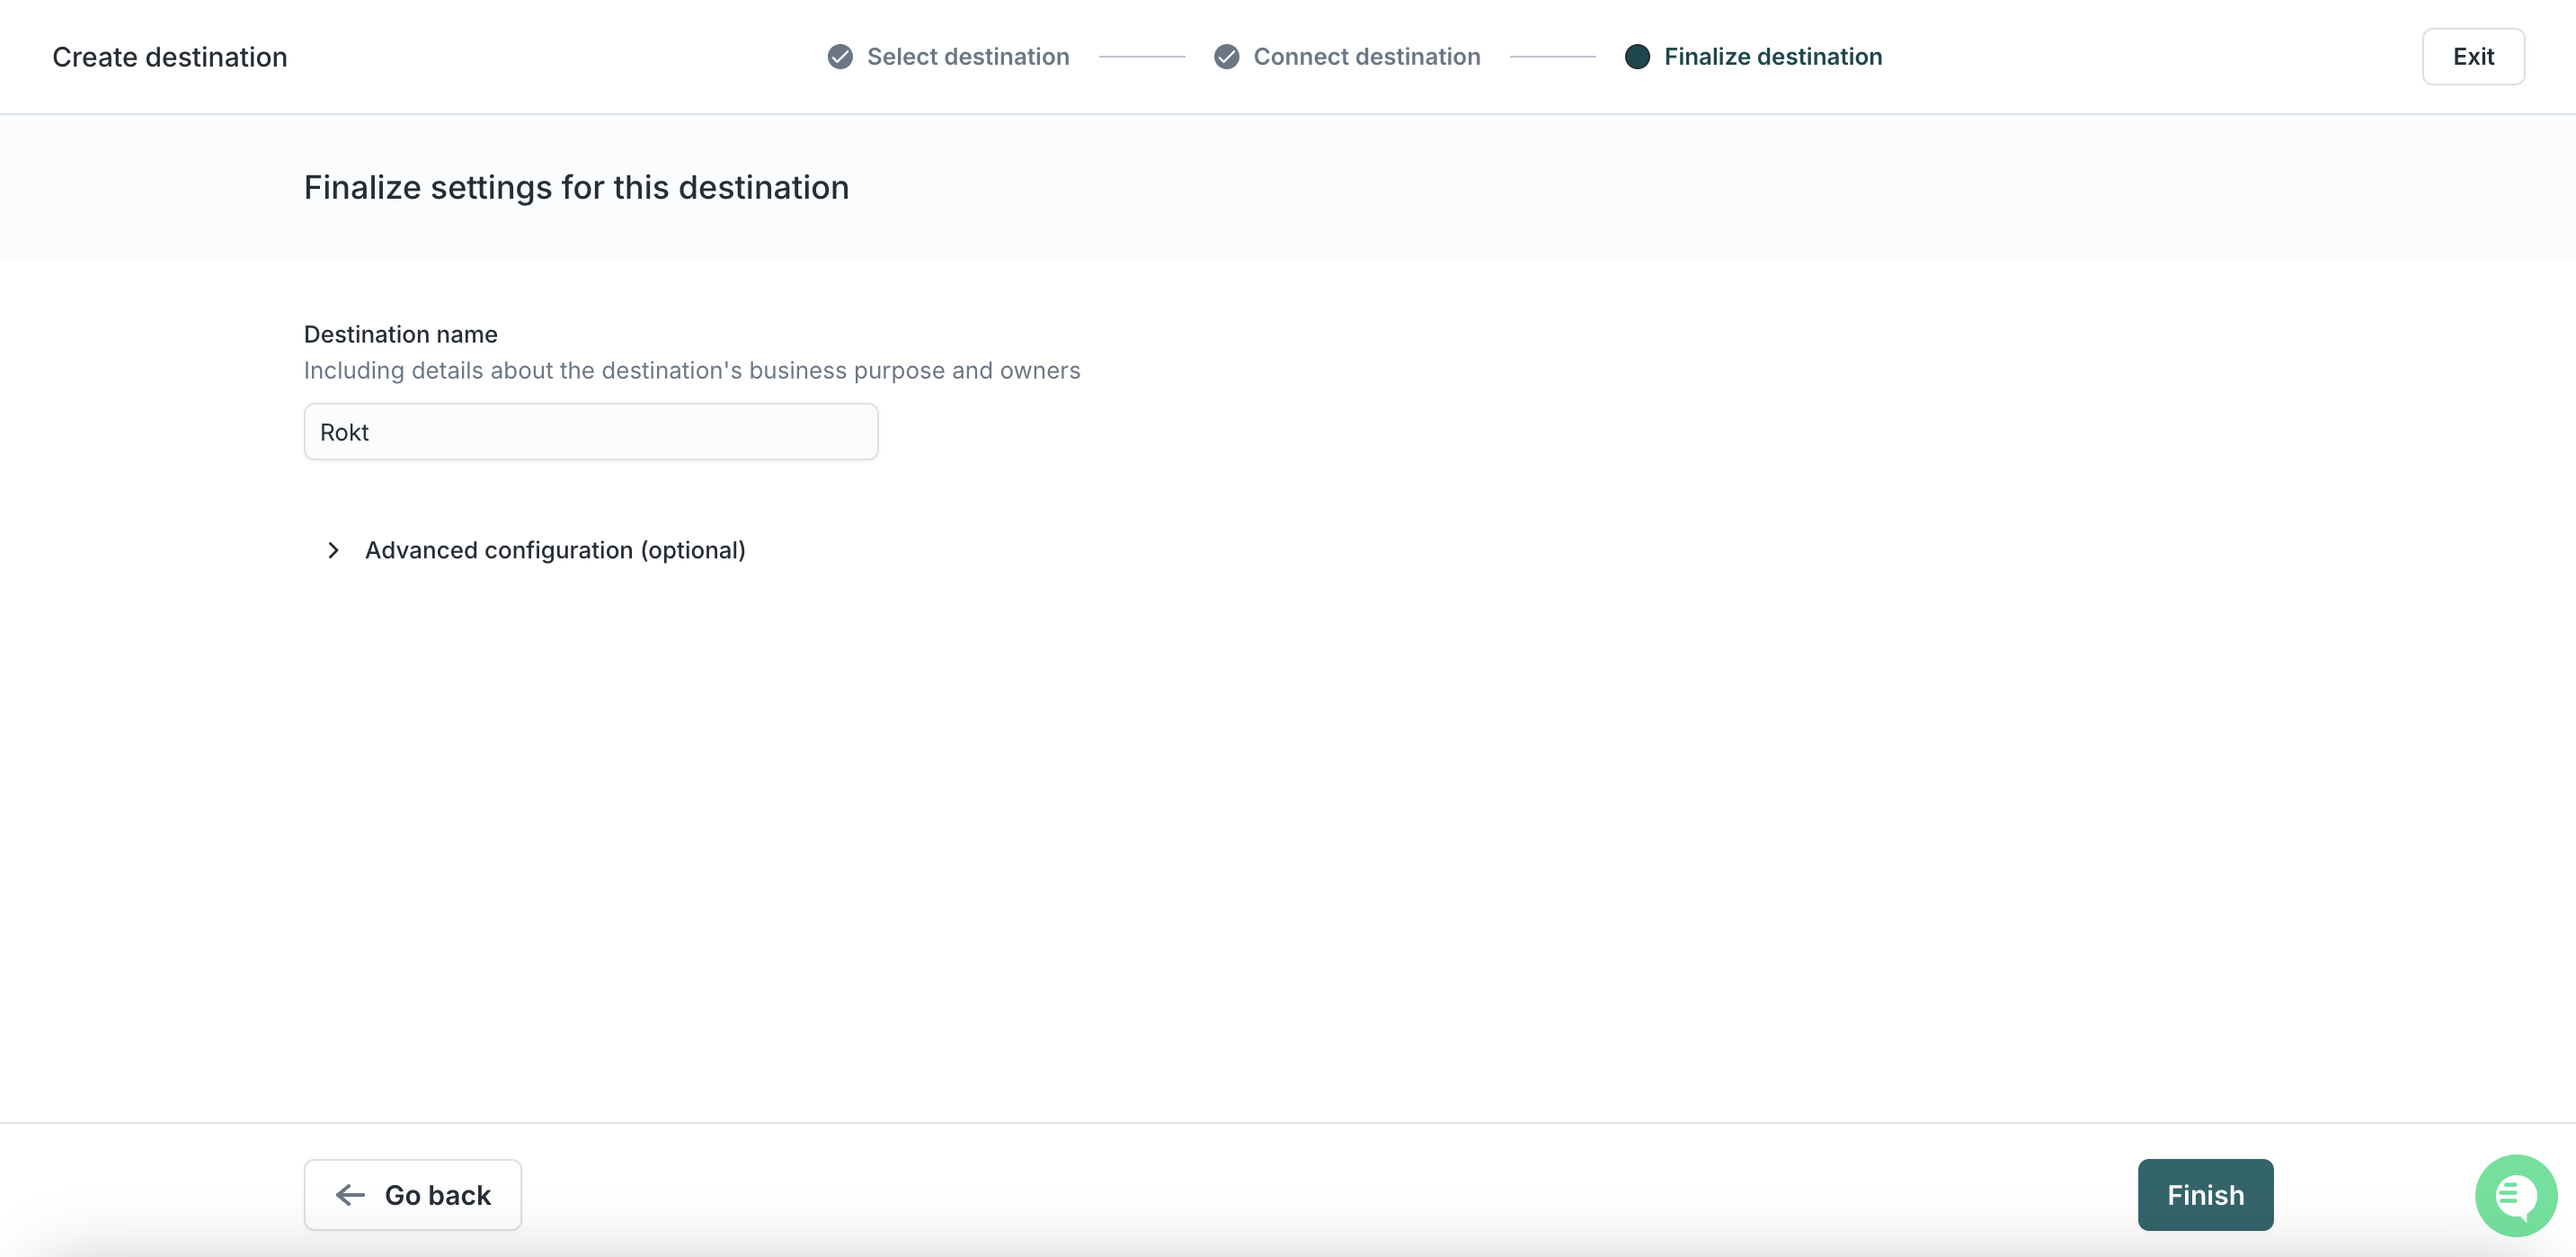
-
Click Finish.
-
Click Test Connection. If you completed the steps above correctly, you should see a success message.
-
You are now finished with establishing Rokt as a destination.
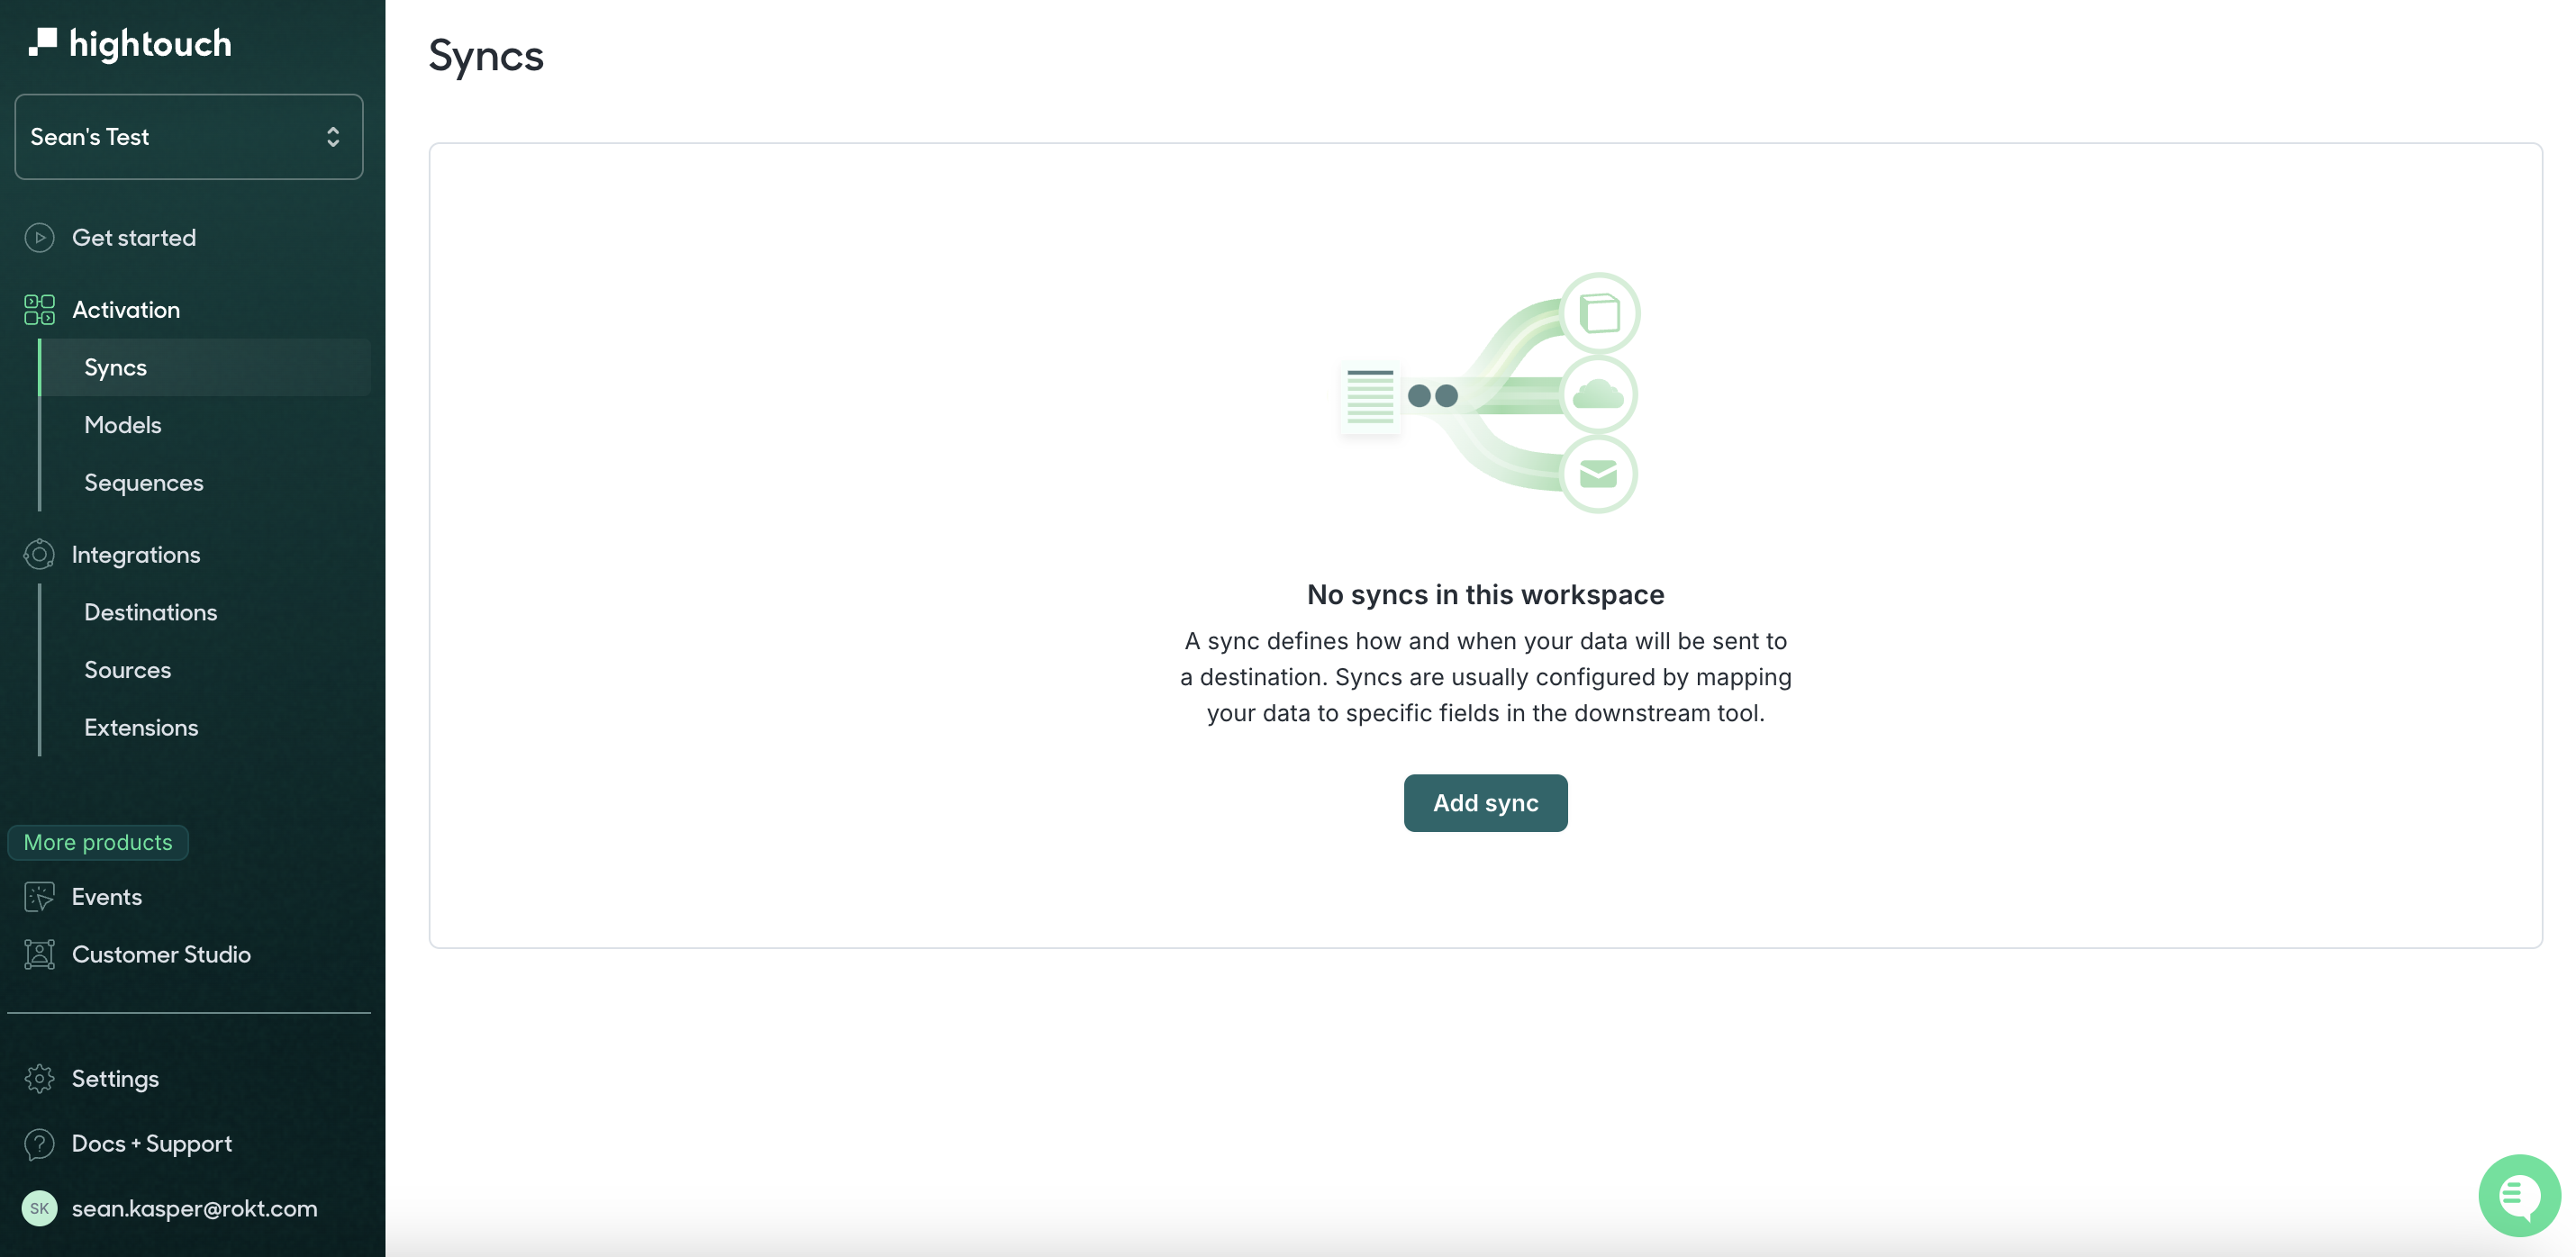
Add an audience syncDirect link to Add an audience sync
-
Click on Sync in the left-hand toolbar and then choose Add Sync.
-
Choose your model.
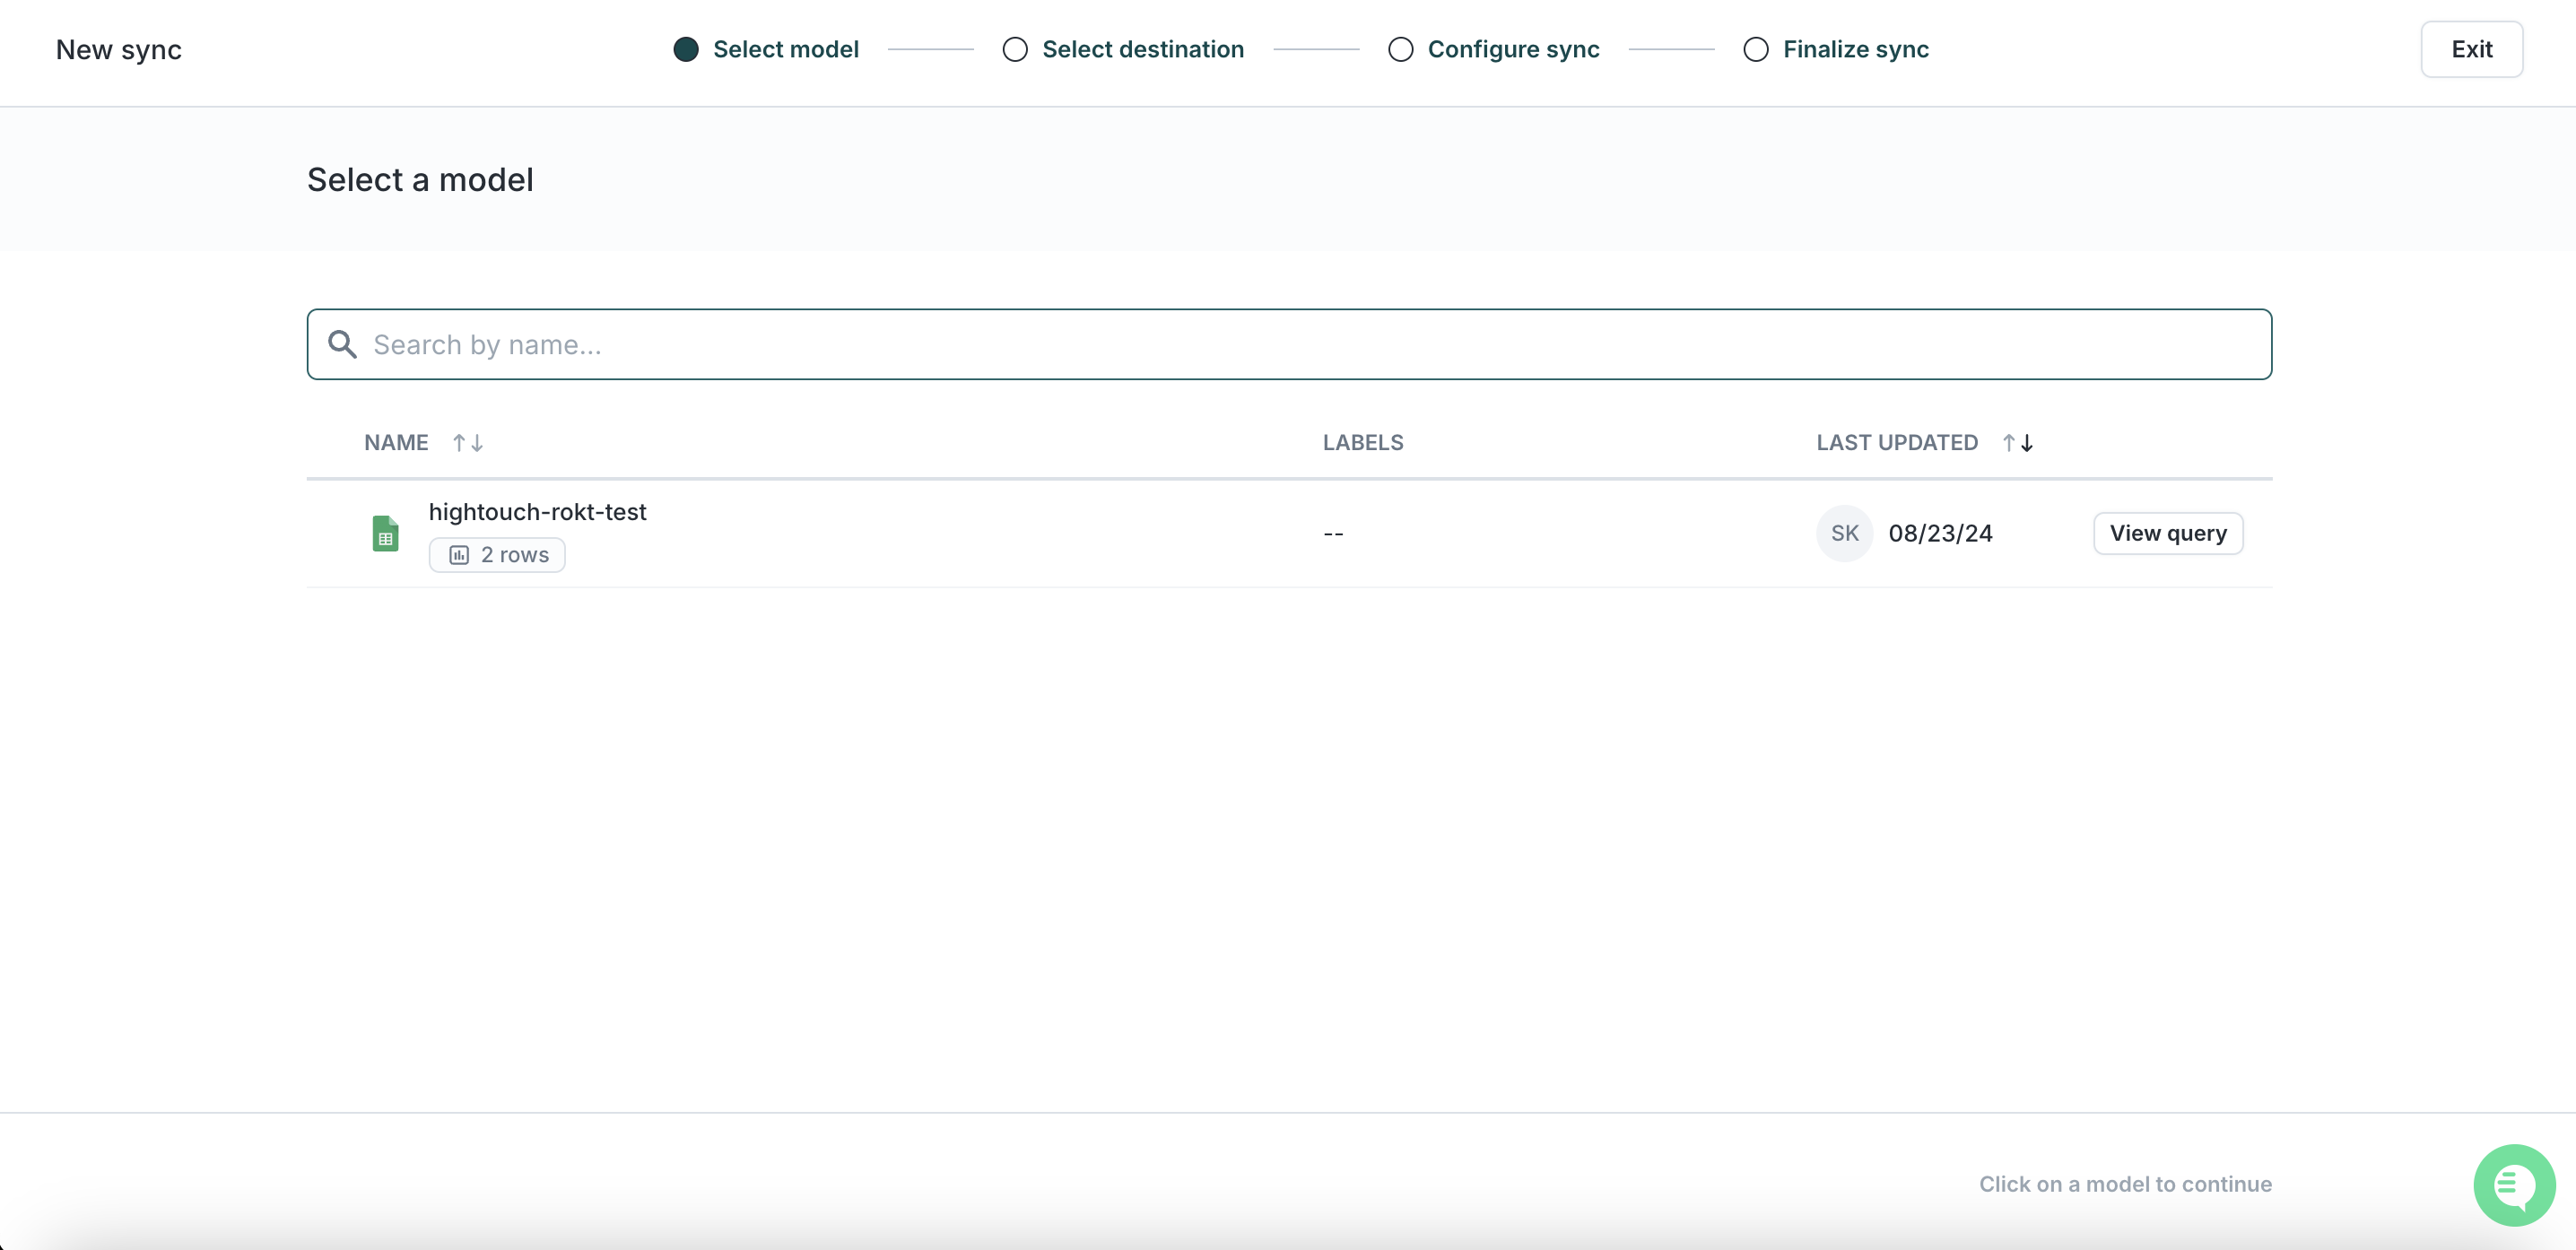
-
Select the Rokt destination created in the previous step.
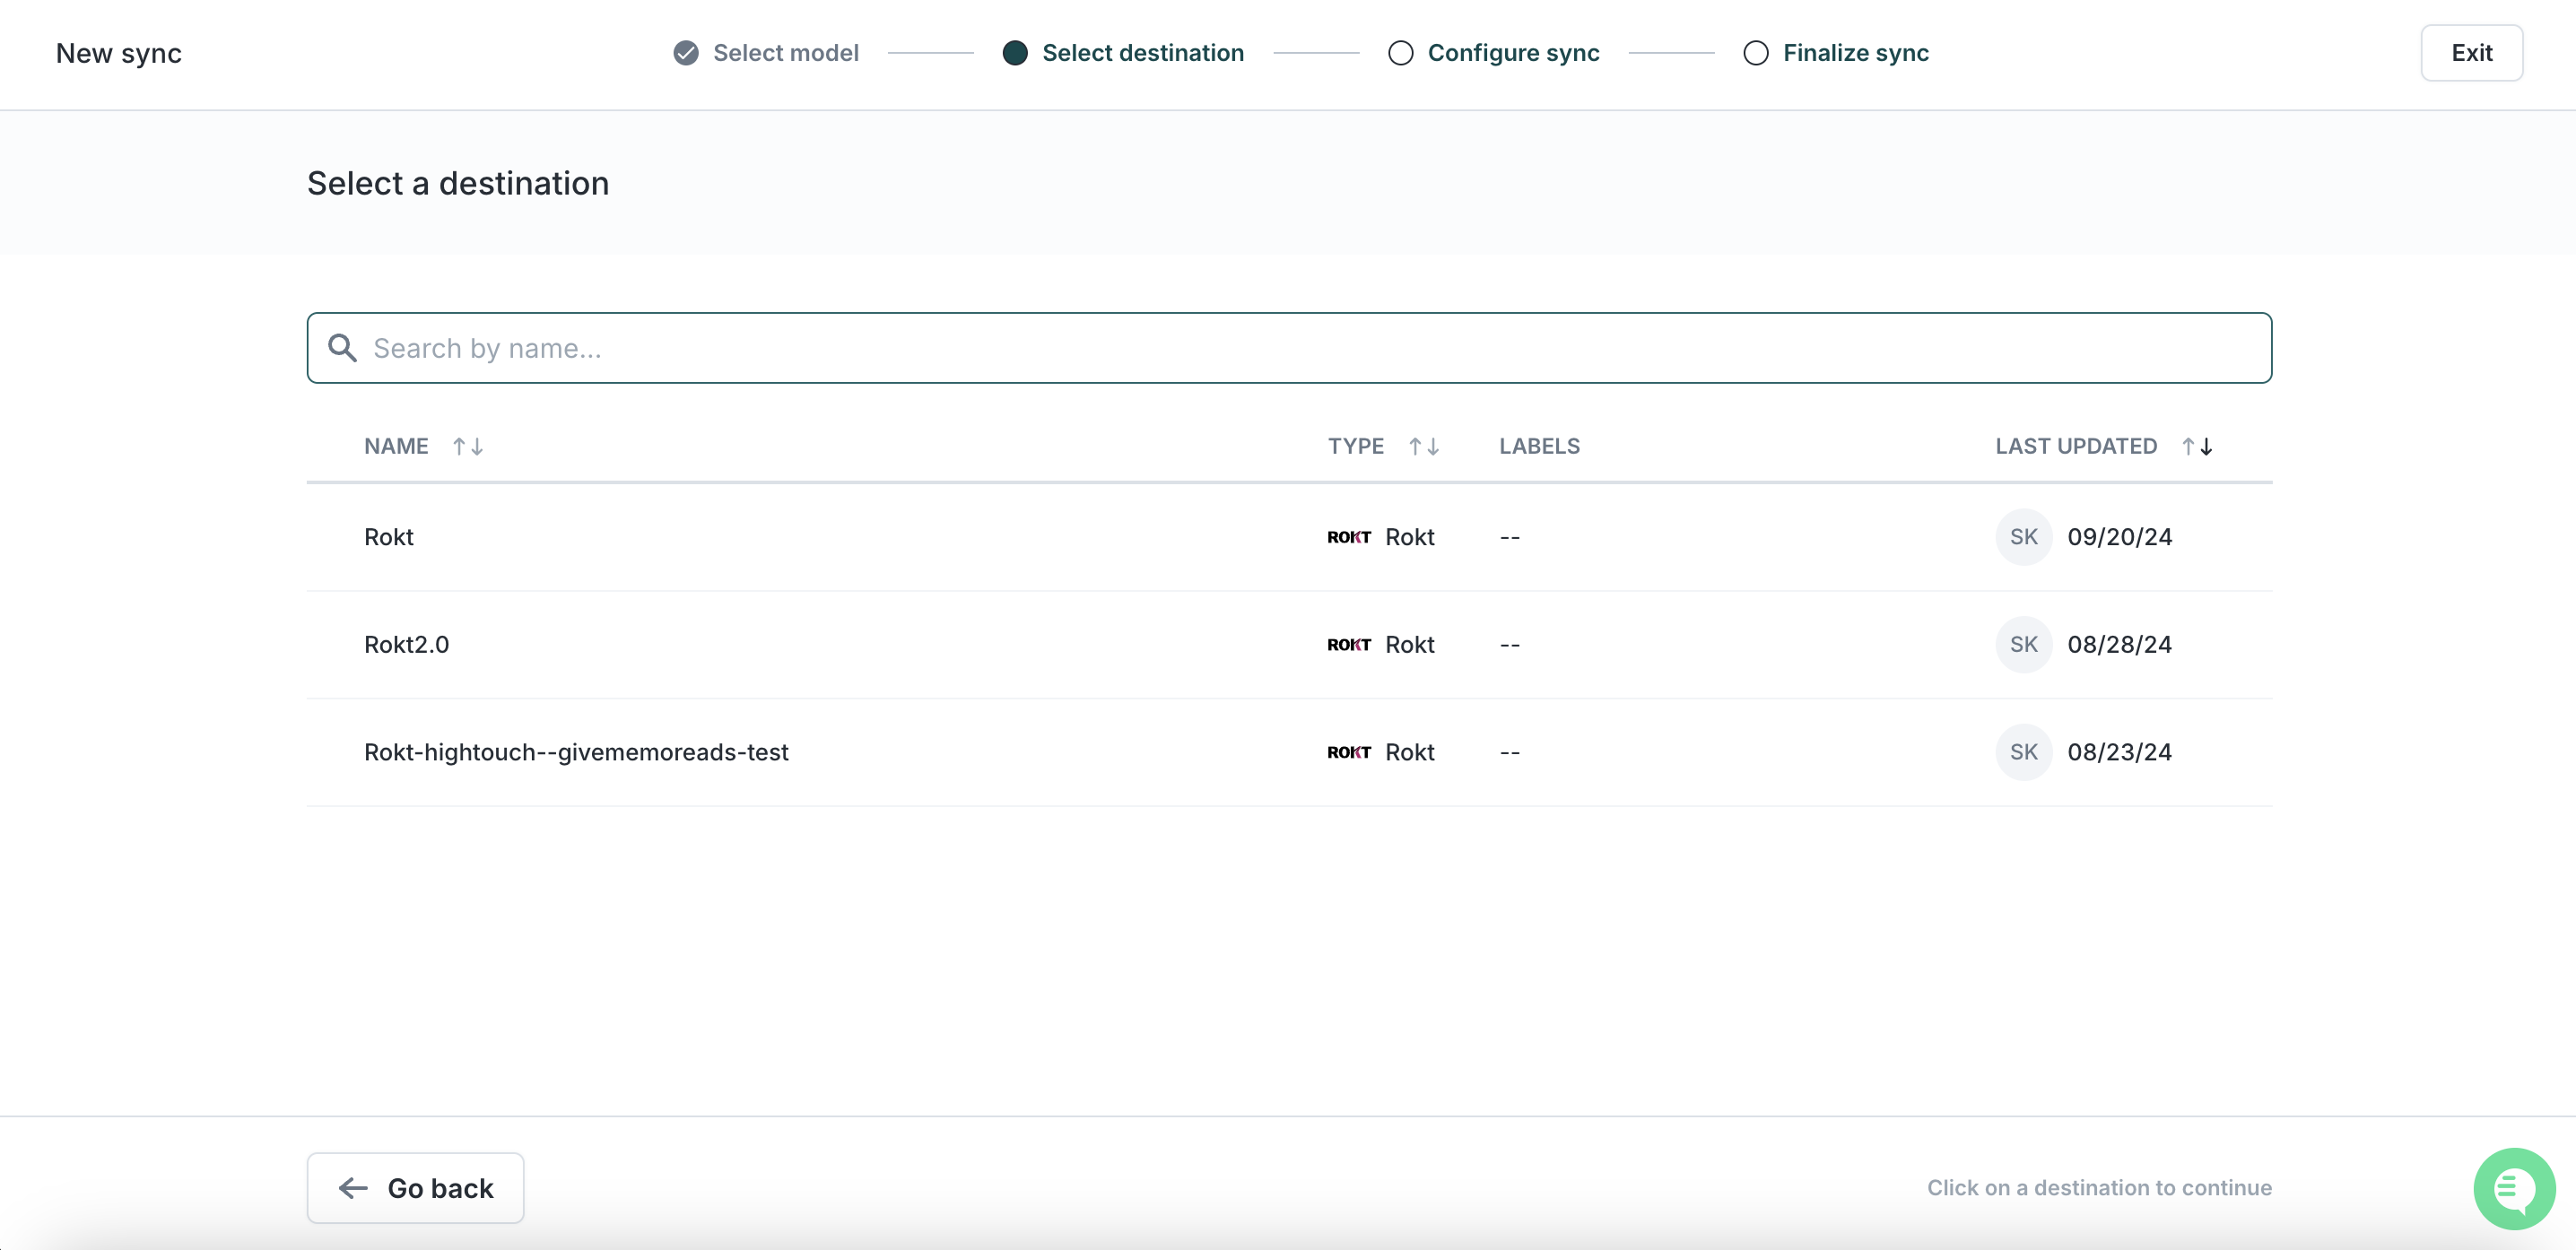
-
Select Segment in the sync configuration and define a mapping from your Model to the Rokt Destination Field.
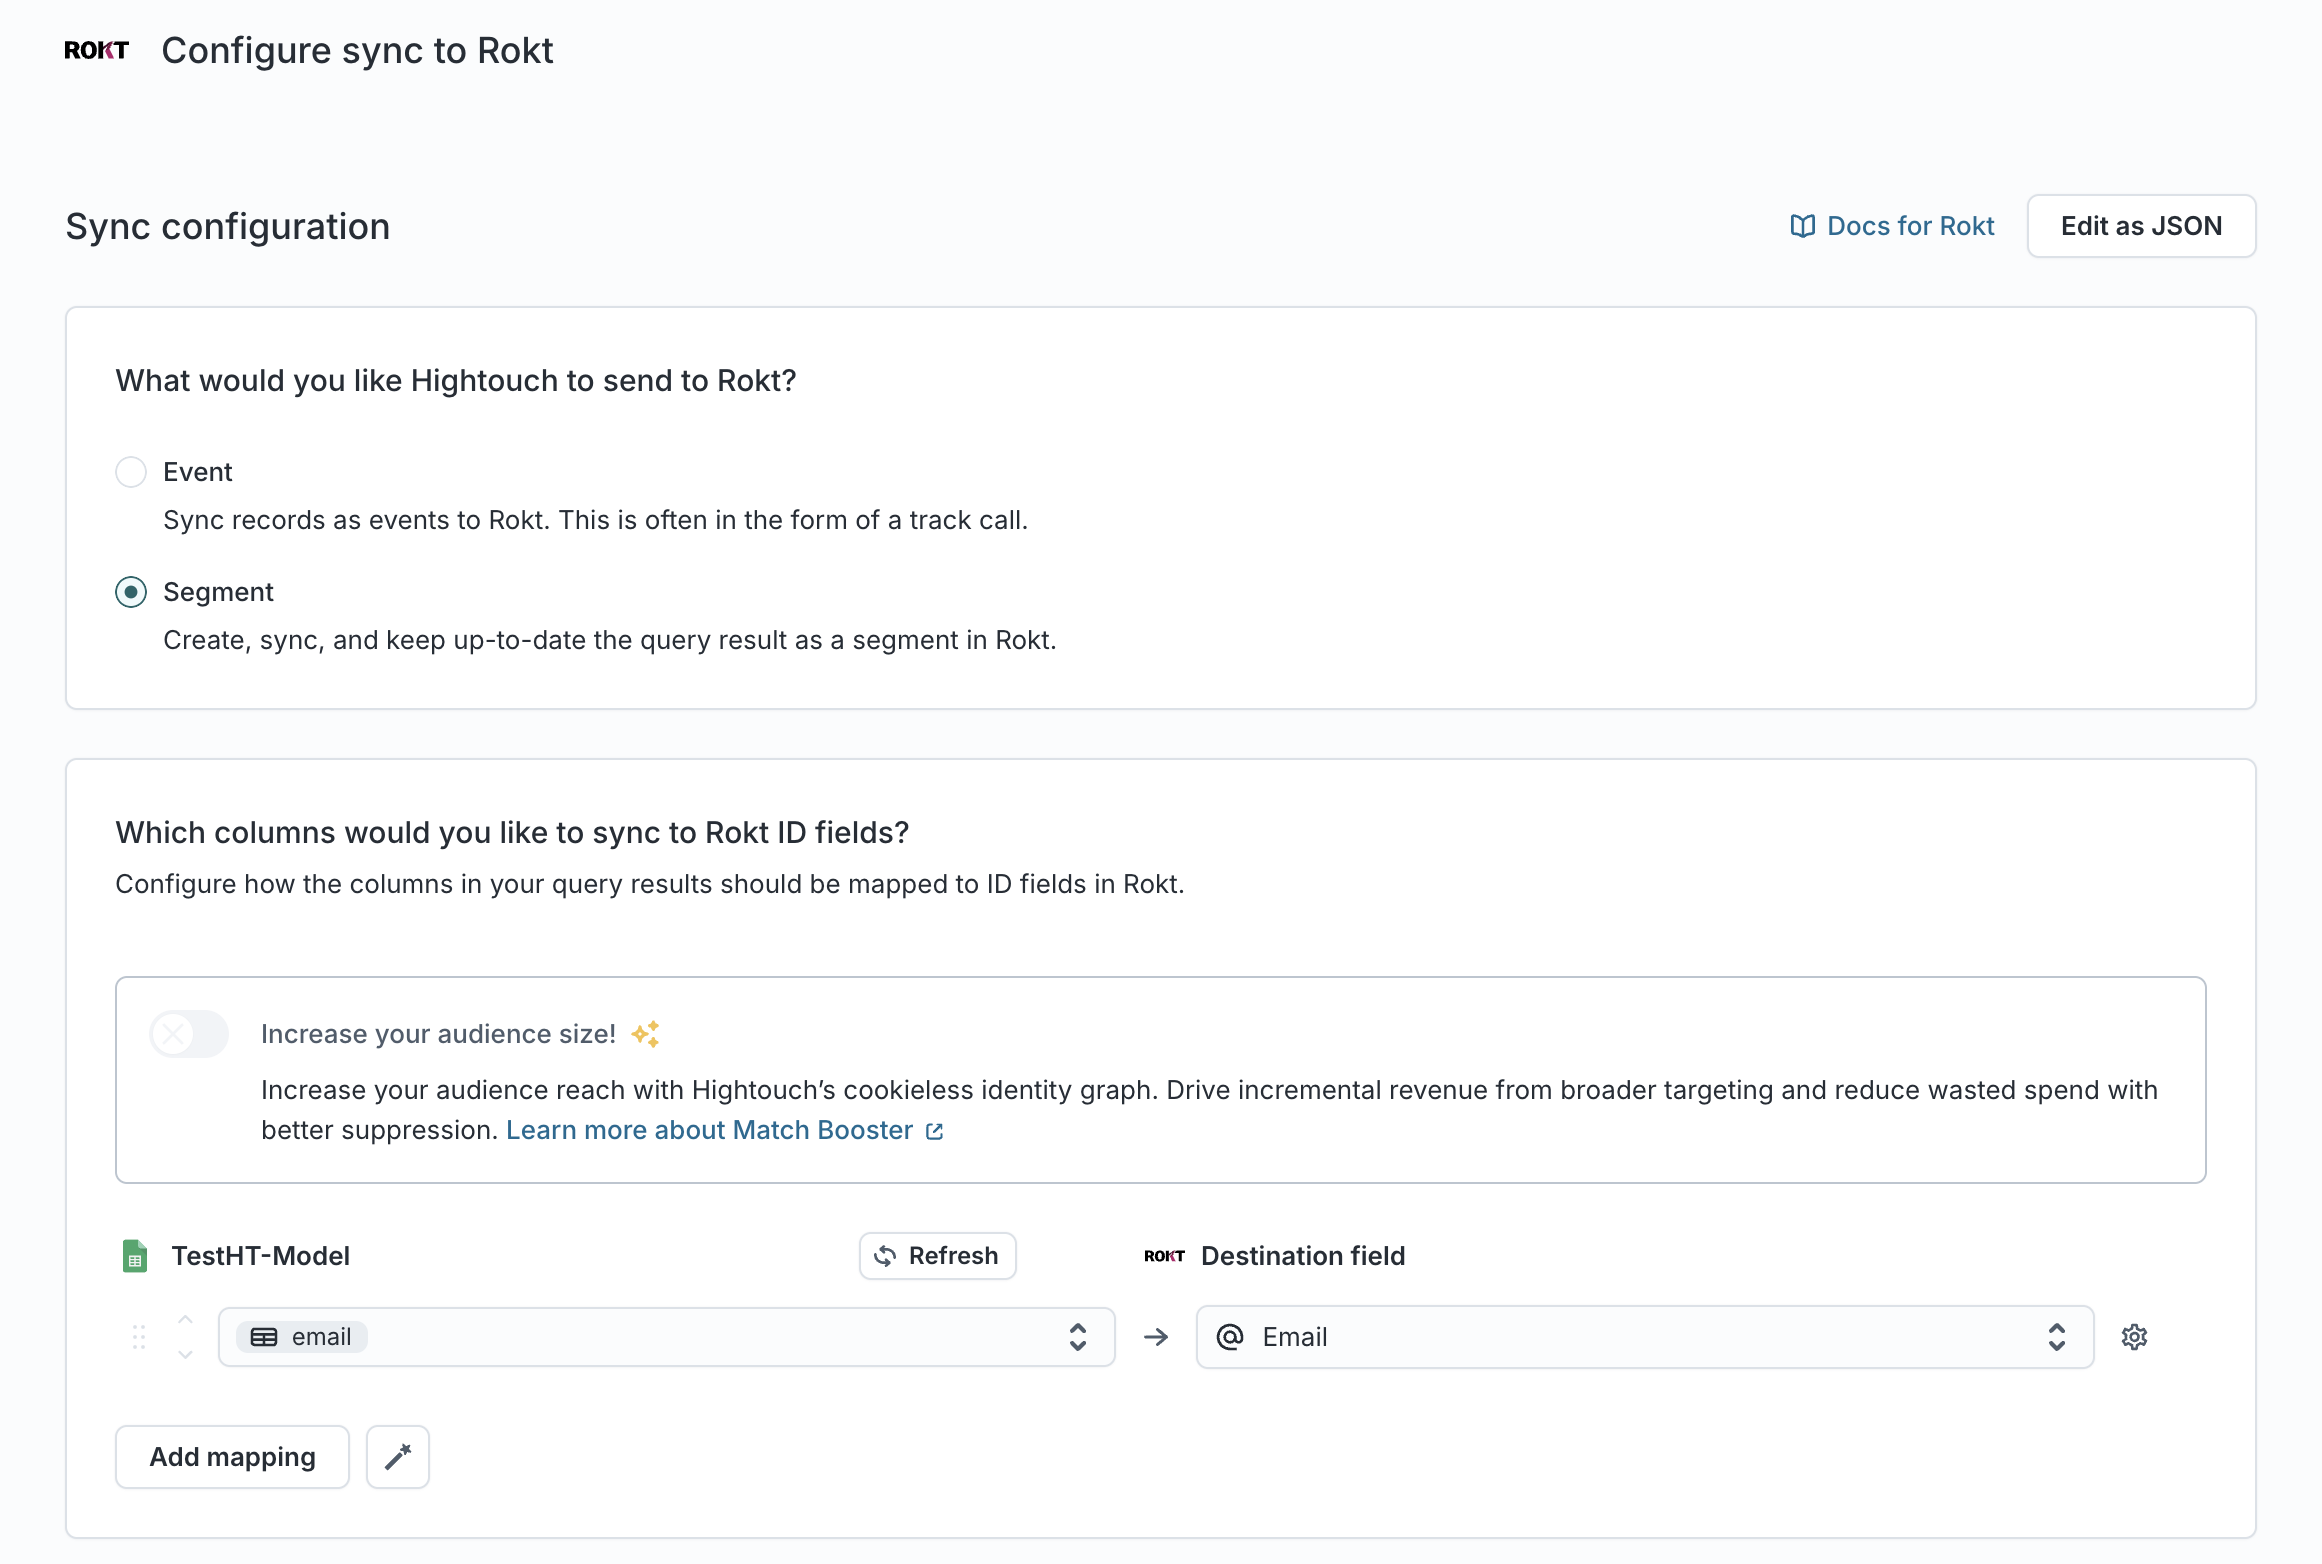
-
Define whether this should use a new audience or an existing audience. Enter a name for your new audience or select an existing one.
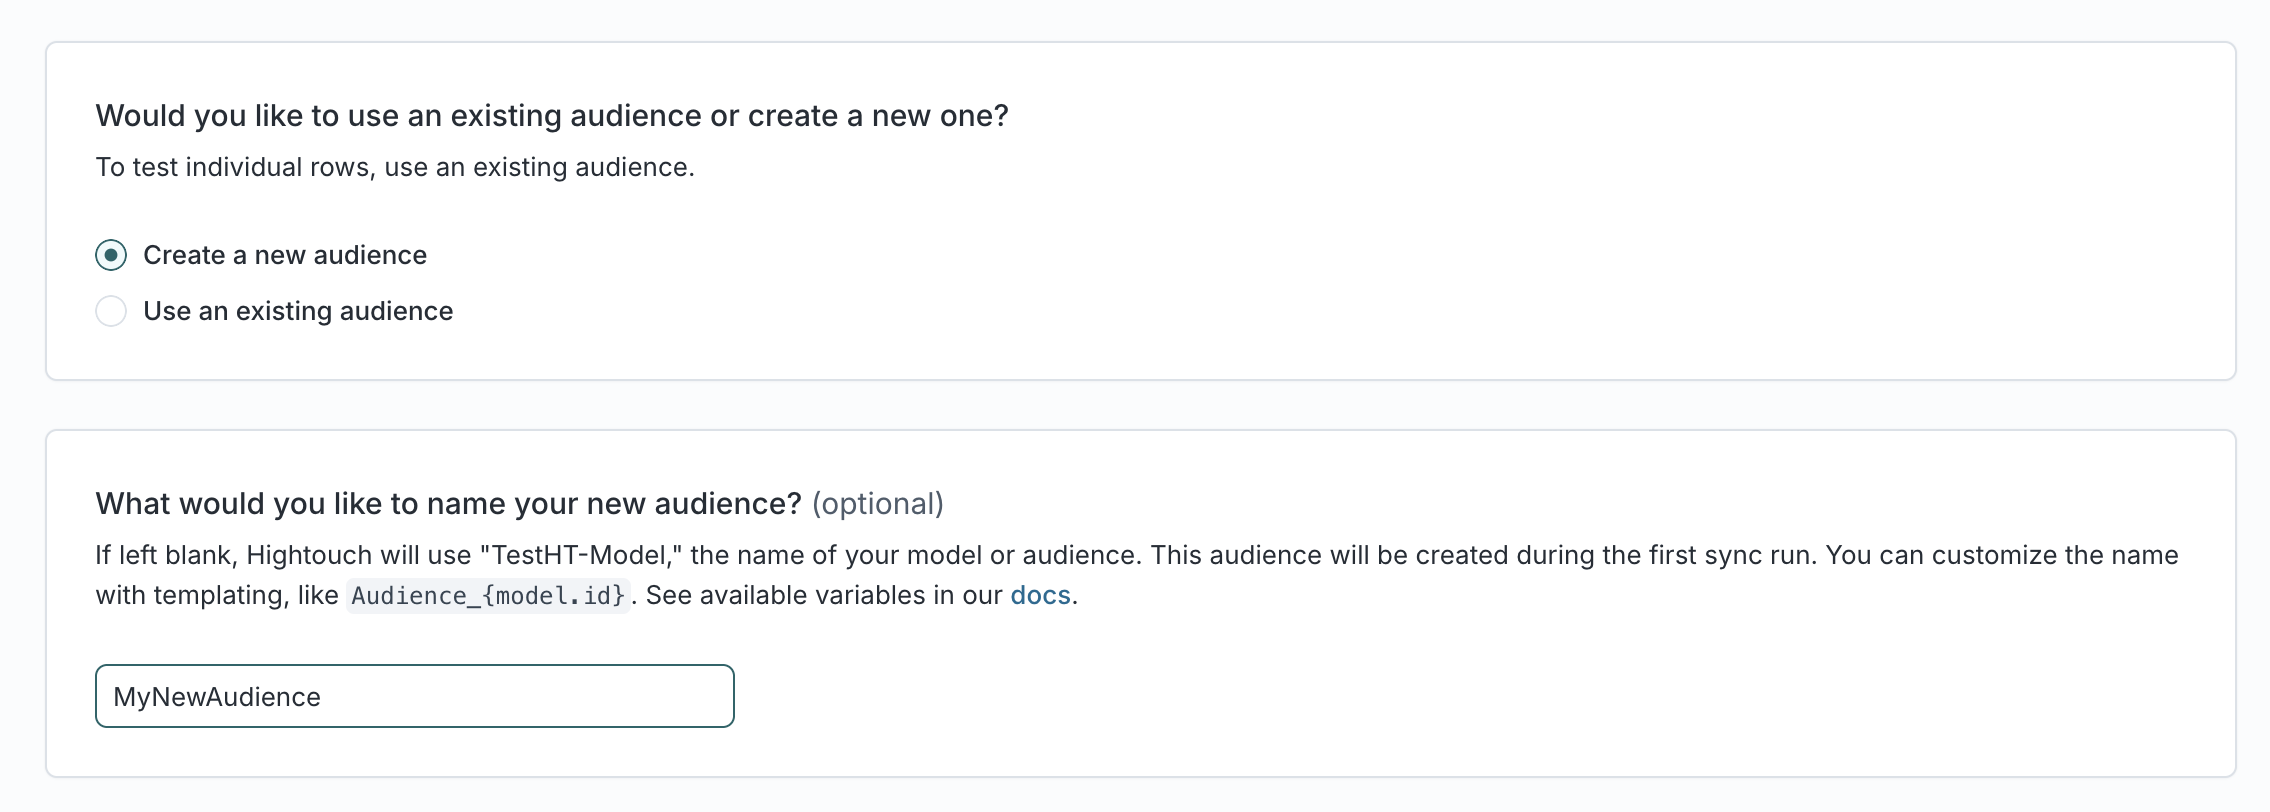
-
Click Continue.
-
Choose the cadence at which you want to run this sync. The more real-time, the better the performance.
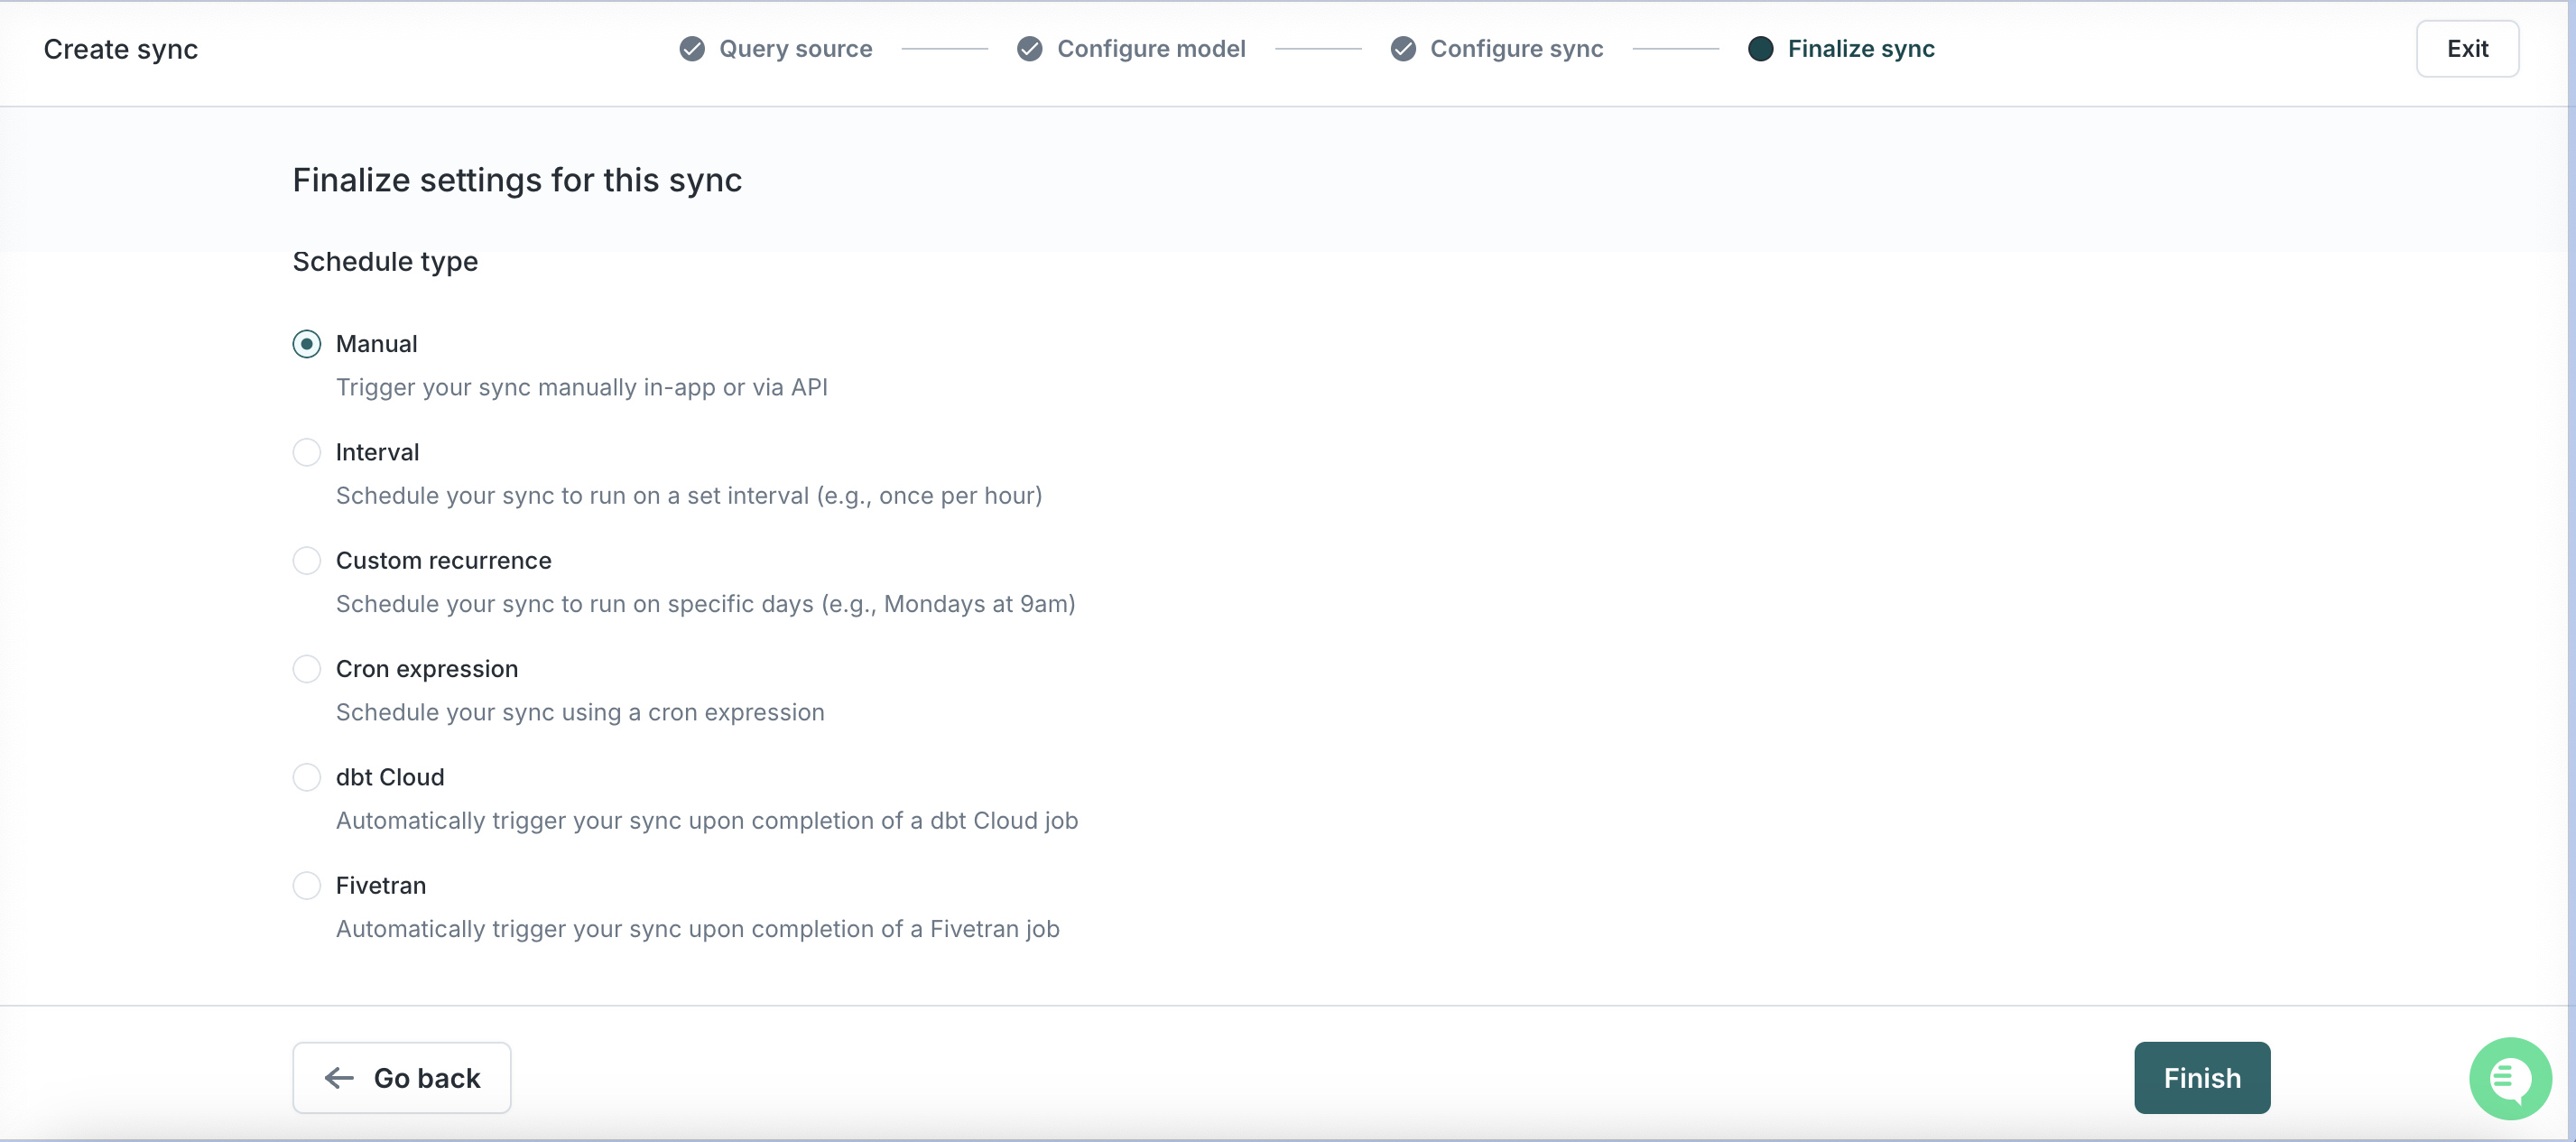
-
Click Finish and then Run.
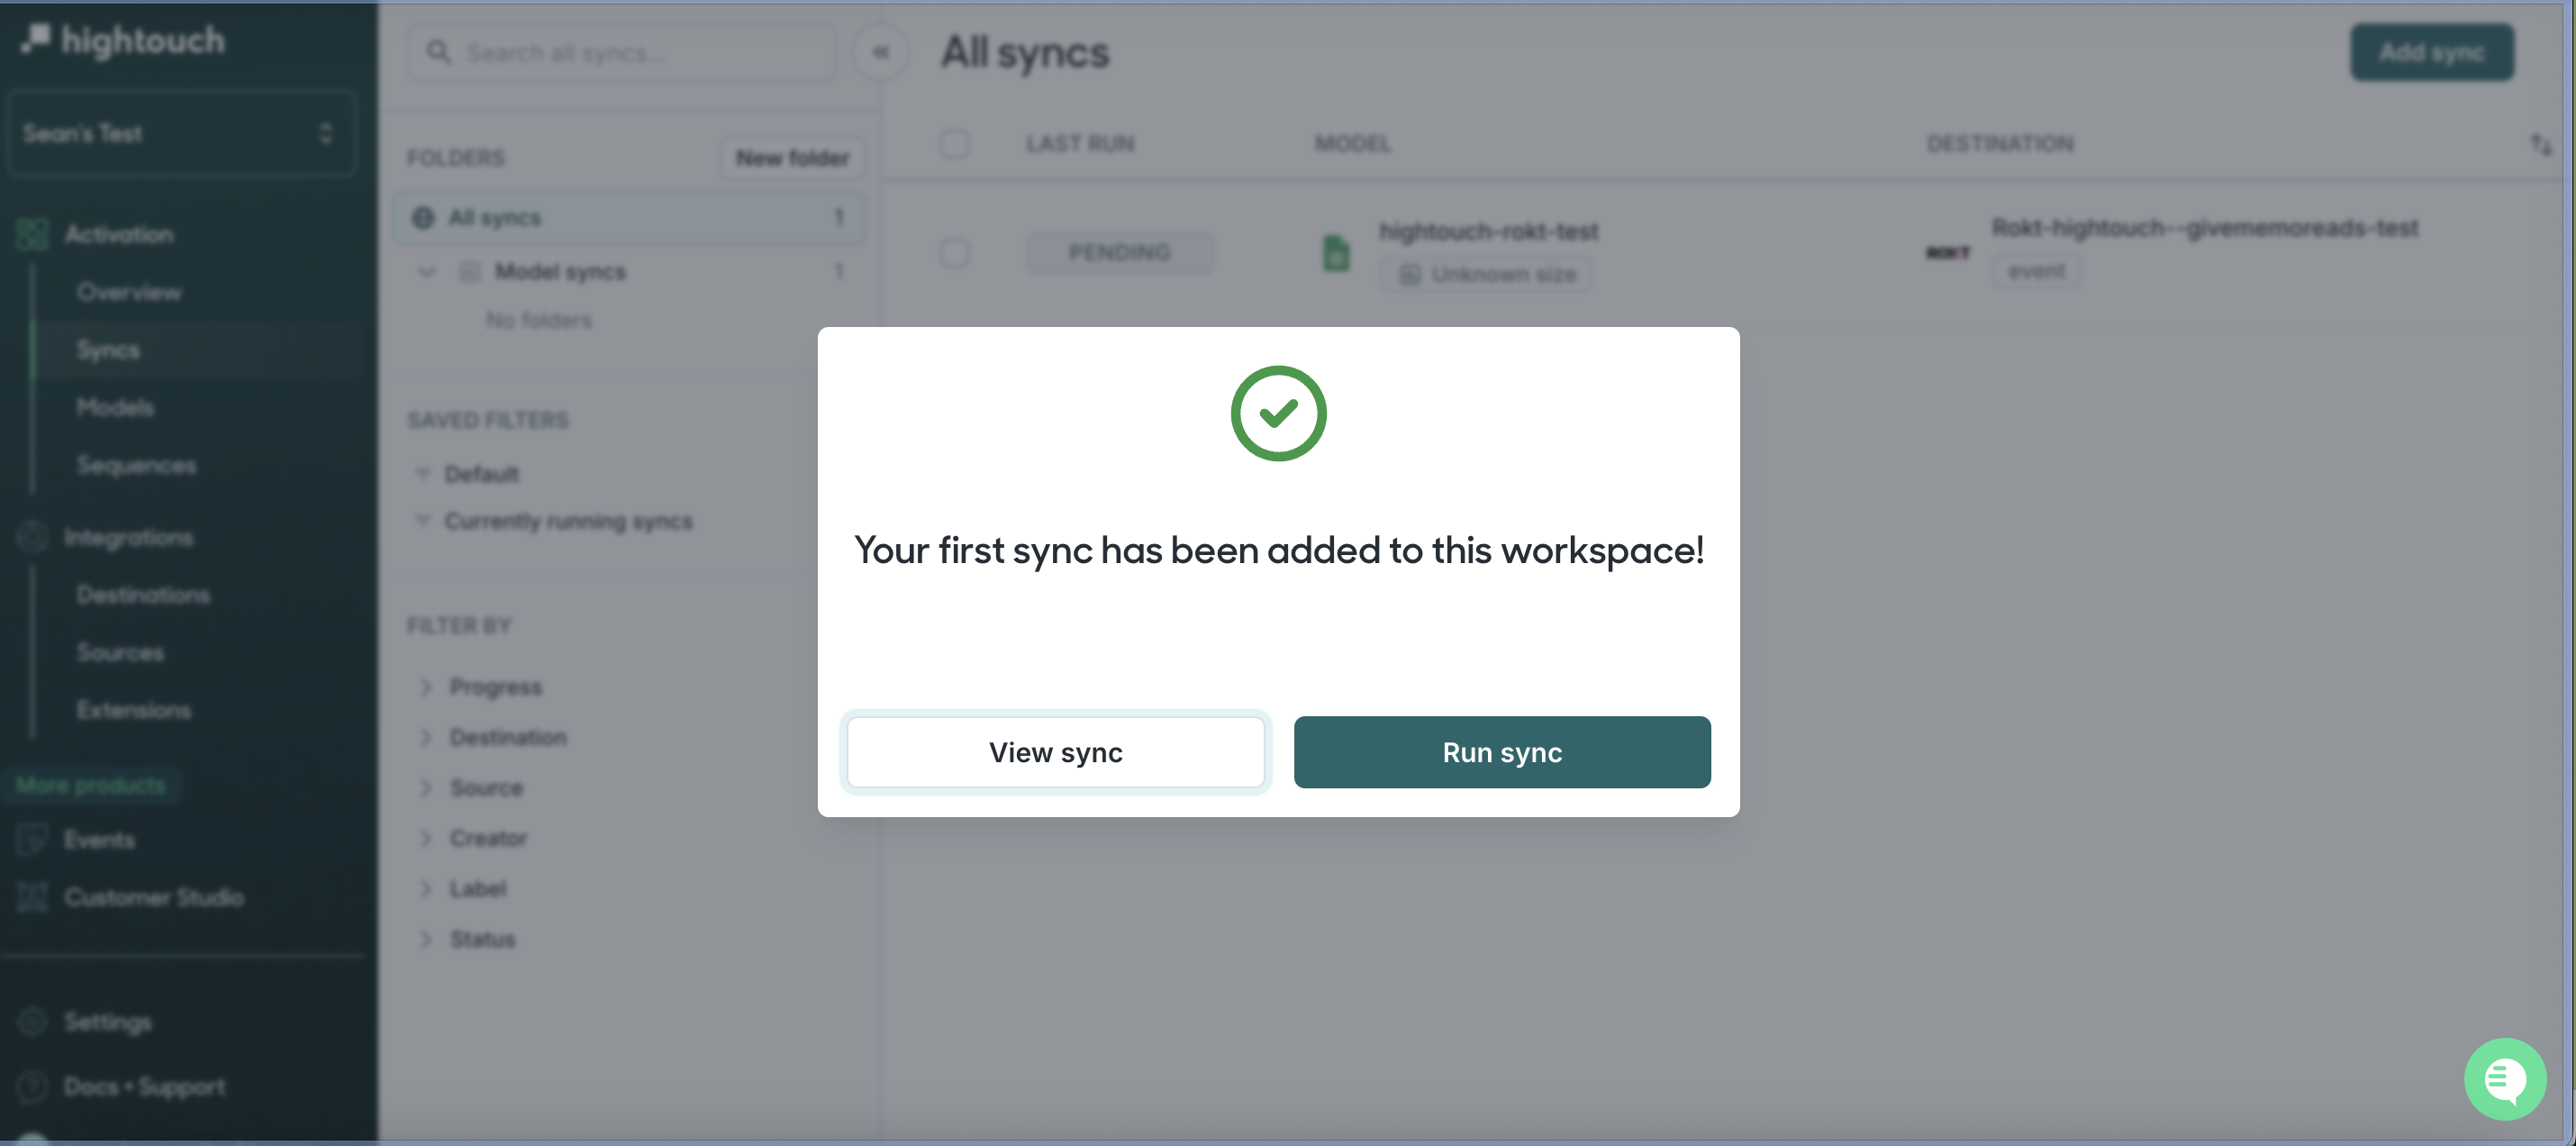
You are now finished. For questions and concerns, please reach out to your Rokt contact or account manager.
SupportDirect link to Support
- Hightouch sync or model questions → your Hightouch account manager
- Rokt field requirements or attribution questions → your Rokt account manager