Audiences
An audience is a group of users that you want to target with offers. You can define your audience using targeting parameters—like age, gender, geography, or device—and set the price you’re willing to pay when a consumer opts in to your offer.
You need to create a new audience when you want to:
- Show offers to a new set of customers.
- Split up a large audience into smaller audiences (e.g., for more targeted messages or for more targeted bidding). You would create new, more targeted audiences to replace the old, larger audience.
Ways to create an audience
There are two ways to create an audience:
- Directly from the campaign wizard, or
- By clicking New Audience on the Audiences tab in the Campaigns > Overview page.
Create a new audience
-
Log-on to my.rokt.com
-
Navigate to the account you want to add the new audience to.
-
Click Campaigns.
-
Click Overview.
-
Click the Audience tab.
-
Click New Audience.
-
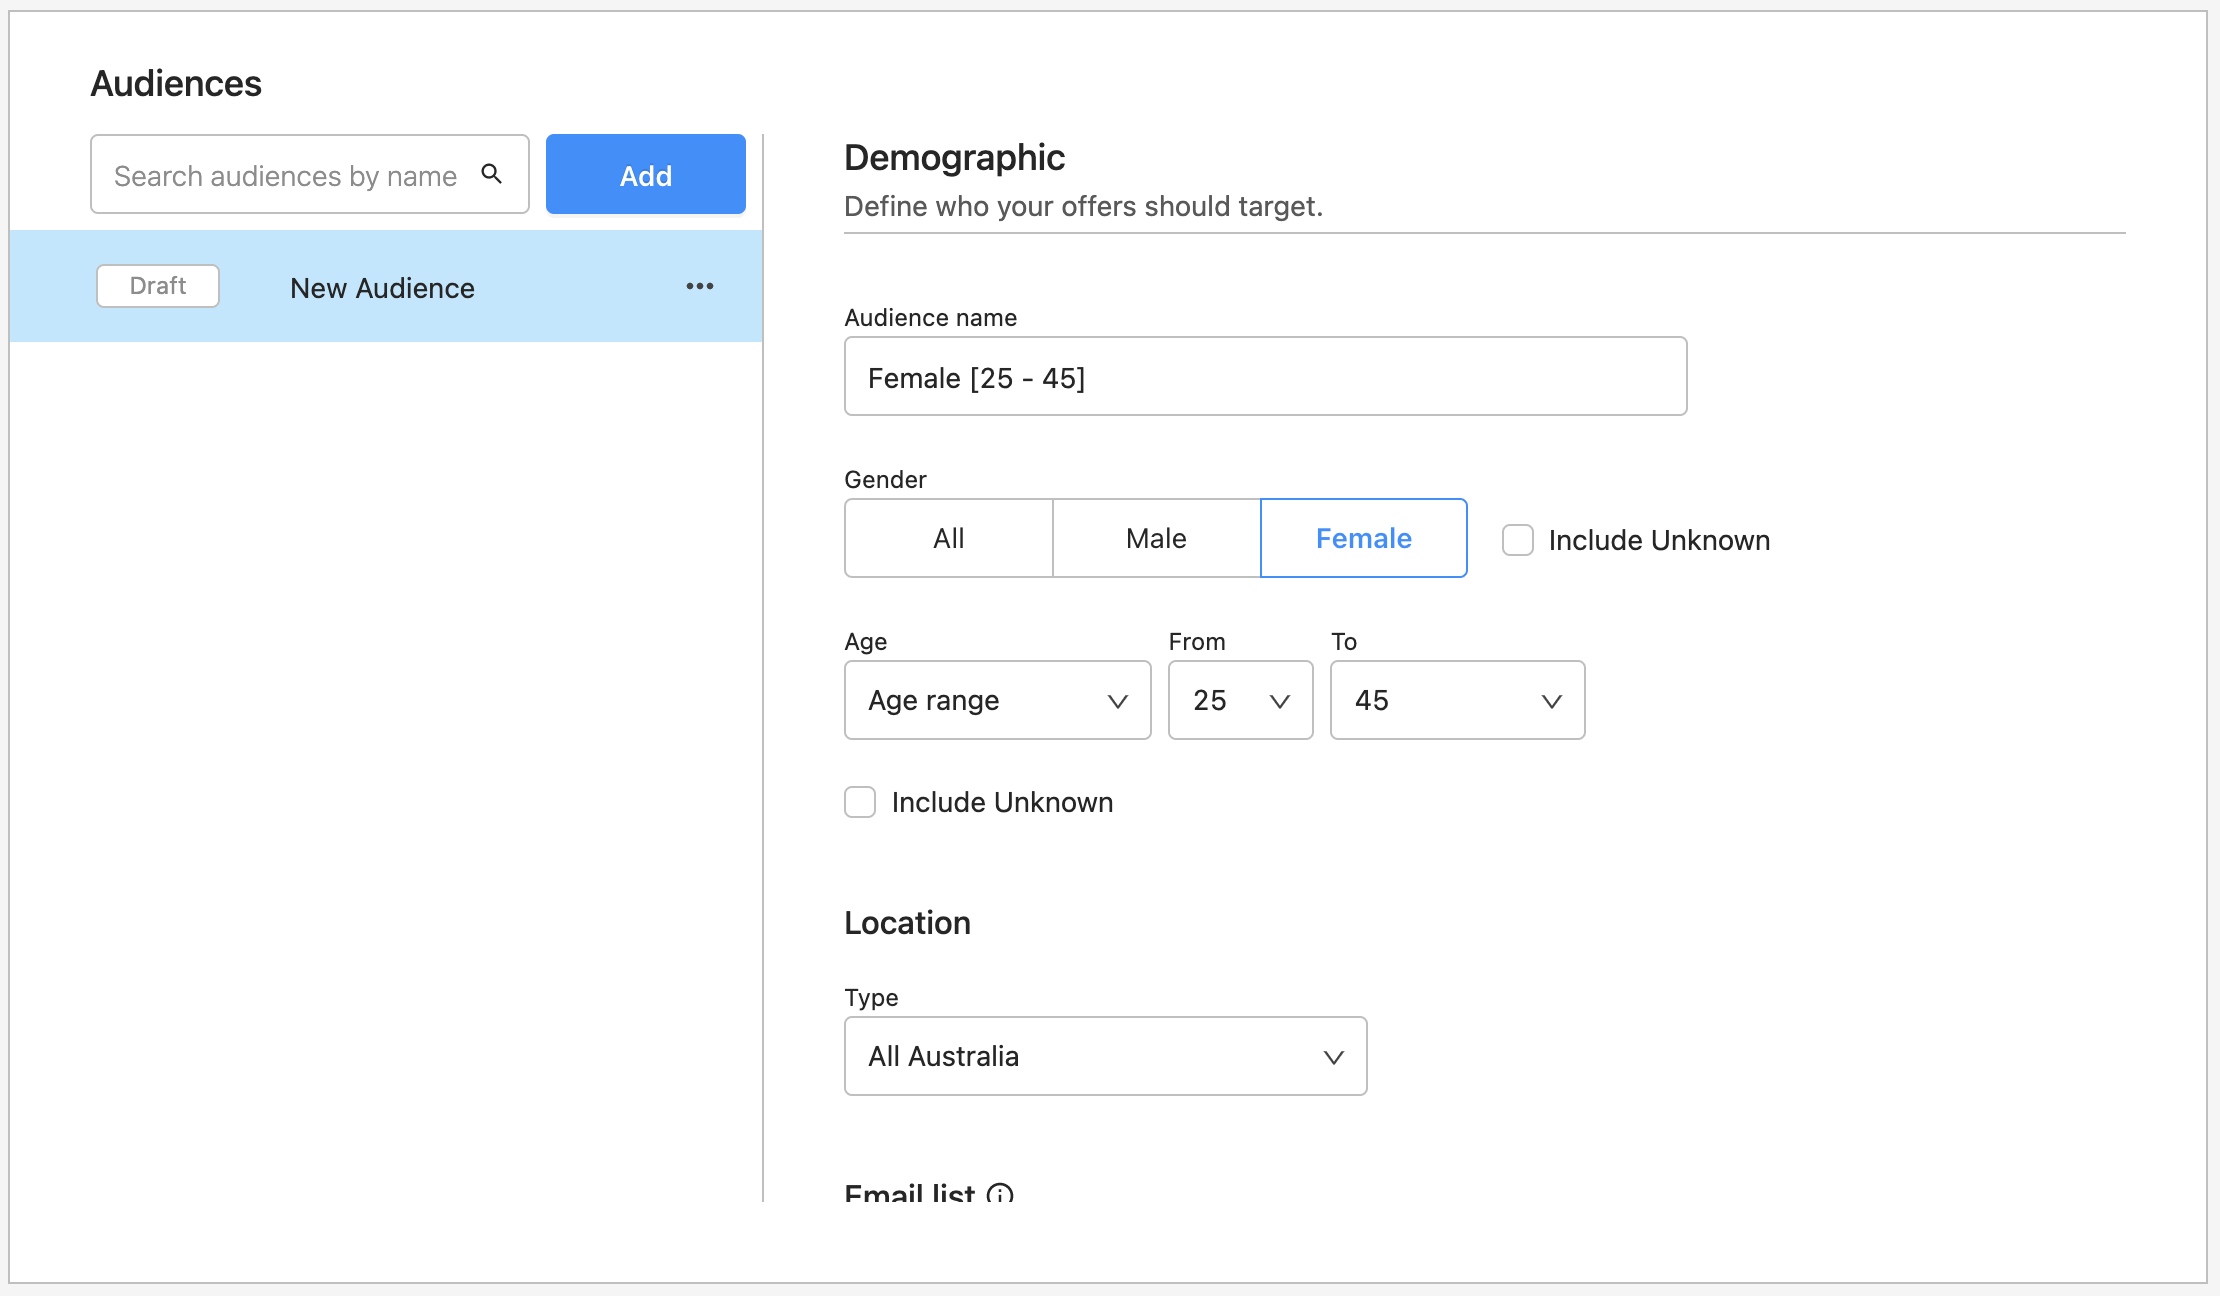
Name your audience.
noteIn your audience name, include basic information about the types of customers the audience is targeting, so you can easily identify this audience within a list of other audiences.
-
Provide target demographics for the audience.
noteTarget demographics include: gender, age, location, and required fields. An example of required fields might be first name and last name; if your CRM system requires first name and last name for all Rokt referrals make those required fields.
If a Rokt partner doesn’t integrate all required fields, this audience is excluded from all traffic from that partner. Likewise, if a partner integrates both fields with Rokt, but one of the fields is missing for a specific customer, that customer is not part of the target audience. For these reasons, we recommend using required fields only when absolutely necessary, as they significantly reduce audience size.
-
Provide additional targeting criteria, including devices, operating systems, offer position, and placement type.
- [Attributes targeting] (optional): Rules that determine whether an audience is available, according to the value of customer attributes.
- Placement type(required): The placement types where you want this offer to show (transaction or non-transaction).
-
Click Next.
-
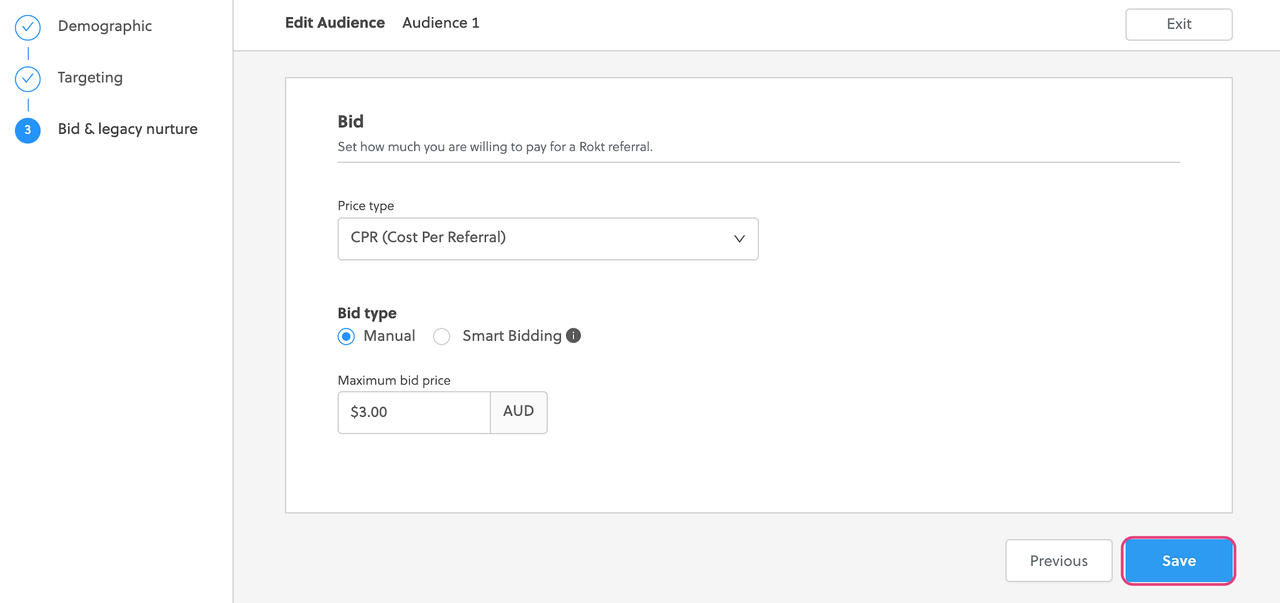
Set your bid type.
-
Click Save. Your new audience appears on the in the Campaign Details page.
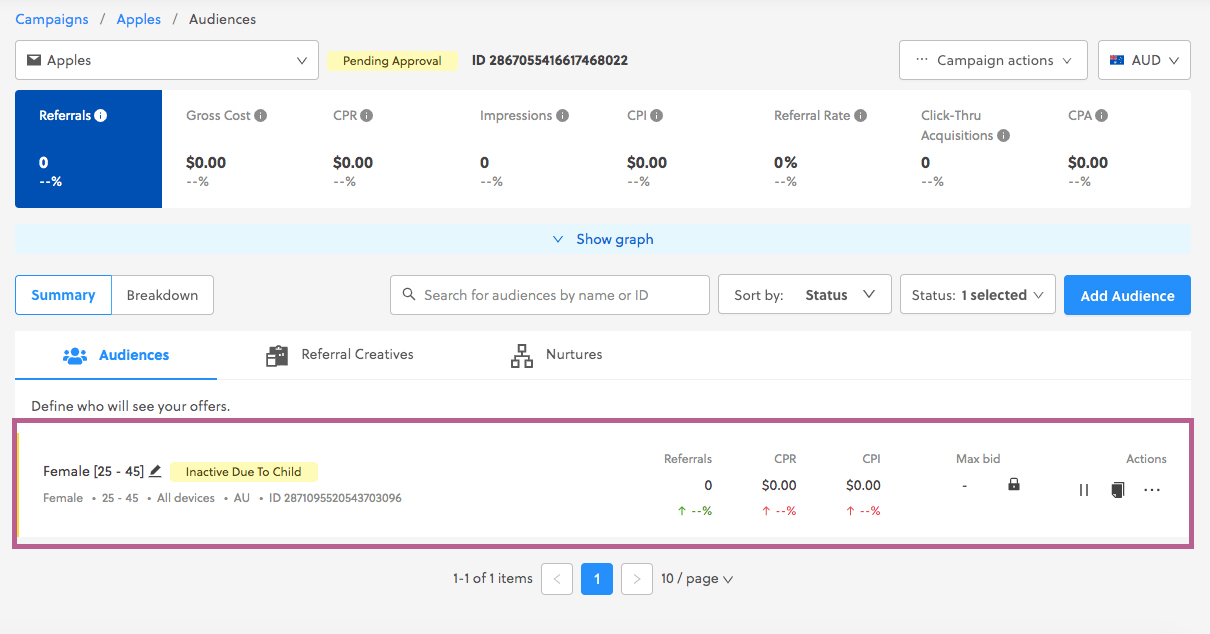
To activate your new audience, you need to either [add a new creative] to link to this audience, or [link an existing creative] to this audience.
Edit an existing audience
-
Log-on to my.rokt.com
-
Navigate to the account you want to add the new audience to.
-
Click Campaigns.
-
Click Overview.
-
Select the campaign that the audience belongs to.
-
On the Audiences tab, for the audience that you want to edit, click the More Actions icon next to the Audience Name and select Edit.
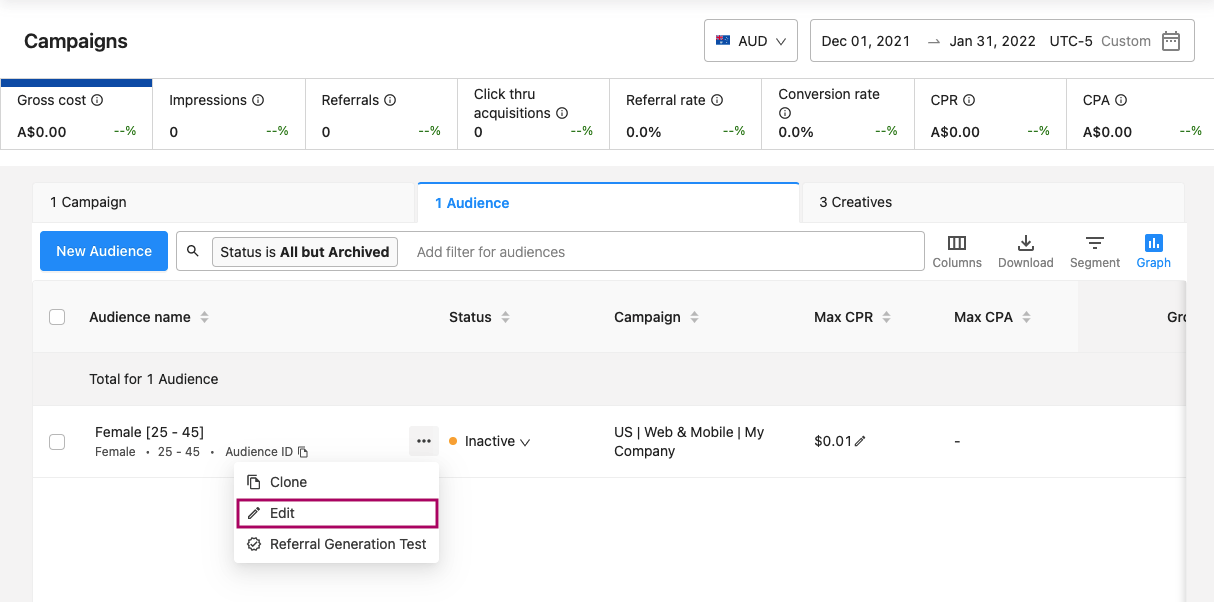
-
The audience wizard appears, and you can edit the audience targeting. The audience wizard experience is identical to creating a new audience, except the wizard is prepopulated with the audience’s current targeting. You can jump to any step in the wizard to edit targeting criteria.
-
Once you’ve made the necessary edits to your audience, click Save.
You may want to pause an audience when you no longer want to target a specific group of people in your campaign.
Pause an active audience
-
Log-on to my.rokt.com
-
Navigate to the account you want to add the new audience to.
-
Click Campaigns.
-
Click Overview.
-
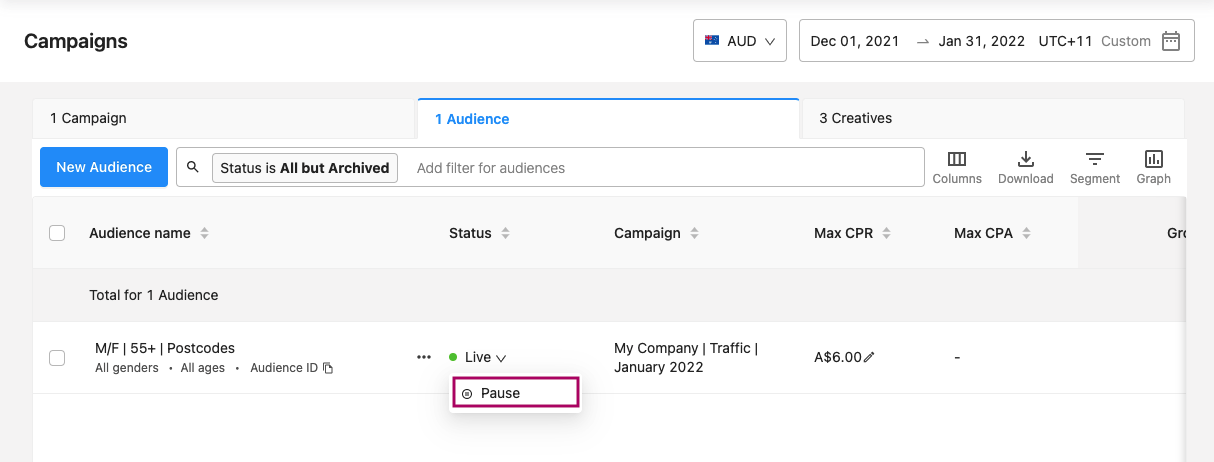
The Audiences tab shows all audiences linked to the campaign. Live audiences have a green status indicator.
-
To pause a live audience, click the drop-down in the Status column and select Pause. The pause button changes to a Start button, and the status indicator changes color to reflect the paused campaign.
Resume a paused audience
A paused audience can be resumed only if it meets the following conditions:
- The campaign that the audience belongs to is live, and
- The audience is linked to a live creative.
If either one of these conditions is not met, you cannot reactivate a paused audience.
Activate a paused audience
-
Log-on to my.rokt.com
-
Navigate to the account you want to add the new audience to.
-
Click Campaigns.
-
Click Overview.
-
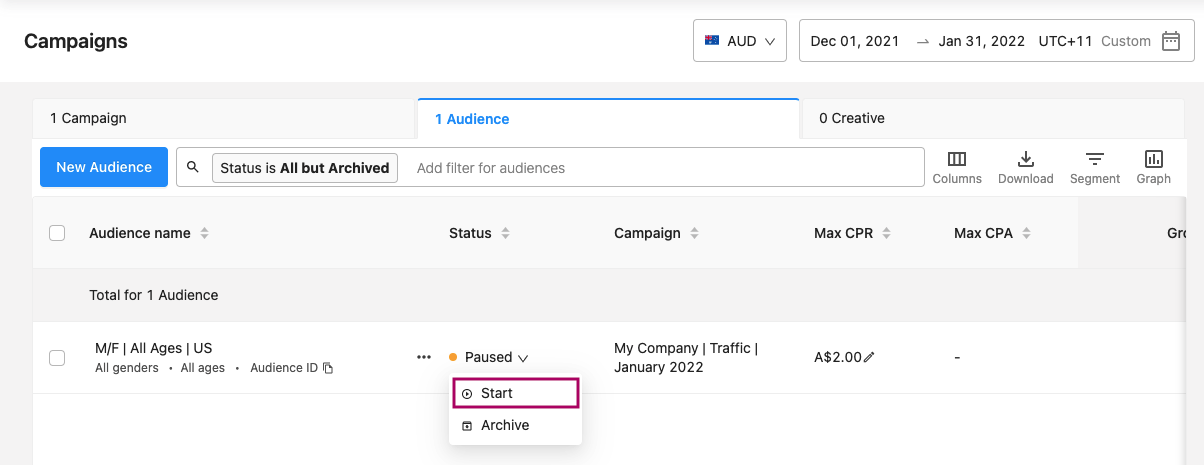
On the Audiences tab, find the audience that you wish to reactivate.
-
Click the drop down button next to its Status and select Start. The status indicator for the audience changes to green, and the Start button changes to a Pause button.
Create a custom audience
Import via CSV files
Email lists
-
Log-on to my.rokt.com
-
Navigate to the account you want to add the new audience to.
-
Click Campaigns.
-
Click Custom Audiences.
-
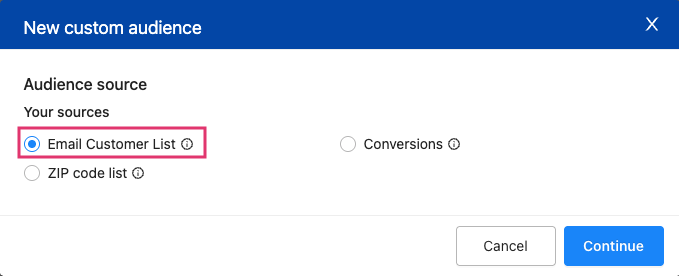
Click New custom audience.
-
Select Email list.
-
Click Continue.
-
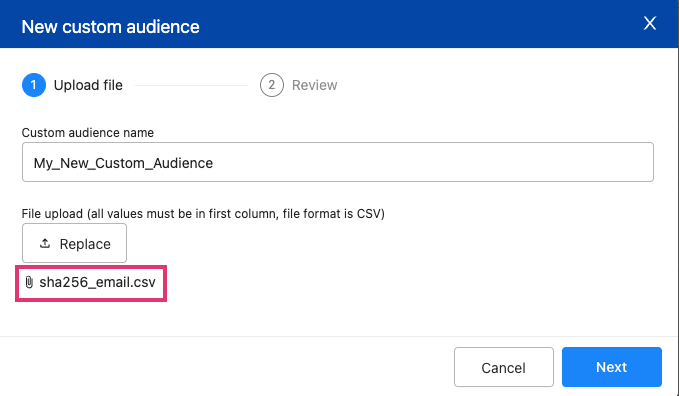
Enter a name for your custom audience.
-
Click Upload to import a CSV file from your computer. Once you have successfully uploaded your file click Next.
-
Review your upload details and click Save.
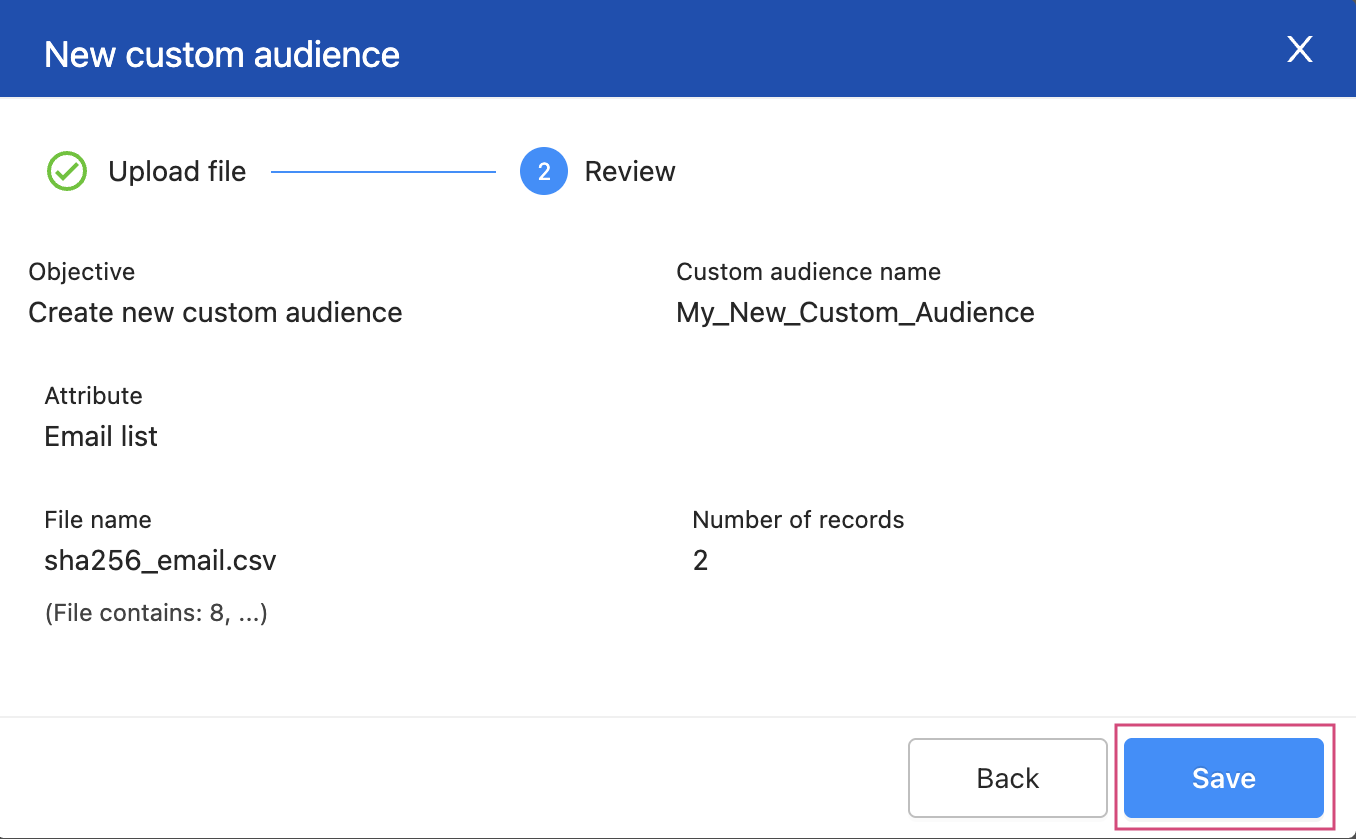
Your import will start processing. You can navigate away from the page or even start another import task.
Multiple imports are queued one after the other so that there are not any clashes if the same email address is found in multiple files. Once an import task has completed, the next starts automatically.
Once your import is completed, it is listed with the following information: date, file name, and contacts added/removed. An email notification will be sent out upon completion.
You can target or suppress these email addresses in your audience settings for each of your campaigns. If you are already targeting the list you have added emails to, you don't need to change your targeting options.
ZIP code lists
Your business may only be able to target specific ZIP codes, for example due to delivery areas. Rokt allows you to target geographies with our locality targeting, however, setting up geographic targeting across all your audiences can be cumbersome. Instead, you can upload a list of ZIP codes that you would like to target and have this list available across all your audiences.
- You have a list of ZIP codes ready to go
- Files are in CSV format
- All ZIP codes must be in the first column
- No header should be present
- ZIP code must match the format expected for target country (e.g., five digits for U.S. ZIP codes)
-
Log-on to my.rokt.com
-
Navigate to the account you want to add the new audience to.
-
Click Campaigns.
-
Click Custom Audiences.
-
Click New custom audience.
-
Select ZIP code list.
-
Click Continue.
-
Enter a name for your custom audience.
-
Click Upload to import a CSV file from your computer. Once you have successfully uploaded your file click Next.
-
Review your upload details and click Save.
Once your import is completed, it is listed with the following information: date, file name, and contacts added or removed.
You can target or suppress these ZIP codes in your audience settings for each of your campaigns. If you edited a list you are already using in a campaign, you don't need to change your targeting options.
Rokt snippet integration
You need the Rokt snippet installed on all pages you want to retarget customers on.
-
Log-on to my.rokt.com
-
Navigate to the account you want to add the new audience to.
-
Click Campaigns.
-
Click Custom Audiences.
-
Click New custom audience.
-
Select Website visitors.
-
Click Continue.
-
Enter a name for your custom audience.
-
Fill in the targeting value.
-
Click Save.
Import via Mailchimp
You can integrate Rokt with Mailchimp, an email service provider and marketing automation platform specializing in ecommerce businesses. This allows you to send us custom audience lists via API task through Mailchimp.
Benefits of Mailchimp custom audiences import
Importing custom audiences through Mailchimp automates the maintenance of your lists, saving time and enhancing targeting.
How often will Mailchimp’s CRM connect to Rokt?
Rokt imports updated custom audience lists (suppression and inclusion) from Mailchimp once a day.
Setting up the Mailchimp API
-
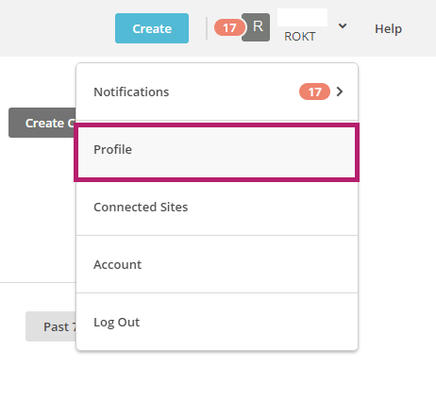
Log in to Mailchimp, click your name in the top right corner, then choose Profile.
-
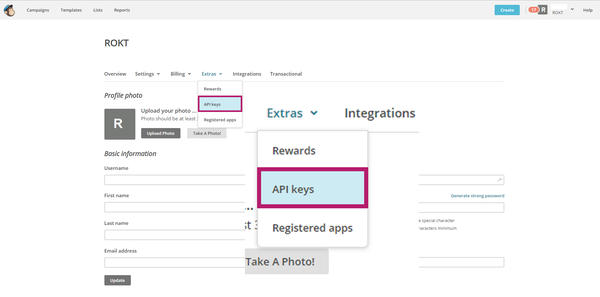
Go to the Extras dropdown menu and choose API keys.
-
You can either use an API key you have already created or create a new one by clicking Create a key.
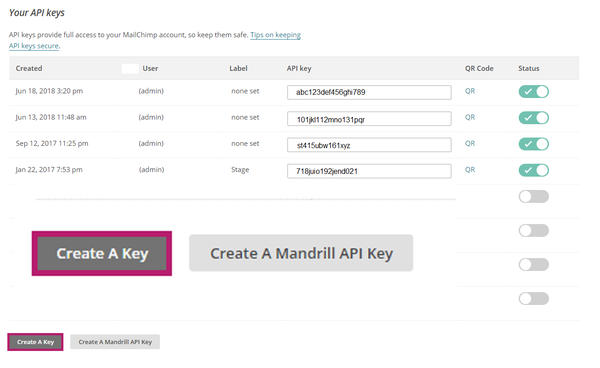
- Mailchimp automatically generates an API key ready for you to use.
Once you have the API details, it’s time to enter them in One Platform.
-
You will need to login to the older version of One Platform, then click DATA in the top right navigation.

-
Click Integrations in the left navigation.
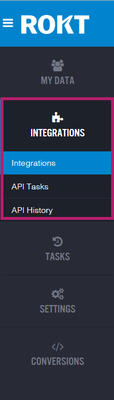
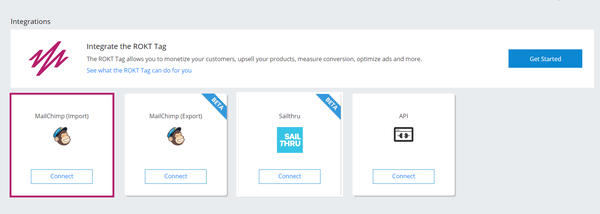
-
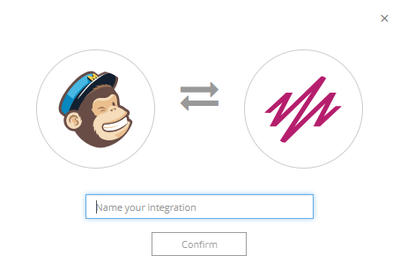
Under Mailchimp (Import), click Connect to get to the integration wizard.
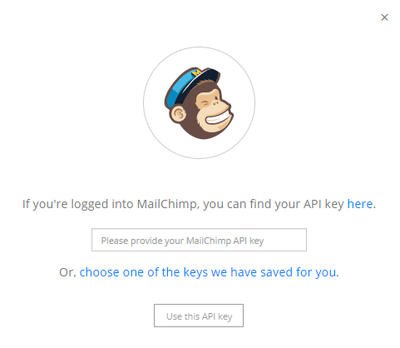
-
Enter your Mailchimp API key by clicking Add a new key.
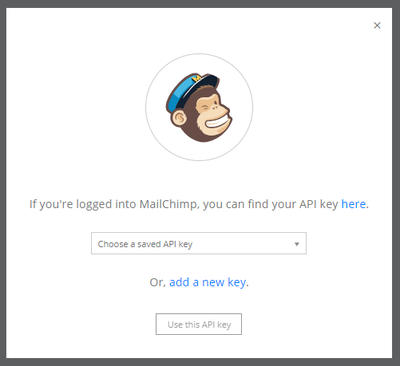
-
Enter your API key.
-
Name the integration.
-
Scroll down to Import Subscribers and click Add another.

-
From the dropdown, choose the list you want to import.
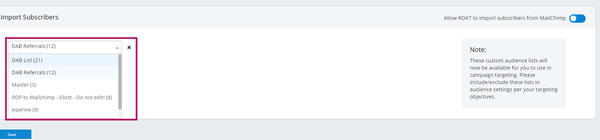
-
Click Save.
Import via file transfer
Establishing a connection from a host computer (e.g., your laptop) to a secure FTP server requires third-party client software. This tutorial suggests the popular and free client FileZilla which is available for Windows, Mac, and Linux operating systems.
- In your browser, navigate to https://filezilla-project.org/ and click Download FileZilla Client.
- Install FileZilla on your computer. If you already have FileZilla installed, ensure you are running the latest version.
- Reach out to your Rokt Account Manager to request access to the Rokt SFTP. Once you've been granted access, you should receive an email from Rokt with the subject "You've been granted access to Rokt's SFTP server."
- Download the attached file and unzip the encrypted file using the password provided in a second email "Email for password for file with instructions."
- The encrypted file you have just unzipped contains a
.pemfile which is your key file to access Rokt's SFTP folder.
The following steps are the same for Windows, Mac, and Linux operating systems and are based on the latest version of FileZilla.
- Open FileZilla and navigate to
File > Site Manager
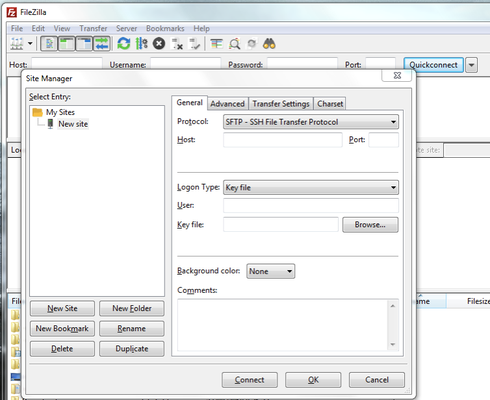
- On the left, click New Site and fill in the following:
-
Protocol: SFTP – SSH File Transfer Protocol
-
Host: ftp.rokt.com
-
Port: 22
-
Key file: Browse to your local key file (
.pem) and select it from your local drive (see image below).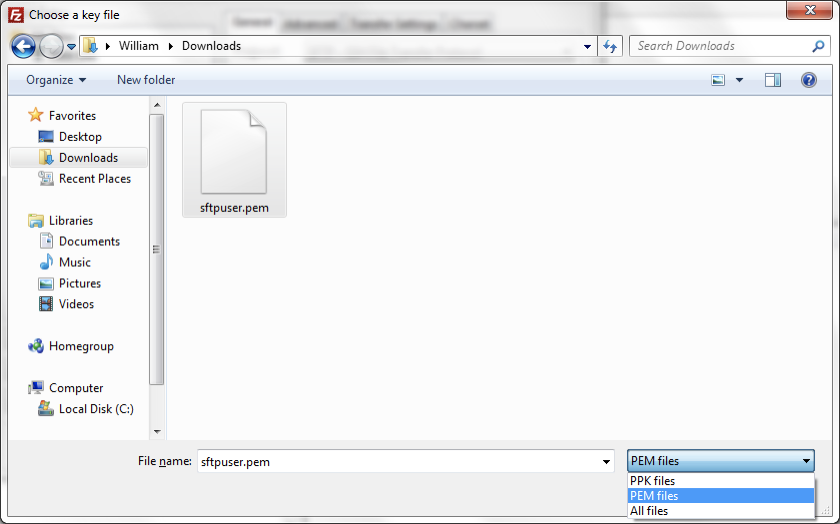
- Click Connect. You should be connected and able see your accessible folders to upload files.
Using our data management platform, Rokt can receive custom audience data at any frequency you prefer. If you’re working with Rokt as an advertiser, these lists can be used in your campaigns to either target or suppress certain customers from seeing your offers. If you’re working with Rokt as a partner these lists can be used to determine what customers see the Rokt experience on your site.
One method of delivering custom audience data to Rokt is the Rokt-hosted SFTP.
File path and requirements
For the majority of integrations, custom audience files should be placed within the following file path:
| File path using a default list | Purpose |
|---|---|
| /upload/custom-audience/include/AdvertiserDatabase | Add a list of customers into the default AdvertiserDatabase file associated with your account. |
| /upload/custom-audience/exclude/AdvertiserDatabase | Remove a list of customers from the default AdvertiserDatabase file associated with your account. |
If you need to upload and maintain several different custom audience lists within a single account (for example, you might have one list for customers you’d like to use in campaign targeting, and a separate list for customers you’d like to suppress from seeing your campaigns), you can create a specific custom audience list as follows:
| File path using a specific list | Purpose |
|---|---|
| /upload/custom-audience/include/MyList | Add a list of customers into a non-default custom audience list named MyList. MyList is a sub-folder you would create within the include folder as shown in the file path. |
| /upload/custom-audience/exclude/MyList | Remove a list of customers from a non-default custom audience list named MyList. MyList is a sub-folder you would create within the exclude folder as shown in the file path. |
Custom audience files are automatically deleted from this folder as soon as they are processed by Rokt.
Required file formats
Files uploaded to the SFTP server must meet the following standards in order to be processed correctly in the Rokt data platform.
- File format must be
.csvor.txt - Charset UTF-8 (UTF-16 or UTF-32 with an appropriate byte-order mark)
- The list of email addresses must be formatted:
- In a single column
- Without a column head
- Email addresses can be either plain text or hashed
- If hashing email addresses, please ensure that they:
- Use SHA256 hash algorithm
- Are lowercase and trimmed (white-space removed) before hashing takes place
- Are all hashed in the same format—do not mix plain and hashed email addresses per file (emails must be all plain or all SHA256)
Any file not matching the above format will be rejected by Rokt’s system.
Temporary Files
Temporary 'staging' files can be uploaded. Any files named with a "." prefix will be treated as temporary files and not be processed until they are renamed with no "." prefix.
Import via Zapier
-
Log in to Zapier.com.
-
Search for Rokt in Zapier's directory of supported apps.
-
Set up a zap for a custom audiences import task.
-
Select your CRM as the trigger.

-
Click Save + Continue.
-
Connect your account with Zapier (via API key generally).
-
Select the account and list you want to import subscribers from.
-
Test the trigger and save.
-
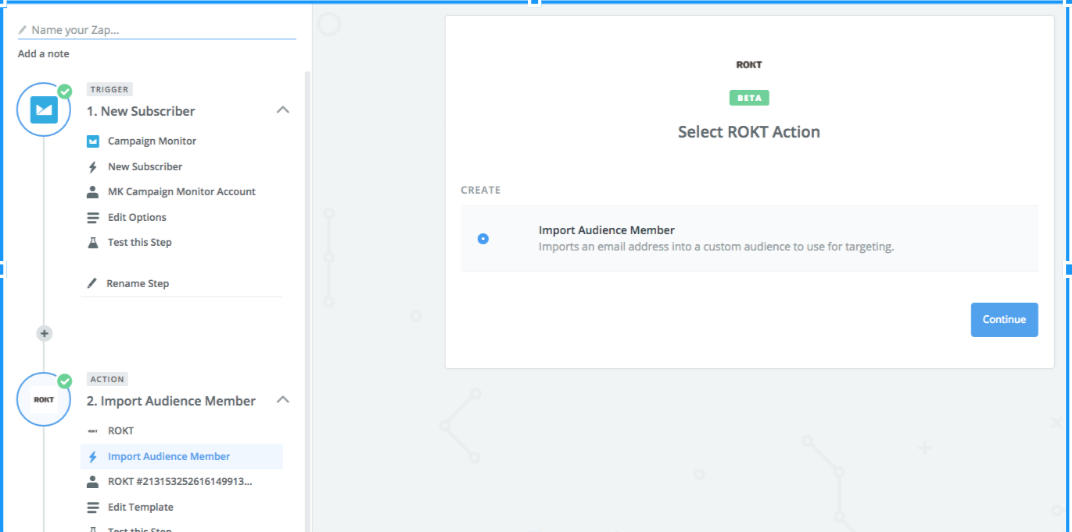
Select Rokt as the Action app.
-
Select Import Audience Member as the action.
-
Click Continue.
-
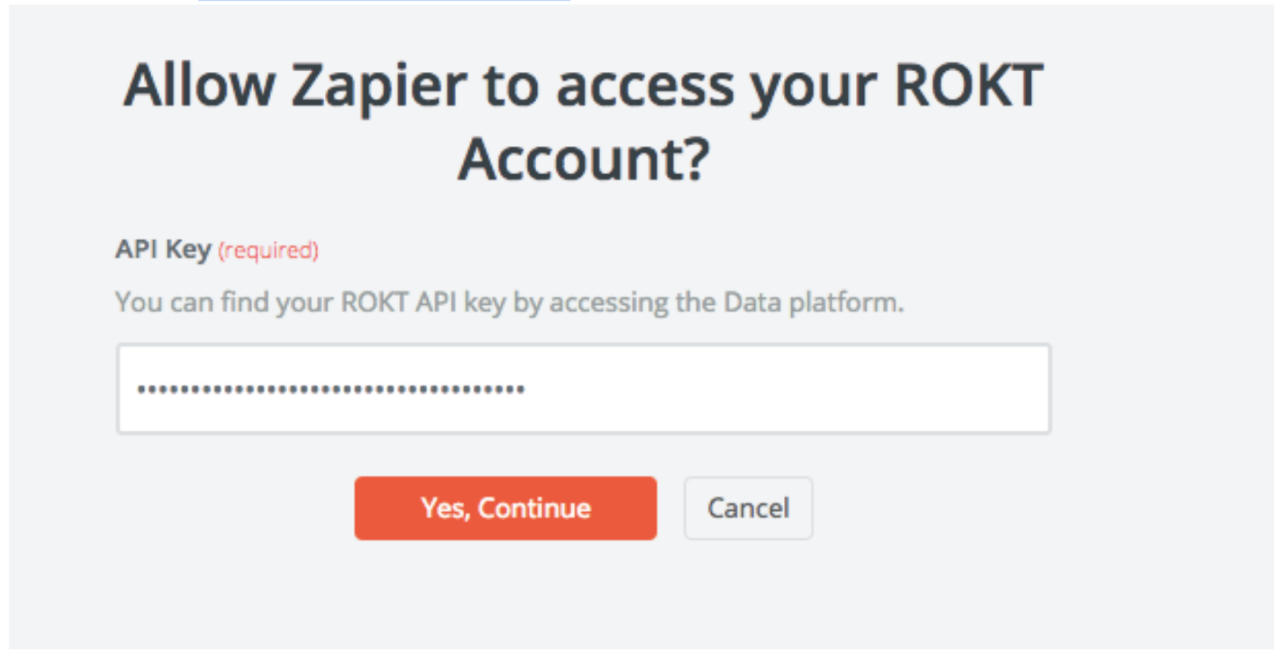
-
To connect your Rokt account you need to enter your API key:
-
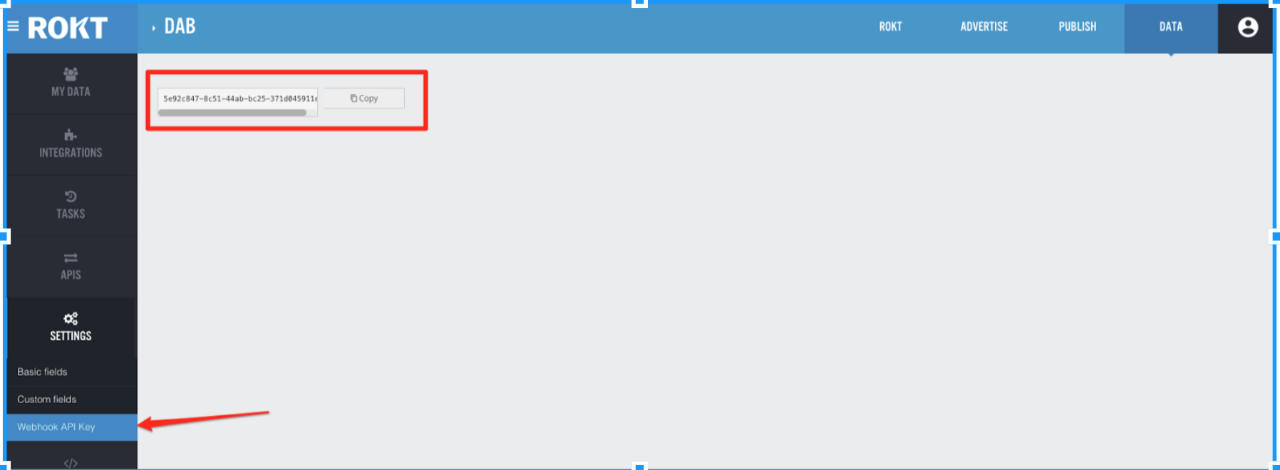
You will need to login to the older version of One Platform, then click DATA in the top right navigation.

-
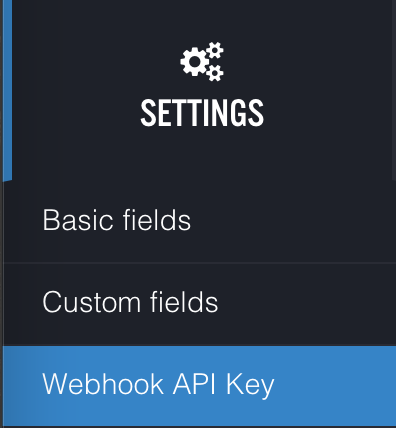
Click Settings in the left navigation and then Webhook API Key.
-
Click Create API Key, then copy the API key.
-
-
Paste the API key in Zapier.
 -
Map all required fields:
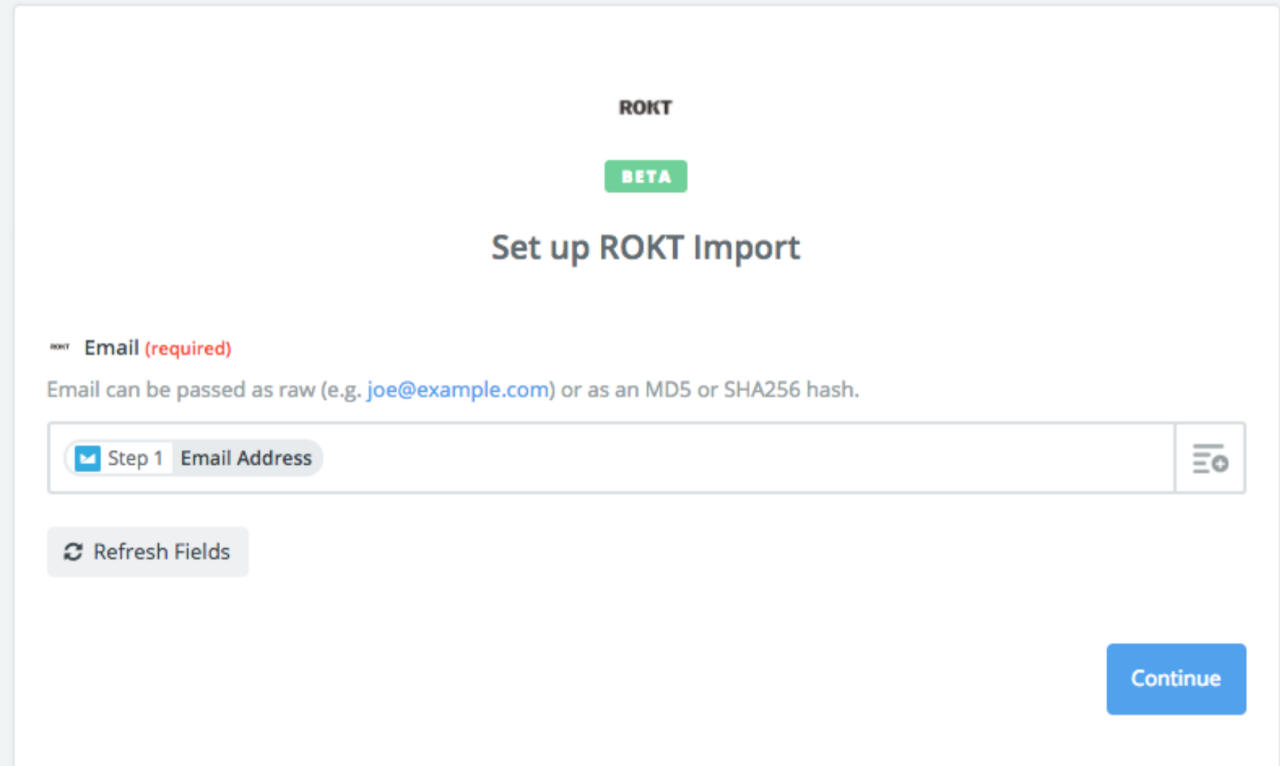 -
Click Continue.
-
Test your task.
-
Turn your zap on.
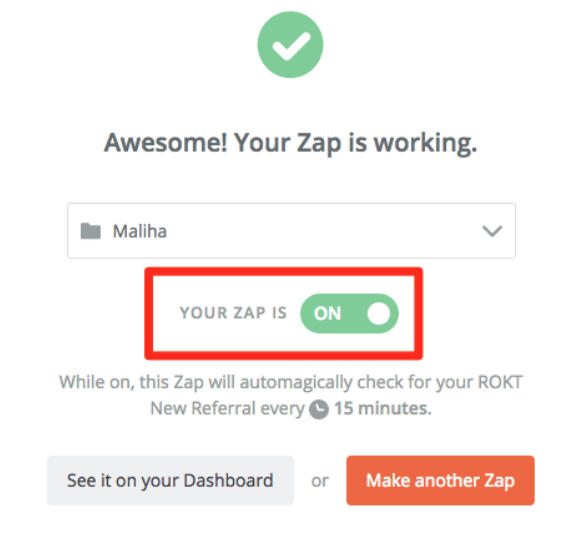
Zaps run automatically every 15 minutes on the free account. If you're testing your zap you can manually run a zap from the dashboard.
Integrate with LiveRamp
It may take 2—4 days after the initial send for your data to be available in Rokt.
-
Log in to LiveRamp Connect.
-
Search for Rokt.

-
Configure the properties for delivery:
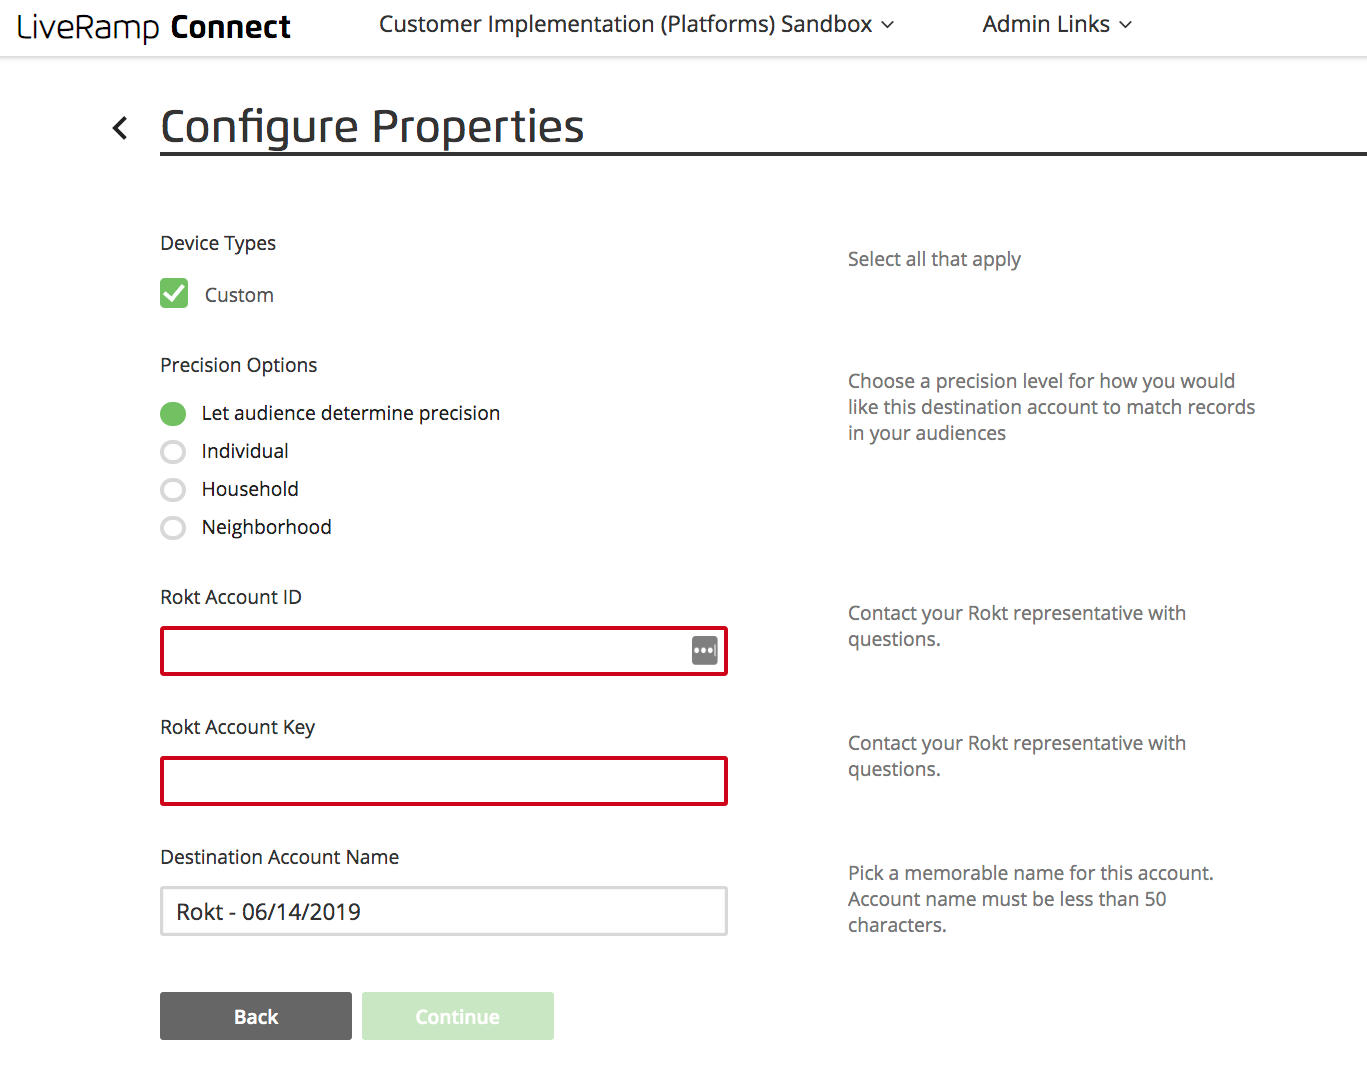
- Device Types: Select Custom. As part of our integration agreement with LiveRamp, Rokt only receives custom IDs. Rokt then maps these custom IDs to hashed emails sent separately by LiveRamp for enhanced security. Rokt then uses the mapped file for targeting and suppression. Other LiveRamp partners may be integrated via cookie or mobile ID data, in which case those options would be available under Device Types.
- Precision Options: Select whichever you like. Before LiveRamp sends us your deliveries, they run your data through their ID graph to find other data points associated with entries in your list. LiveRamp then adds the associated information to your delivery. The Individual option is best for accuracy, while the Neighborhood option is best for scale.
- Rokt Account ID and Rokt Account Key: Enter the credential provided by your Rokt account manager.
- Destination Account Name: This is used to label tiles in LiveRamp. Use any name you’d like.
Visit LiveRamp’s knowledge base for additional configuration instructions.
Integrate with mParticle
mParticle is a third-party customer data platform tool that clients can use to send custom audiences to Rokt. These files will be loaded into the Rokt Data Platform and will be functionally identical to custom audience files delivered via other pathways such as secure file transfer, API, or UI upload.
Sending custom audiences from mParticle to Rokt
All Rokt accounts are enabled by default to receive data from mParticle. You can configure your data deliveries directly from mParticle’s UI with two main steps.
- Configure Rokt as a destination for your account.
- Connect your audience(s) to the destination created in step 1.
For more information, you can read the mParticle documentation on configuring audience destinations.
Step 1: Configure Rokt as a destination in mParticle
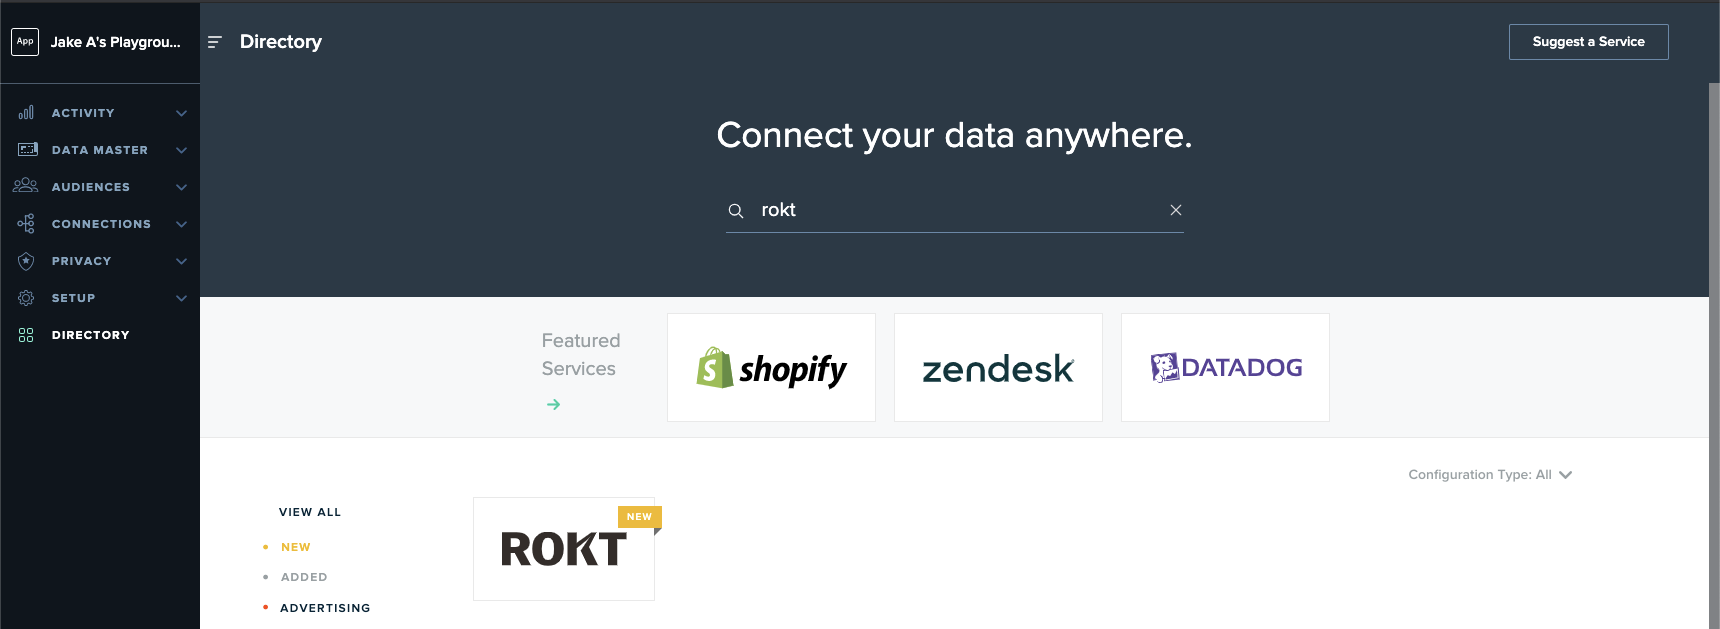
To set up an audience delivery from mParticle to Rokt, first search for Rokt in mParticle’s directory.
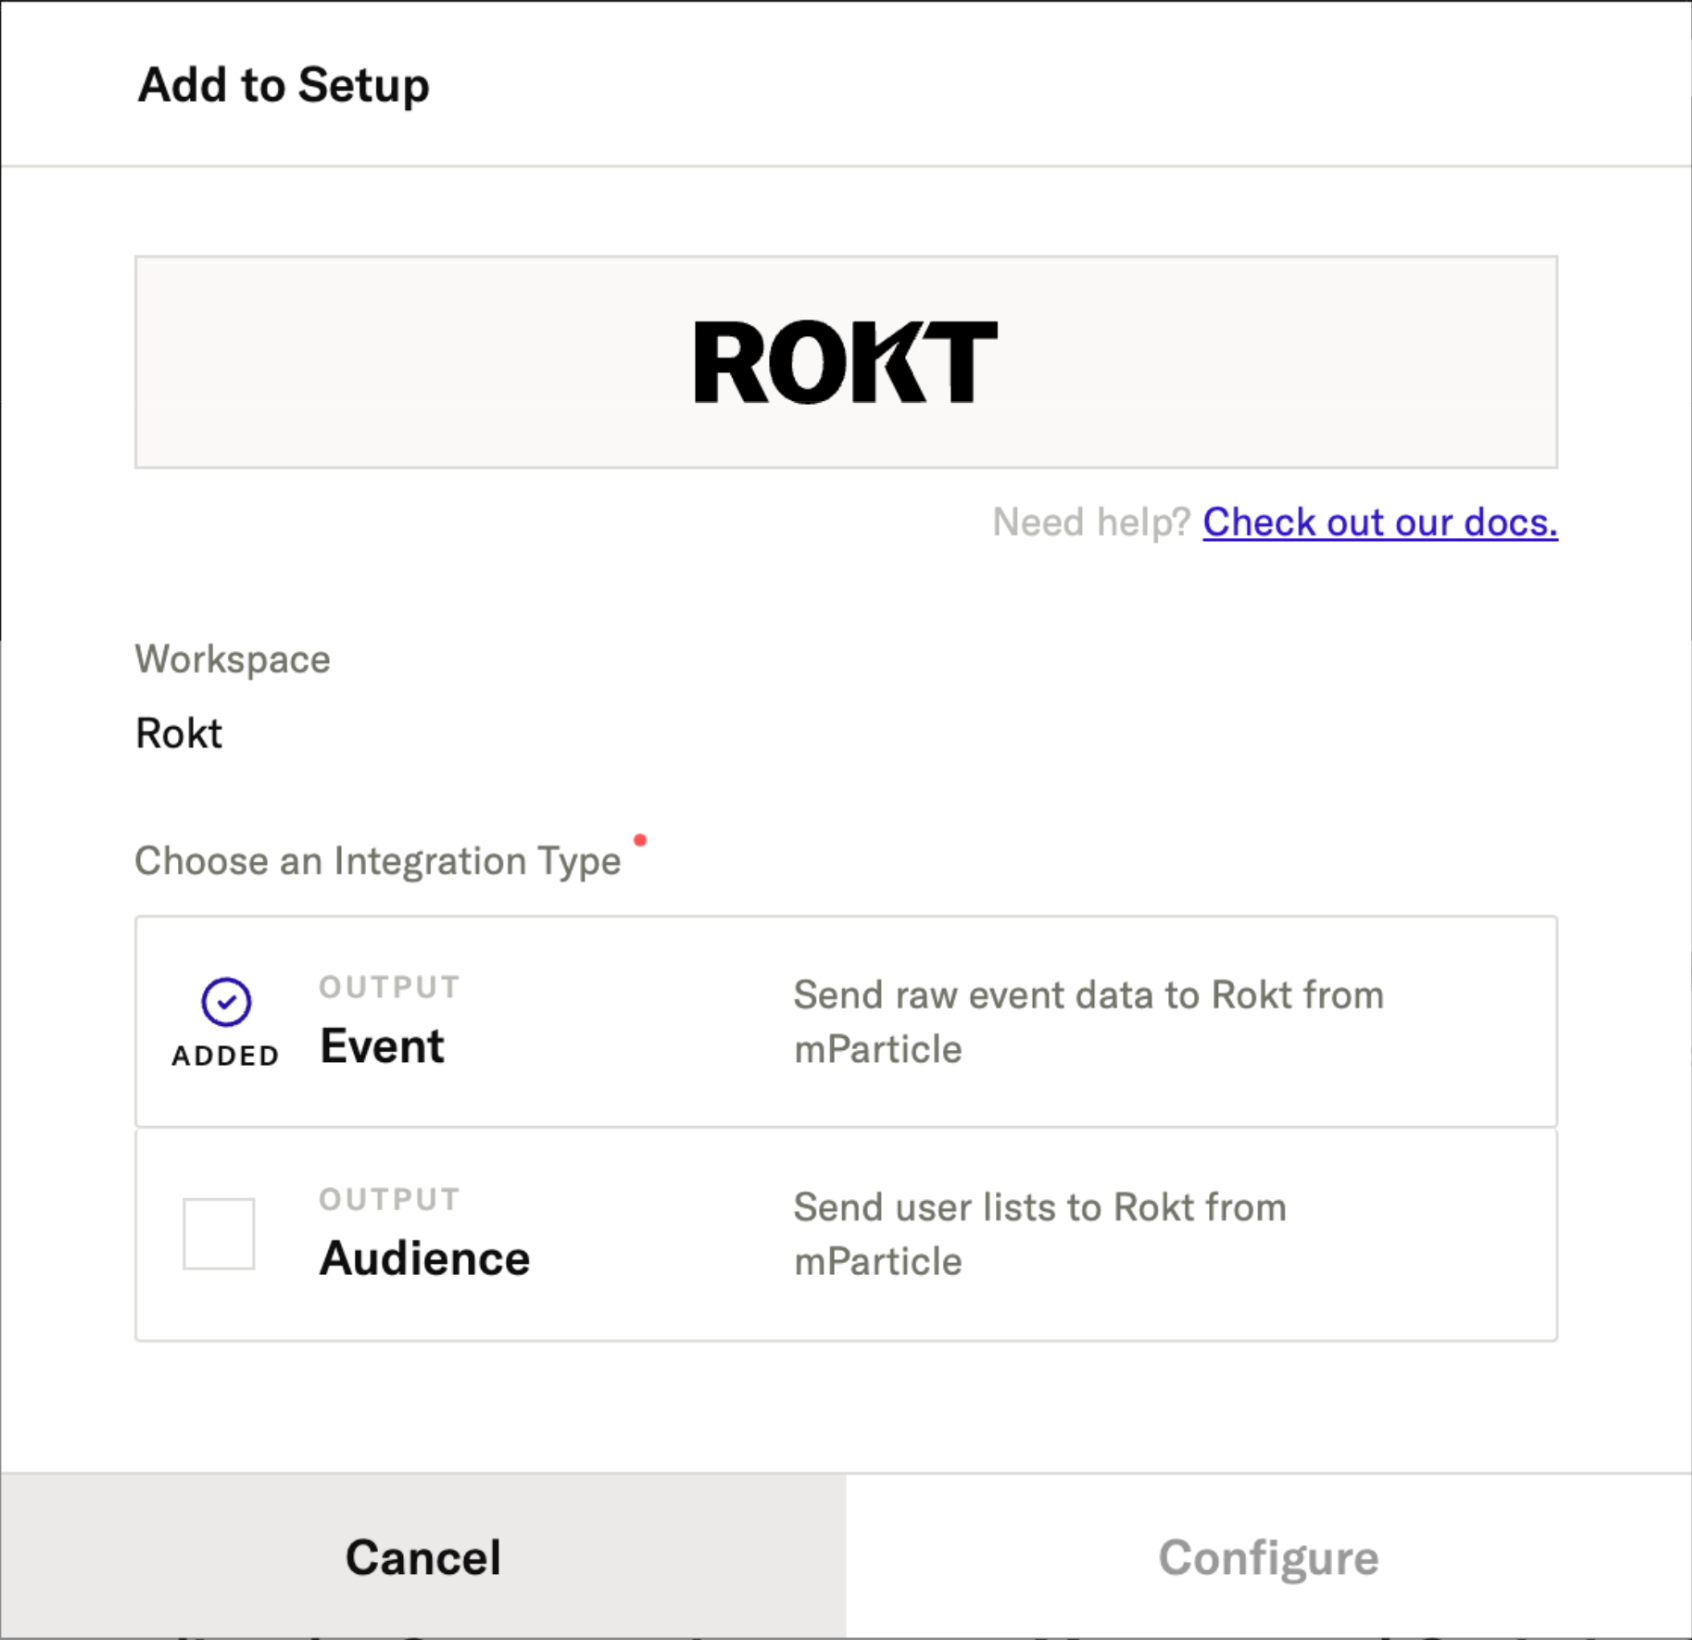
Click on the Rokt tile to start an Audience Configuration.
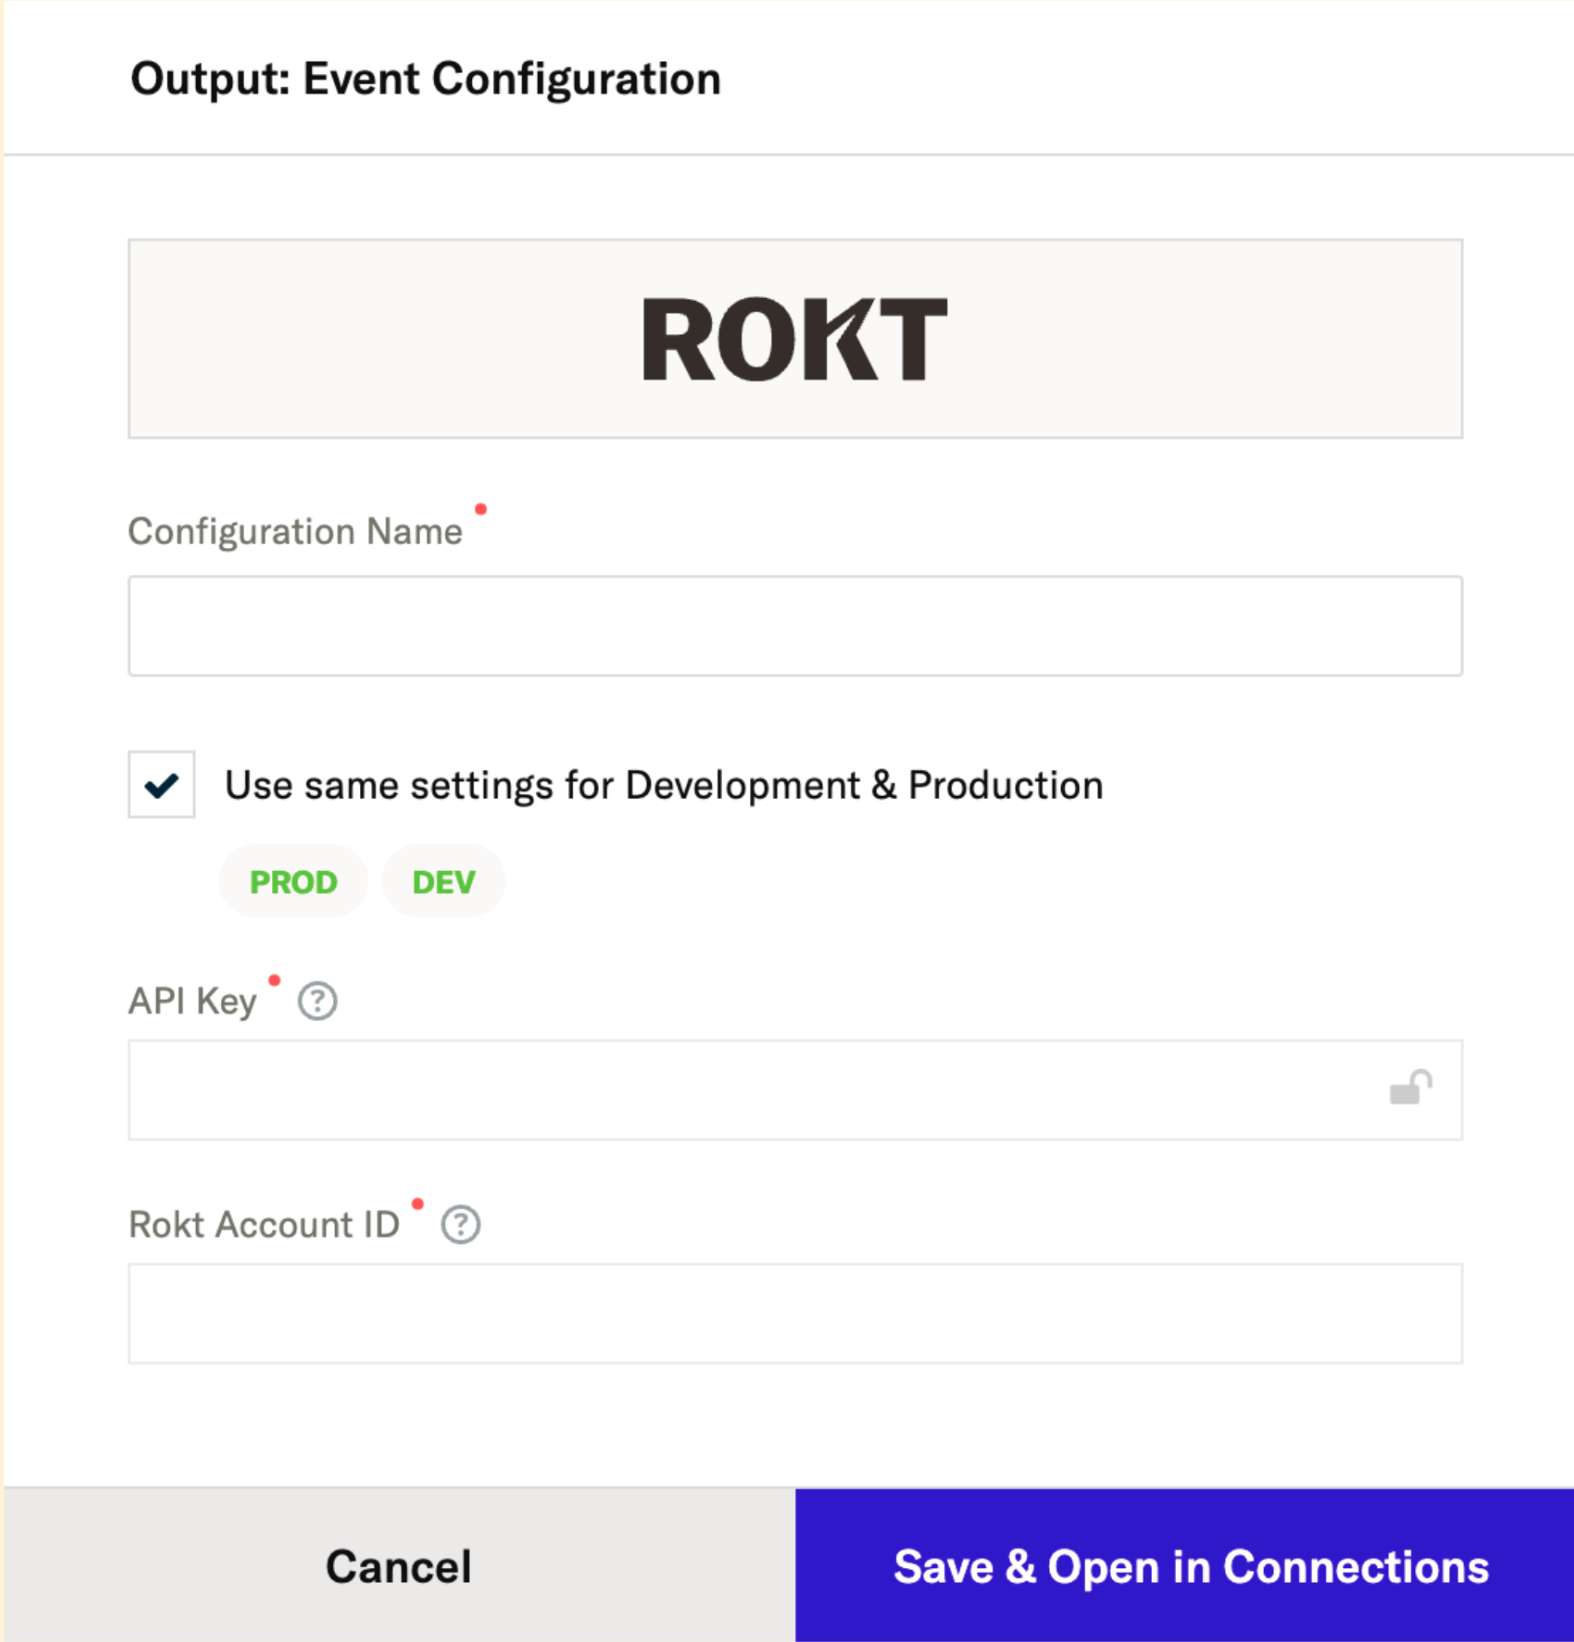
Enter the following information:
- Configuration Name: Defined by you. This is how you identify the integration in other parts of the mParticle UI.
- API Key: Ask your Rokt account manager for your unique API key.
- Rokt Account ID: Ask your Rokt account manager for your account ID.
Note: If you have multiple Rokt accounts (e.g., one account for U.S. campaigns and one account for Australian campaigns), you need to set up a separate mParticle audience configuration for each account.
Step 2: Deliver your audience to Rokt
Once Rokt has been configured as an audience destination, navigate to the Audiences tab, click into the audience(s) you would like to send to Rokt, and connect Rokt as an output.
Once the integration has been set to active, mParticle will begin pushing your audience data over to Rokt. It will be visible in the Rokt UI and available for use in under 24 hours. Furthermore, Rokt continually processes membership changes to that audience. As users are added and removed in mParticle, they are also automatically added and removed in the Rokt platform.
Once the data arrives in the Rokt platform it is available as a custom audience. The audience name in the Rokt platform is the same as the audience name configured in the mParticle UI (Note: The audience name is not the same as the configuration name).
Add a custom audience to your campaign
- Selecting Include results in only showing your offer to customers within the selected custom audience.
- Selecting 'Exclude' will result in only showing your offer to users outside the selected custom audience.
-
Log-on to my.rokt.com
-
Navigate to the account you want to add the new audience to.
-
Click Campaigns.
-
Click Overview.
-
Choose the campaign you want to apply your custom audience to.
-
Click Add Audience.
-
Name your audience and enter any other relevant demographic details.
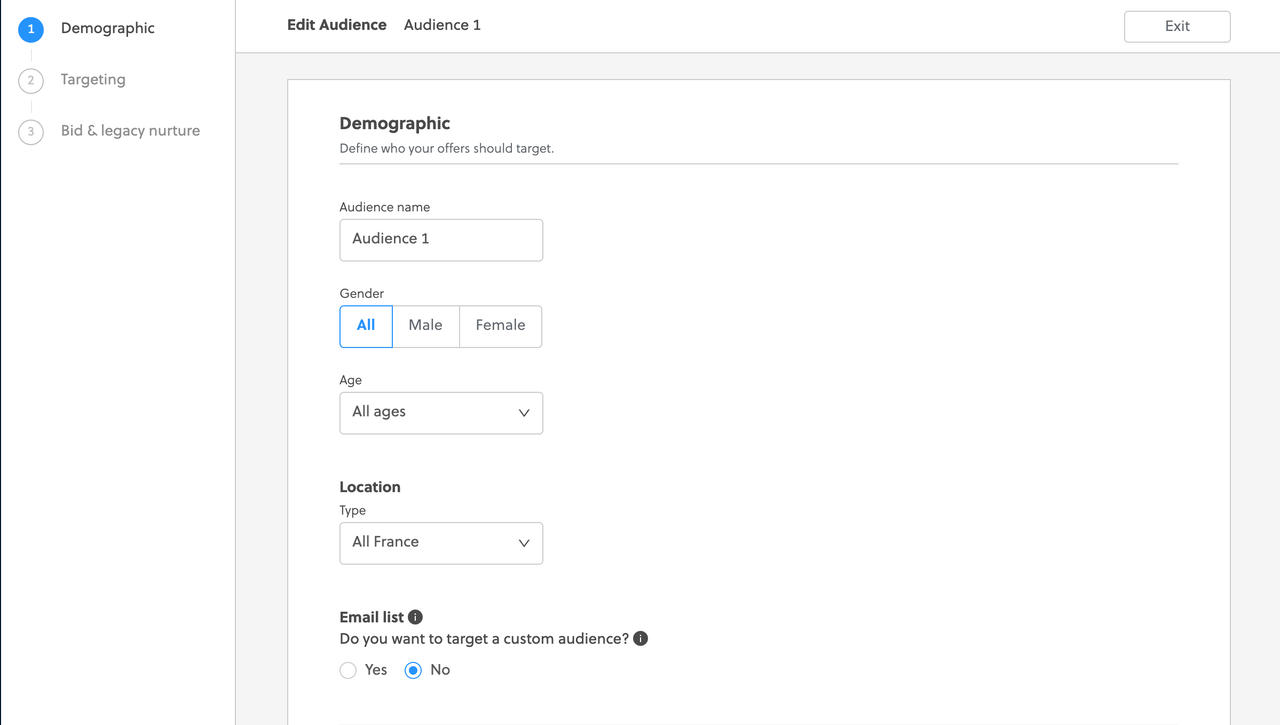
-
Click Yes on the Email list setting.

-
Select the custom audience that you would like to target or exclude.
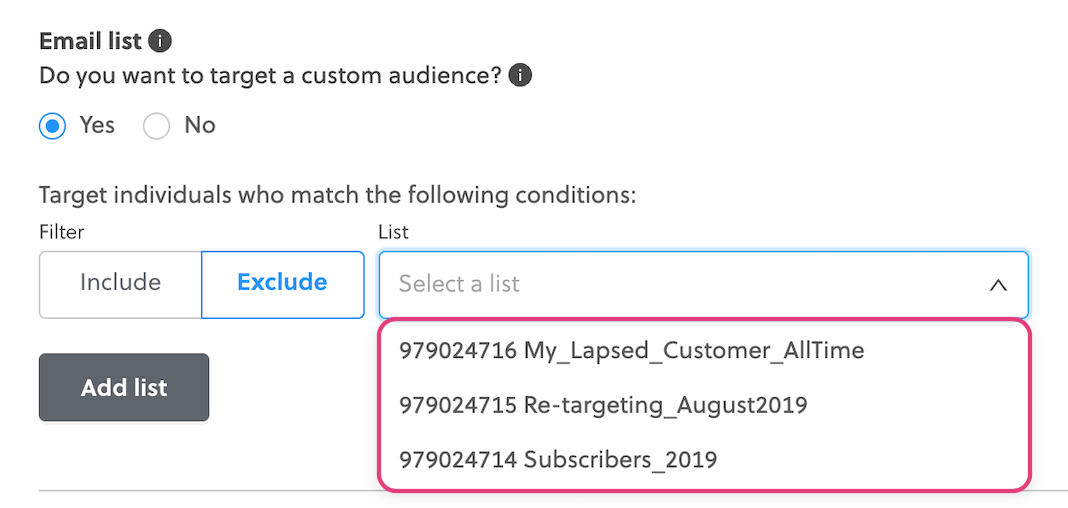 note
noteThe default name for your custom audience may appear as Advertiser Database.
-
Click Next and continue the configuration as you would any other audience.
-
When you are happy with your audience configuration, click Save.