Adobe Experience Platform
Installing the Rokt Adobe Launch extensionDirect link to Installing the Rokt Adobe Launch extension
Add the Rokt extensionDirect link to Add the Rokt extension
- Sign in to Adobe Experience Platform.
- From a property's overview page, open the Extensions tab.
- Select the Catalog tab and search “Rokt”.
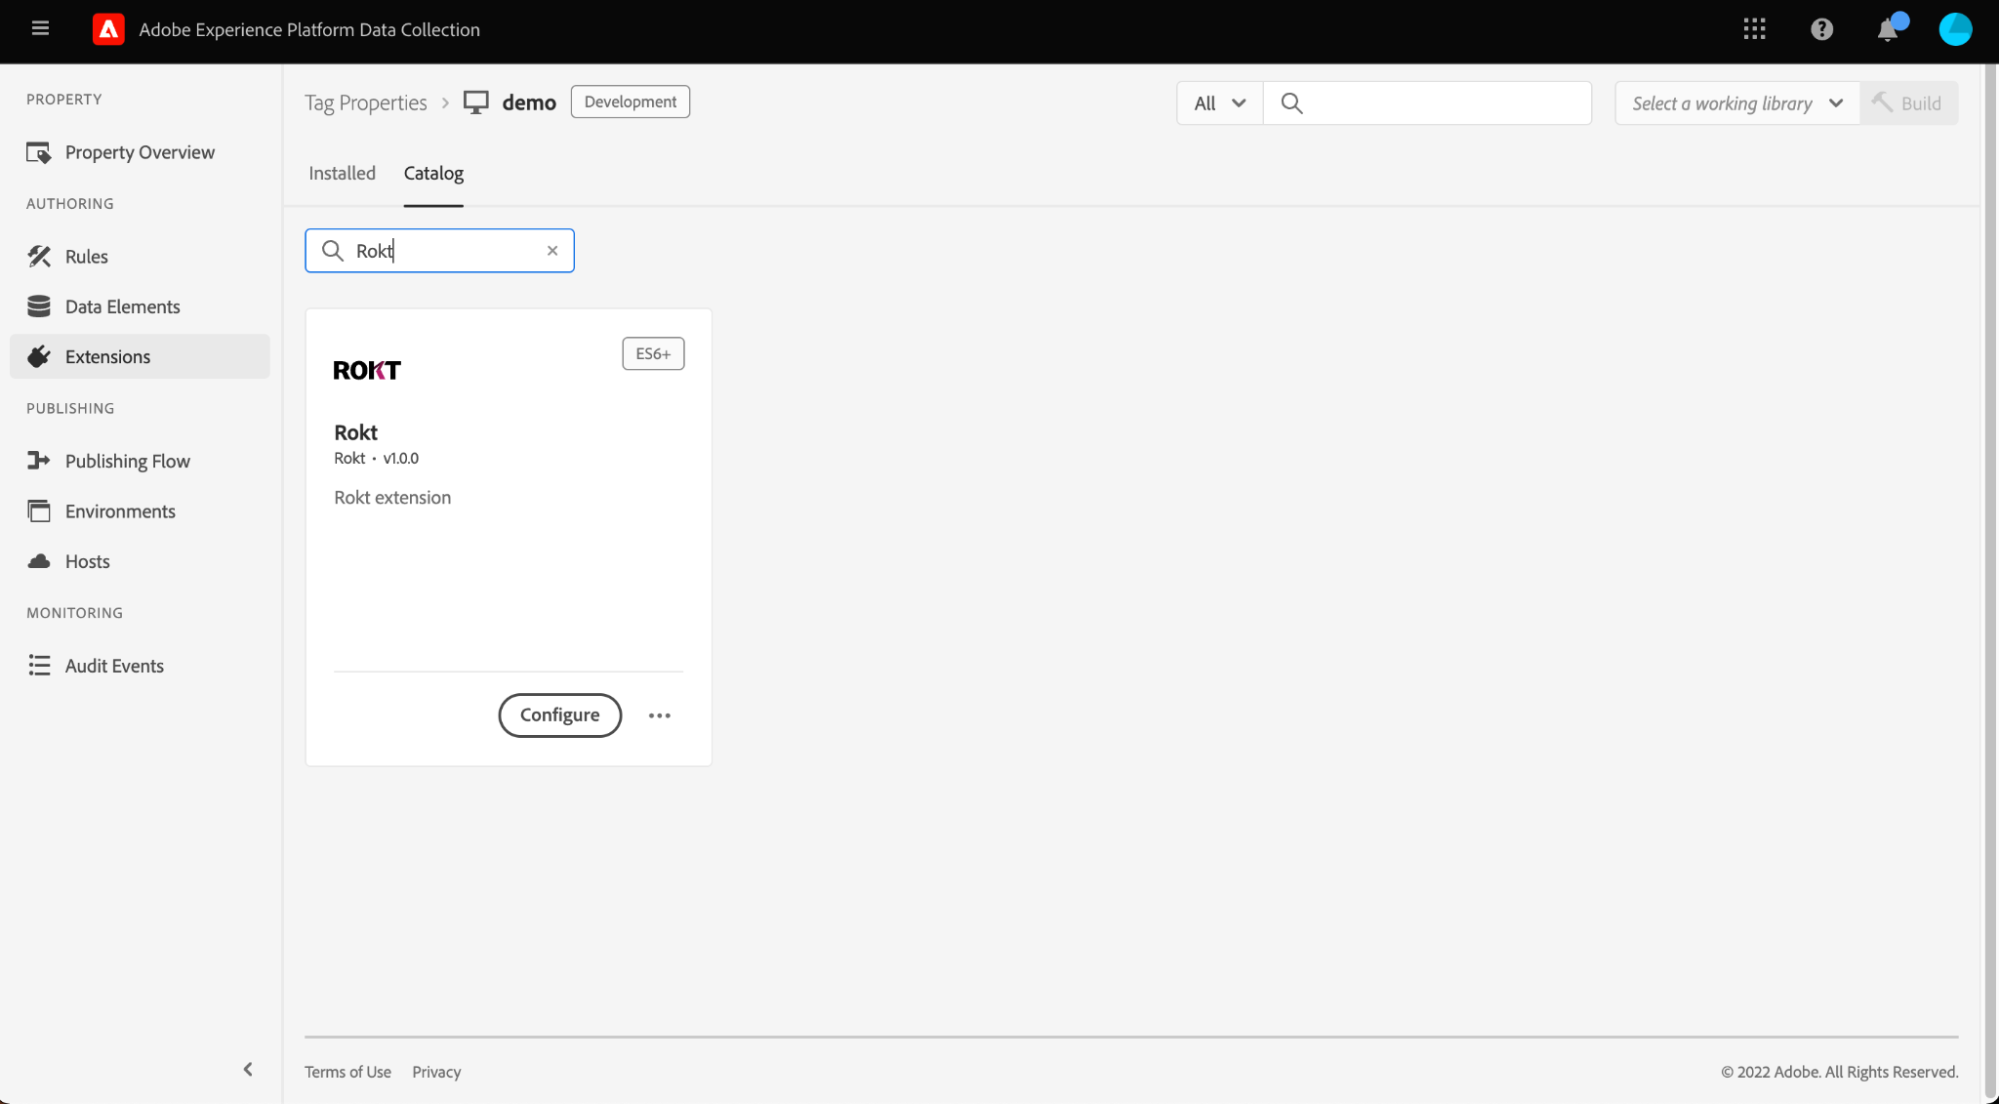
- Choose to save the Rokt extension.
Configure the Rokt extensionDirect link to Configure the Rokt extension
-
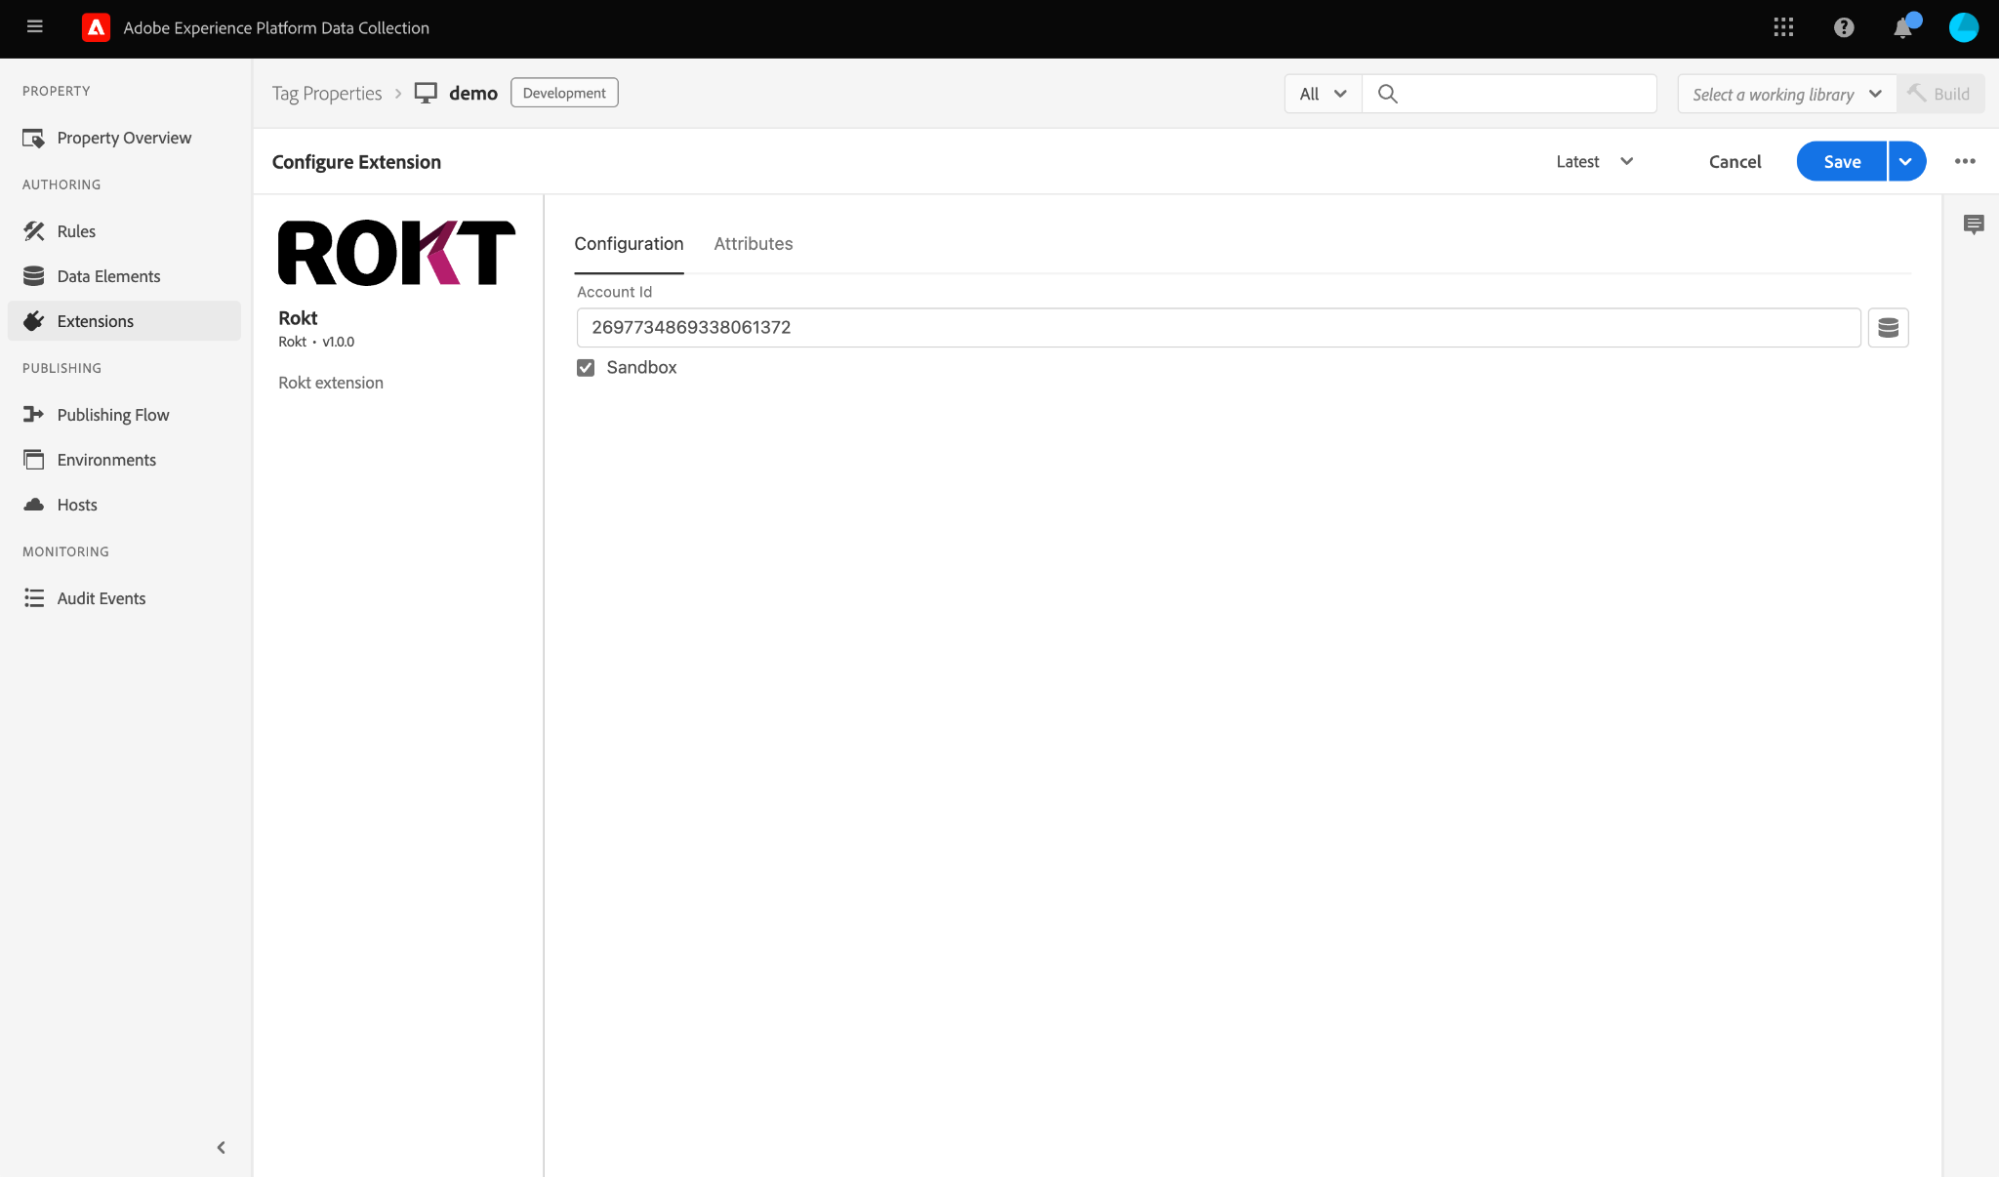
Navigate to the Installed tab and select Configure on the Rokt extension.
-
Add the Account Id and select Sandbox.
-
Connect the Attributes to your data elements.
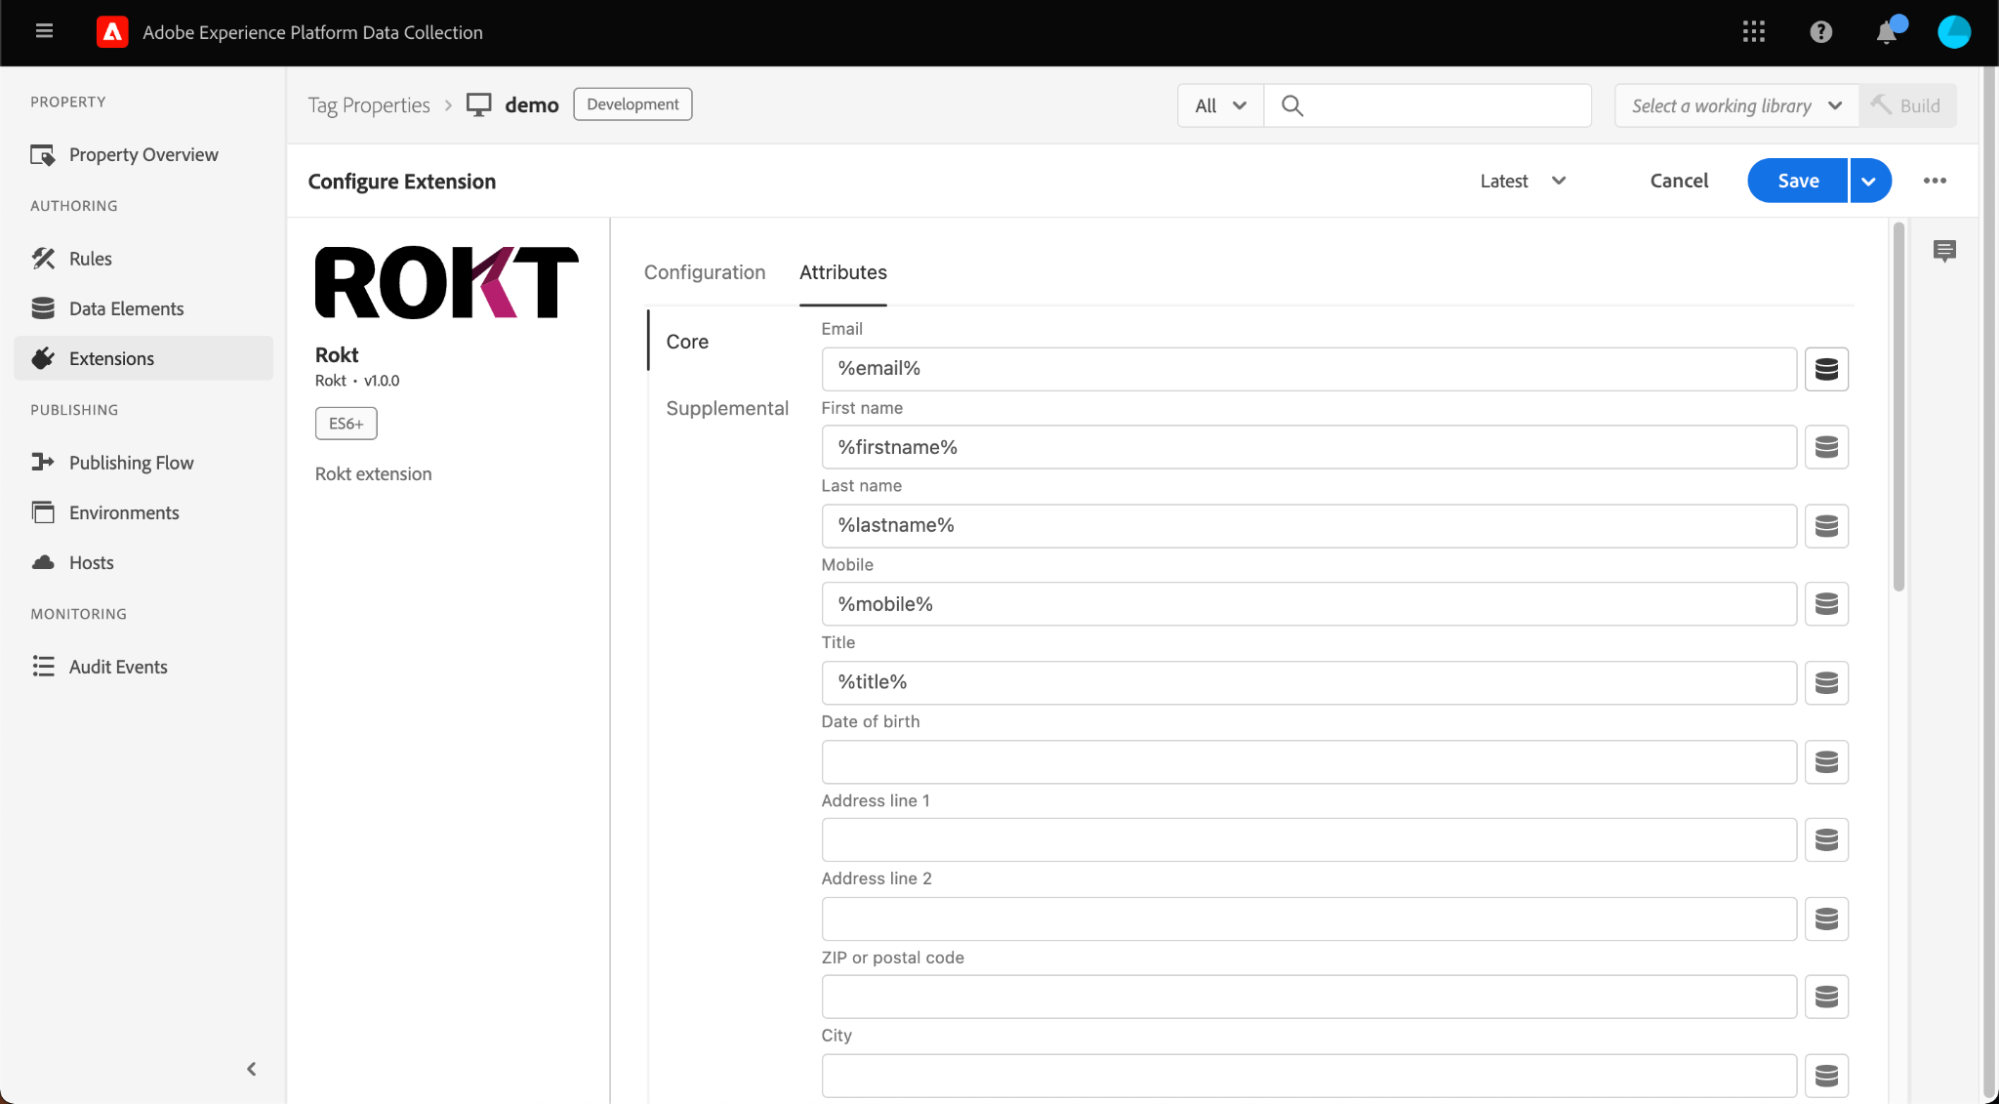
- Select the add icon next to each attribute and choose the apropriate data layer for the field. See the list of Core Attributes here.
noteWhen using the attribute email, addresses may be hashed(#) or raw.
- Once connected, you will see your variable name appear eclosed in double brackets.
-
Select Save.
If the appropriate variable is not showing in your data layer see Setting up the variables in the Adobe Experience Platform data layer and check with your Rokt account manager for next steps.
Test the Rokt extensionDirect link to Test the Rokt extension
- Publish your Rokt tag configuration to the relevant Publishing Environment for testing. Retrieve the relevant adobe script tag via the Environment nav bar icon in adobe experience in the Install column.
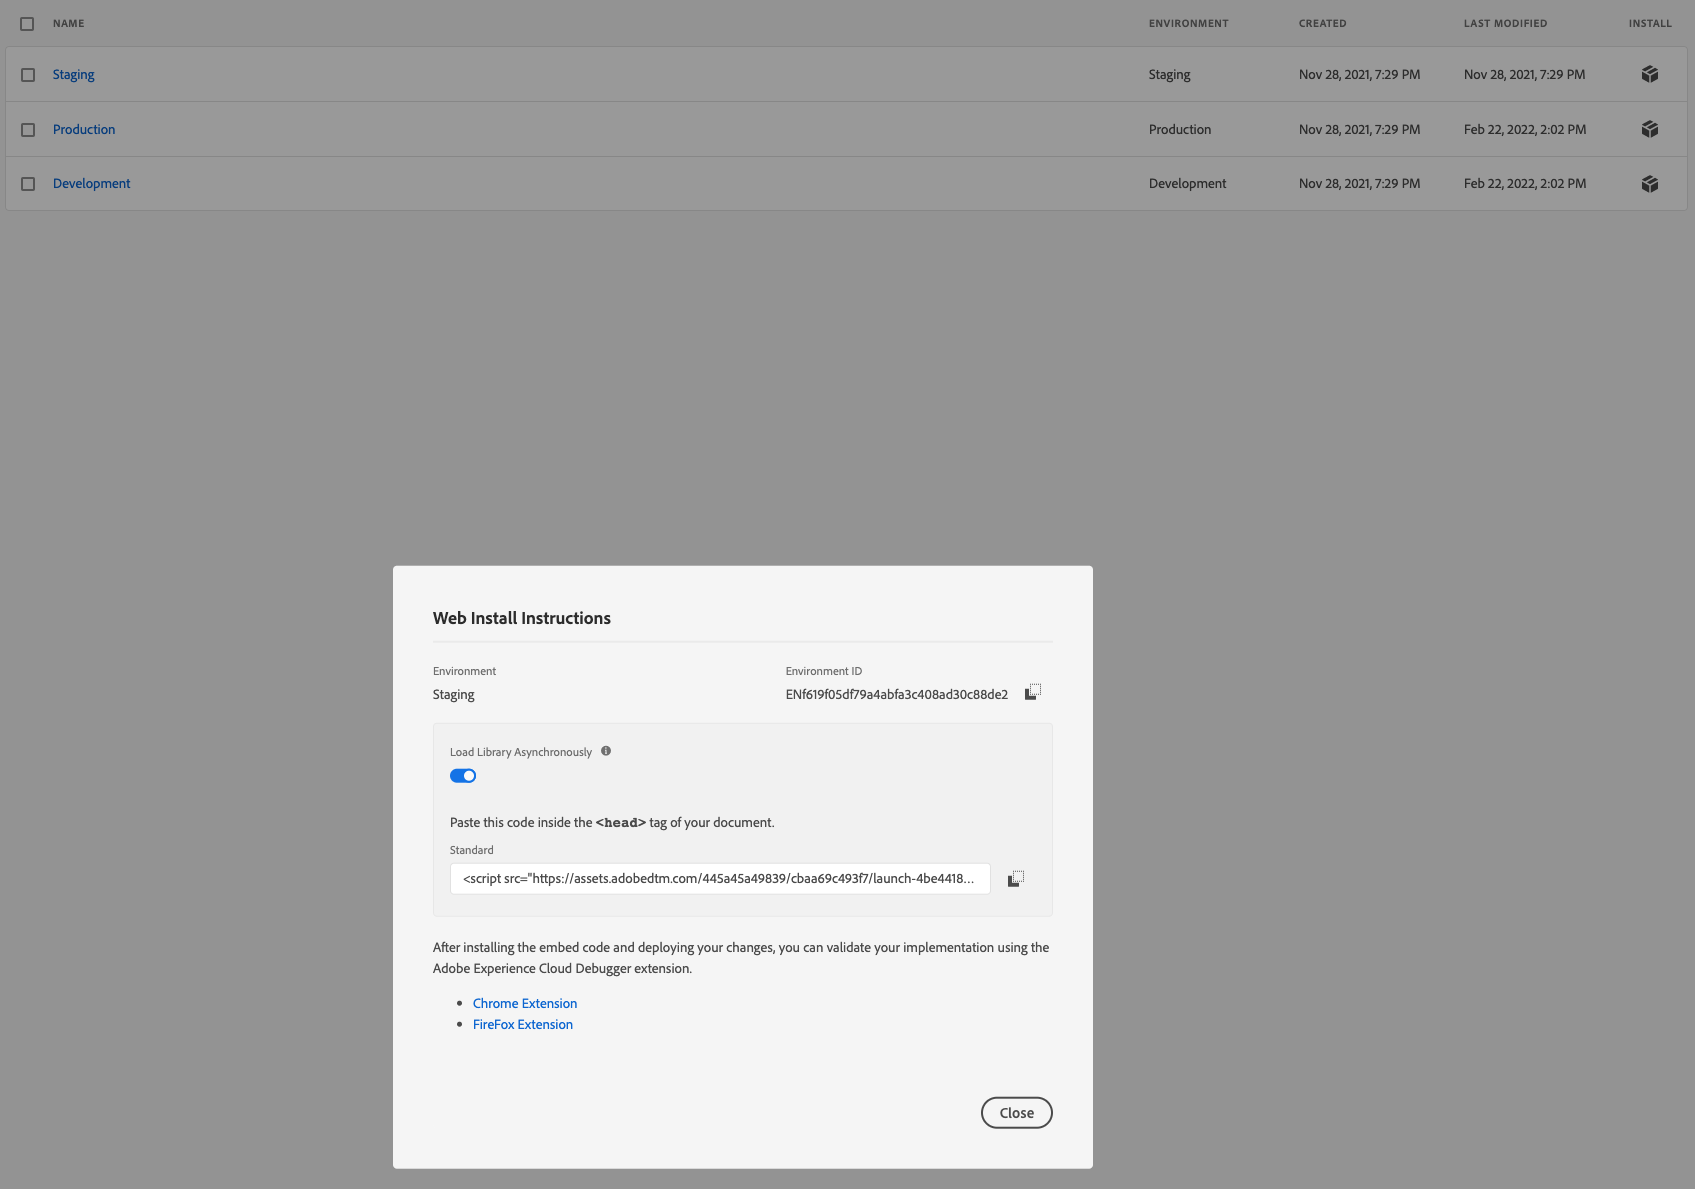
- Add the tag to a staging environment, then let your Rokt account manager know you have published the Rokt extension live to your staging site. Rokt will perform QA and testing on the integration.
- Install, configure, and save the tag on your production site, by navigating to Tag properties and choosing your production tag.
- Once the Rokt extension is configured and saved, let your Rokt account manager know in order to perform the final testing and QA.
Setting up the variables in the Adobe Experience PlatformDirect link to Setting up the variables in the Adobe Experience Platform
Understanding the data layerDirect link to Understanding the data layer
The data layer should have been implemented on your web page by your developers.
A data layer is an object that contains all of the information that you want to share with Adobe Experience Platform. Information such as events or variables can be shared to Adobe via the data layer, and triggers can be set up in Adobe Experience Platform based on the values of variables or based on the specific events.
Refer to the Adobe Experience developer guide for comprehensive details on how the data layer works.
Example of a data layer
window.dataLayer = window.dataLayer || []

window.dataLayer.push({  'email':'jenny.smith@rokt.com',  'consumer': {    'firstname' : 'Jenny',    'lastname' : 'Smith'  },  'ecommerce': {    'transaction': {      'amount' : '12.36'    }  },  'event':'gtm.transactionComplete'});
Identifying your variable nameDirect link to Identifying your variable name
Variables are set up in your Adobe Experience Platform and are matched to the data layer. Refer to the Adobe Experience developer guide for more details about variables.
The structure of your data layer on your page affects the data layer variable name in your Adobe Experience Platform. See the following examples.
Example data layer script 1
window.dataLayer.push({    'email':'jenny.smith@rokt.com'});

Data layer variable name: email
Example data layer script 2
window.dataLayer.push({    'consumer': {        'firstname' : 'Jenny'    }});

Data layer variable name: consumer.firstname
Example data layer script 3
window.dataLayer.push({    'ecommerce': {        'transaction': {            'amount' : '12.36'        }    }});

Data layer variable name: ecommerce.transaction.amount
Adding data elementsDirect link to Adding data elements
- Navigate to the Data Elements tab and choose Add Data Element.
- Name your variable and choose Core as the extension and Local Storage as the Data Element Type.
- Enter the Local Storage Item Name that matches the variable name in your data layer setup by your developer.
Event API ForwardingDirect link to Event API Forwarding
To extend this implementation to enable Event API Forwarding from Adobe Experience Platform, refer to our Rokt Event API Extension Documentation.