Tealium
Rokt Web SDK setup for Tealium
Tealium's integration with Rokt allows you to integrate customer and transactional data using variables.
When you add the integration code to your page, make sure you populate customer and transactional data. Make sure you configure customer email address so that Rokt can identify customers and choose a relevant offer.
Populate any data attributes about the transaction to help Rokt better personalize which offers the customer sees.
Add the Rokt Web SDK
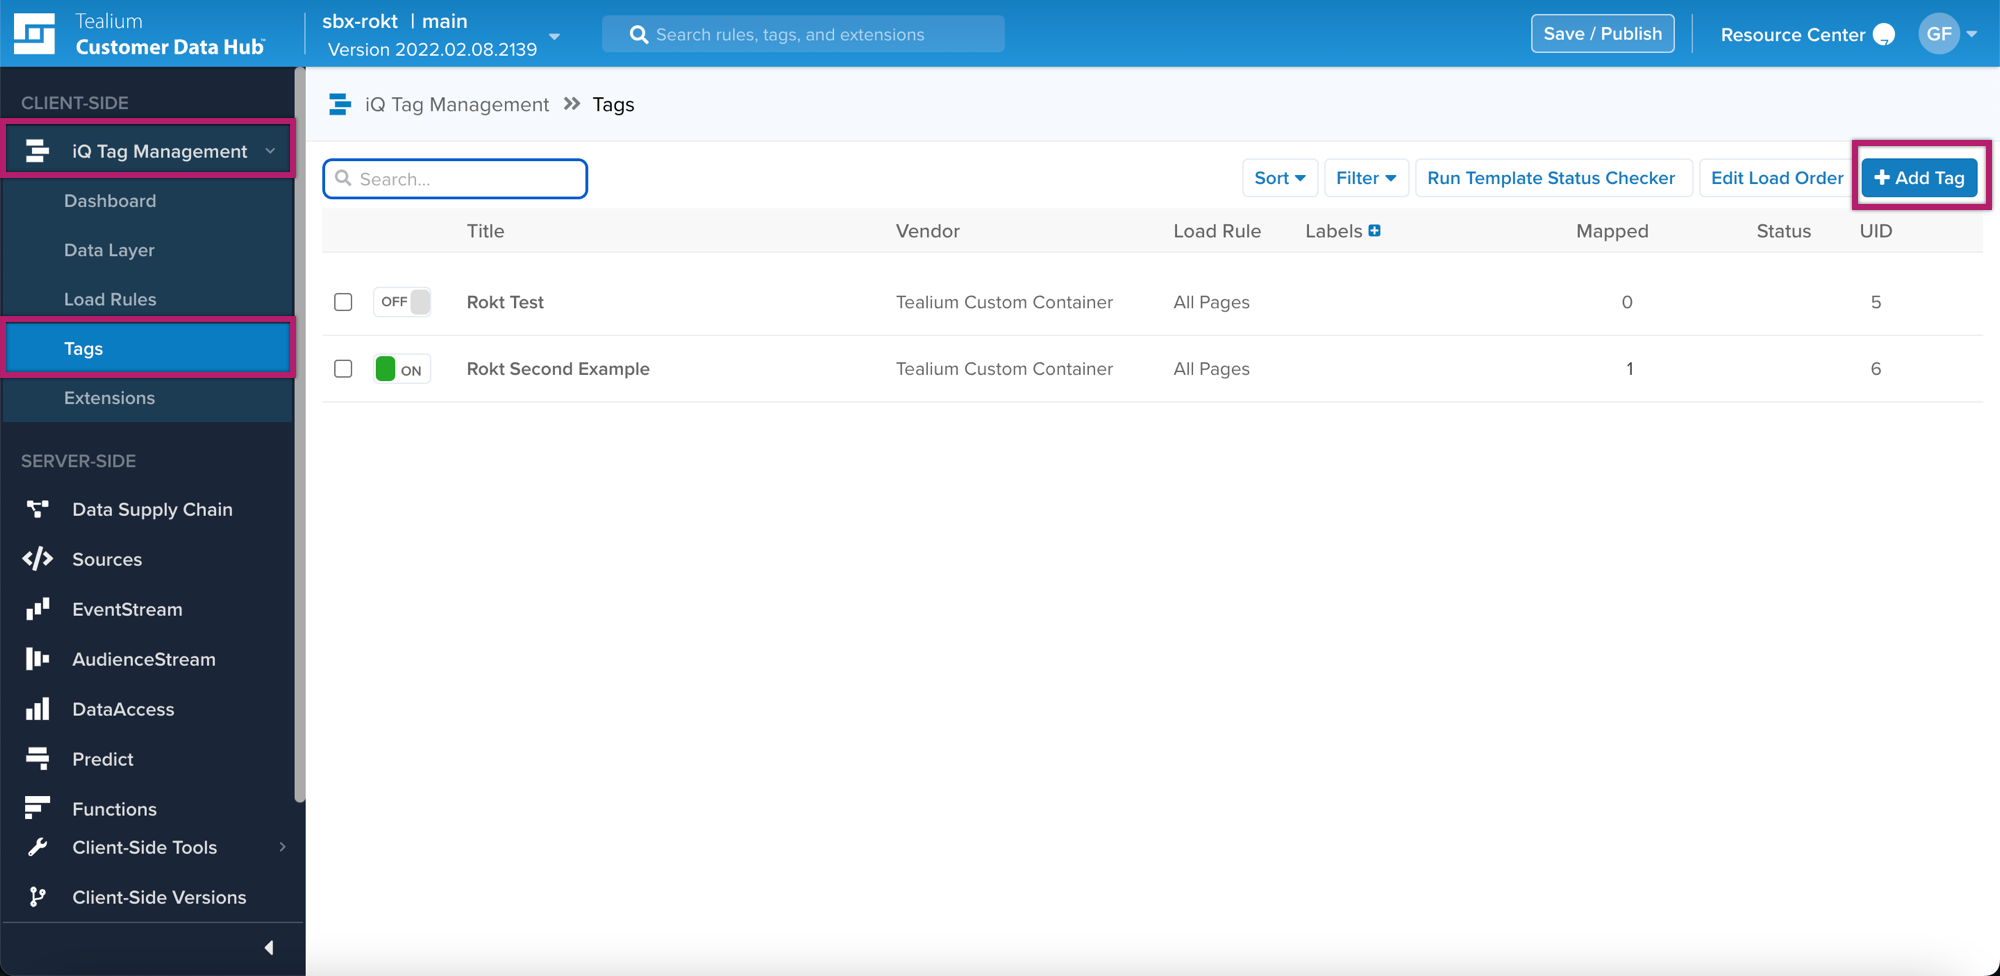
- Log in to Tealium Customer Data Hub.
- Click iQ Tag Management > Tags.
- Click + Add Tag.
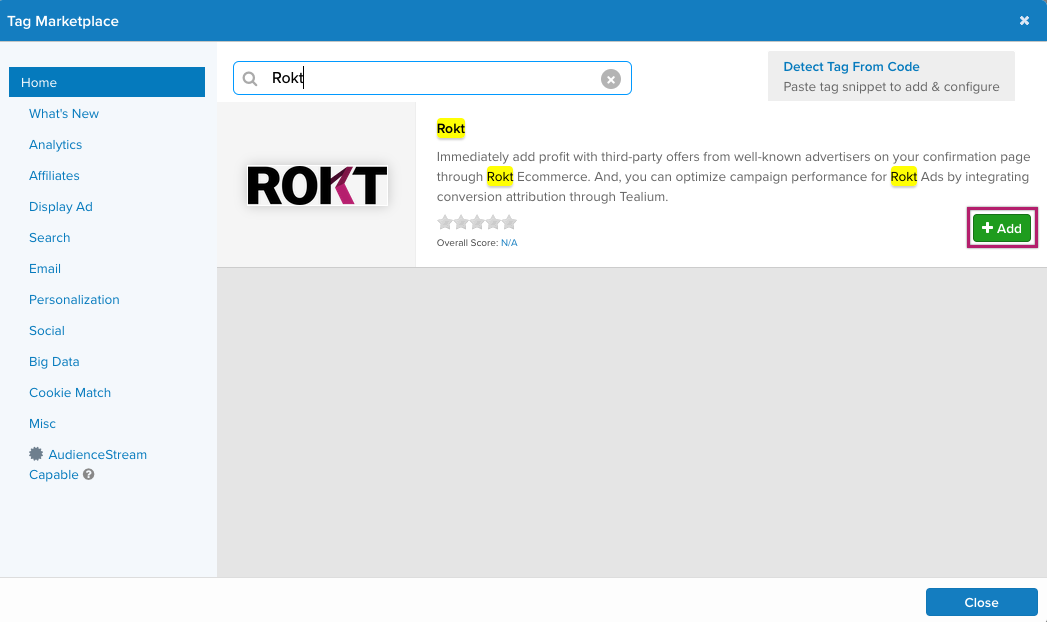
- Search for Rokt.
- Click +Add.
Configure the Rokt Web SDK
- Configure the following settings:
- Rokt Account ID: Enter the Rokt account ID provided by your account manager.
- Two-step Email (Optional): Select True if you would like to send an email on positive engagement.
- Use Sandbox (Optional): Select True if you wold like to send events to a sandbox account for testing.
- PUBLISH LOCATIONS: Select Yes or No for publish locations and whether you want to use the Bundle Flag.
- ADVANCED SETTINGS:
- Tag Timing: Determines the timing of the tag firing.
- Send Flag: Determines whether or not this library has event level data sent to it for tracking.
- Synchronous Load Type: Set when the library needs to load synchronously.
- Custom Script Source: Set when the library that supports this tag is served from an alternate location.
- Click Next.
Create a Load Rule
Load Rules in Tealium determine when and where to load an instance of the Rokt Web SDK on your site.
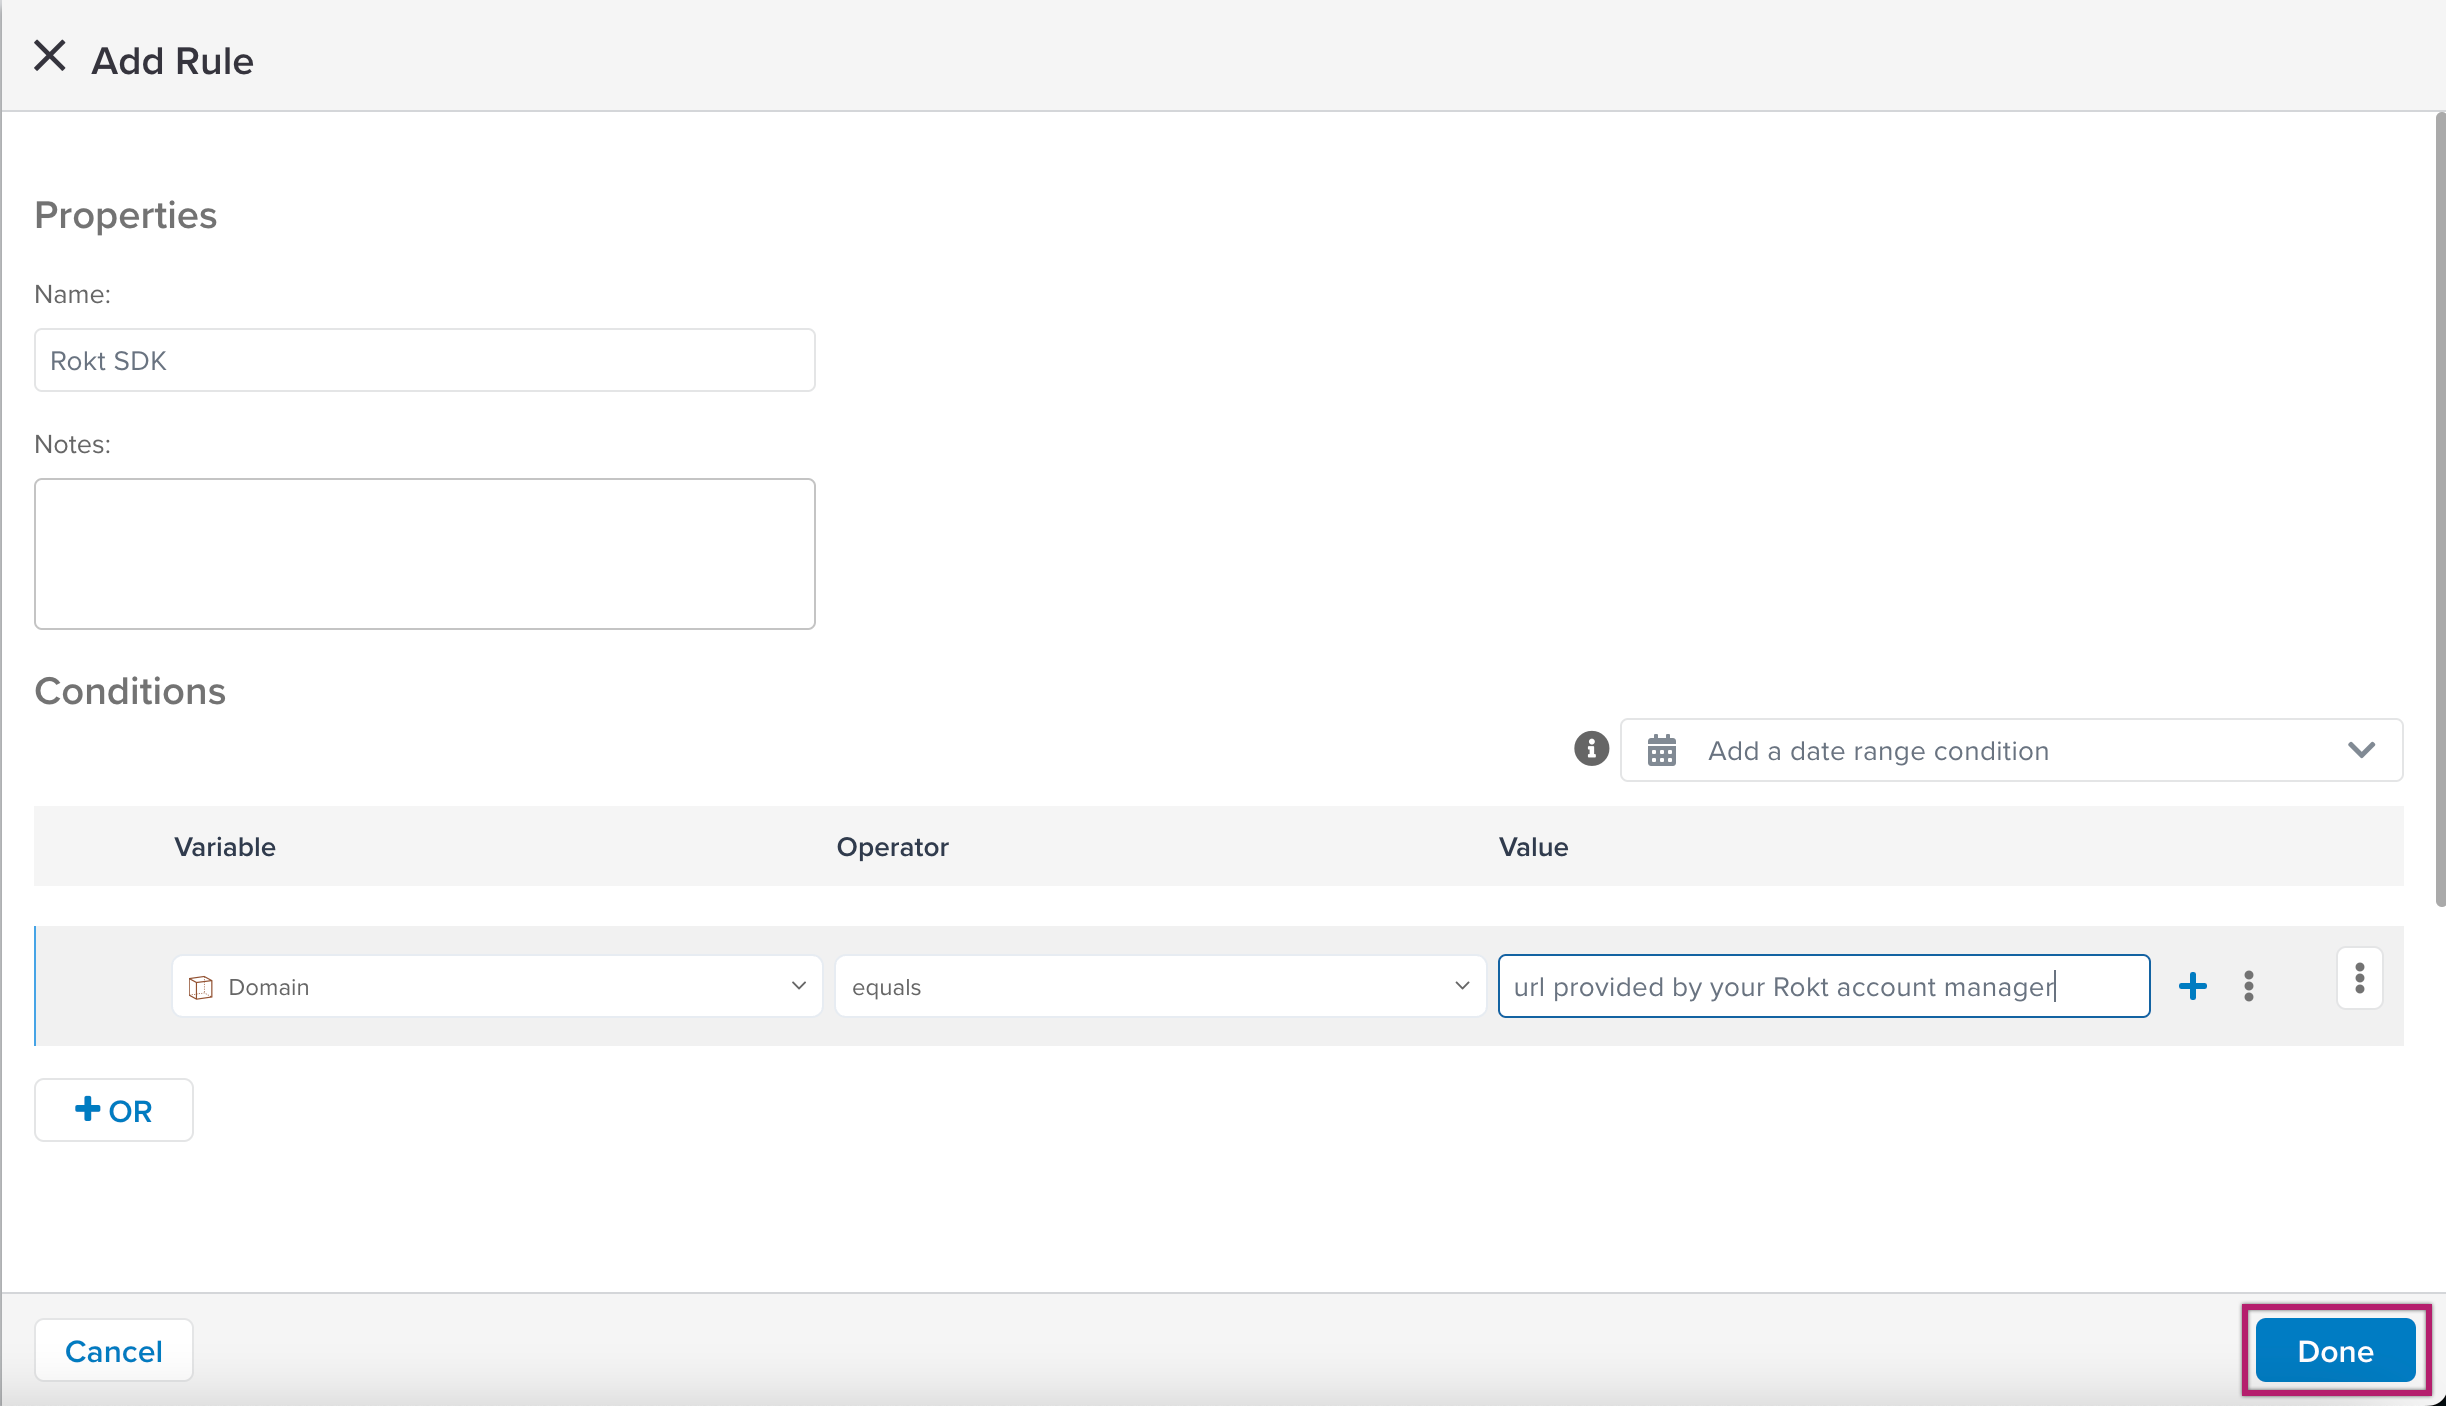
- Click + Create Rule.

- Enter the following information:
- Name: Give your rule a descriptive name.
- Notes: Enter any notes about the rule.
- Variable: Select Domain.
- Operator: Select equals.
- Value: Enter the URL provided by your Rokt account manager.
- Click Done.
- Click Next.
Data Mapping
Mapping is the process of integrating a data layer variable with the corresponding destination variable of the vendor tag.
The most common variable used is the JS emailAddress variable which the below process shows. Other variable categories are listed below.
- Click the dropdown and search for JS.
- Click the Use Custom Variable.
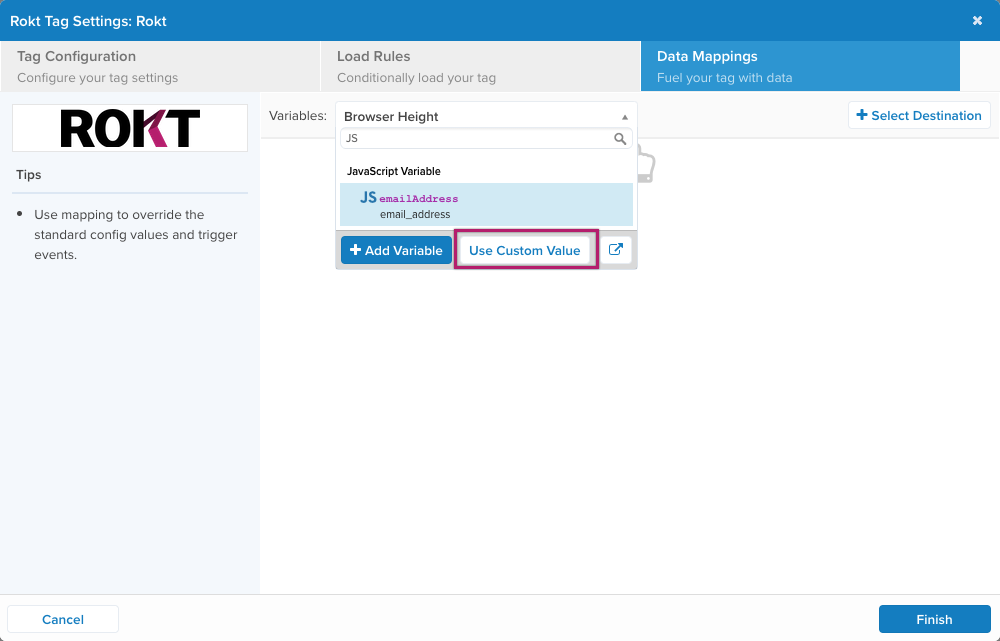
- Select Email and click Done.
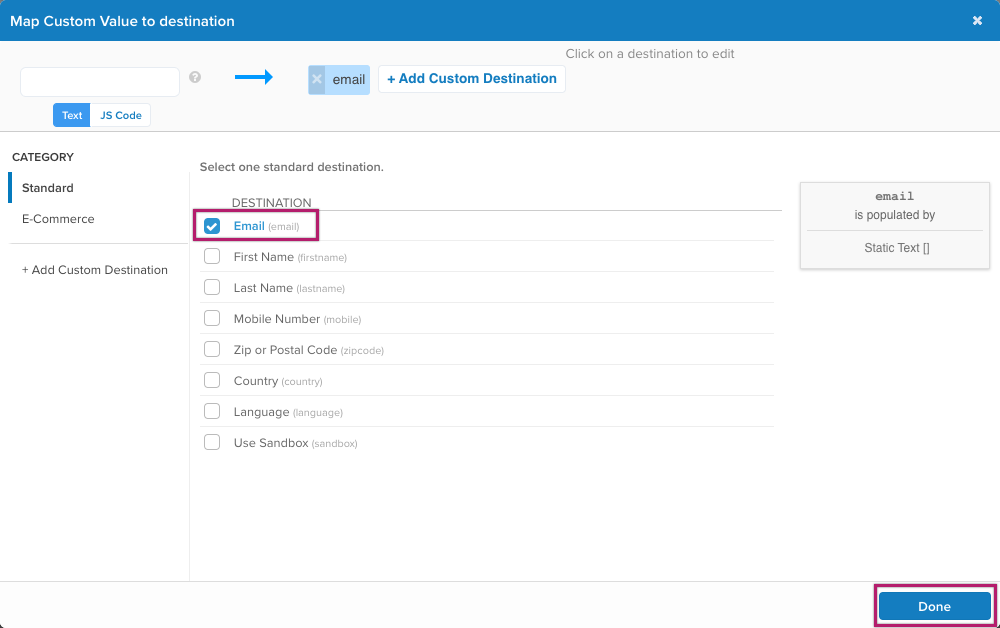
- Add any further variables as needed.
The categories Standard and Ecommerce in Tealium corelate to Core and Suplemental in Rokt.
The available categories are:
Standard
| VARIABLE | DESCRIPTION |
|---|---|
| (email) | |
| First Name | (firstname) |
| Last Name | (lastname) |
| Mobile Number | (in-app-web-pages.md -> mobile-in-app-web-pages.mdx) |
| Zip or Postal Code | (zipcode) |
| Country | (country) |
| Language | (language) |
| Use Sandbox | (sandbox) |
Ecommerce
| VARIABLE | ATTRIBUTE | DESCRIPTION |
|---|---|---|
| Confirmation Number | (confirmationref) | This variable overrides the _corder variable. |
| Amount | (amount) | This variable overrides the _ctotal variable. |
| Currency | (currency) | This variable overrides the _ccurrency variable. |
| Payment Type | (paymenttype) | |
| ccbin | (ccbin) | |
| List of Item Prices | (price) | [Array] This array overrides the_cprice variable. |
| List of Item Quantites | (quantity) | [Array] This array overrides the_cquan variable. |
| List of Item Major Categories | (majorcat) | [Array] This array overrides the_ccat variable. |
| List of Item Major Category IDs | (majorcatid) | [Array] |
| List of Item Minor Categories | (minorcat) | [Array] This array overrides the _ccat2 variable. |
| List of Item Minor Category IDs | (minorcatid) | [Array] |
| List of Product Names | (productname) | [Array] This array overrides the_cprodname variable. |
| List of Item SKUs | (sku) | [Array] This array overrides the_csku variable. |
- Click Finish and you are returned to the Tags Dashboard.
Publish the Rokt Web SDK for Tealium
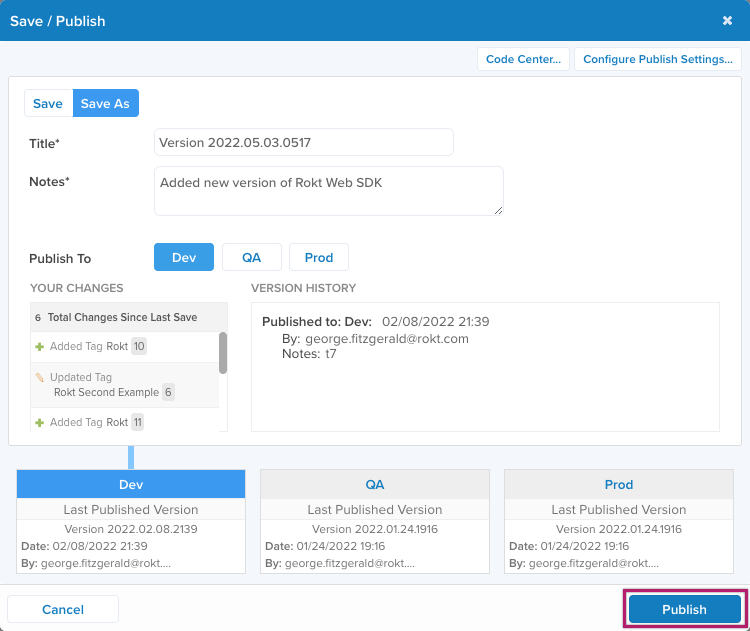
- From the Tags Dashboard, click Save/Publish.
- Enter a Title (mandatory).
- Enter version Notes (mandatory).
- Select where you would like to publish to Dev and/or QA and/or Prod.
- Click Publish.
Connect to the Rokt Event API for Tealium
API Information
This connector uses the following API:
| API information | |
|---|---|
| API Name | Rokt API |
| API Version | 2020-05-21 |
| API Endpoint | https://api.rokt.com |
| Documentation | ROKT Event API |
Batch Limits
This connector uses batched requests to support high-volume data transfers to the vendor. Requests are queued until one of the following three thresholds is met:
| Request parameter | Threshold |
|---|---|
| Max number of requests | 100 |
| Max time since oldest request | 10 minutes |
| Max size of requests | 1 MB |
Connector Actions
| ACTION NAME | AUDIENCESTREAM | EVENTSTREAM |
|---|---|---|
| Send Conversion | ✓ | ✓ |
Add the connection to Rokt
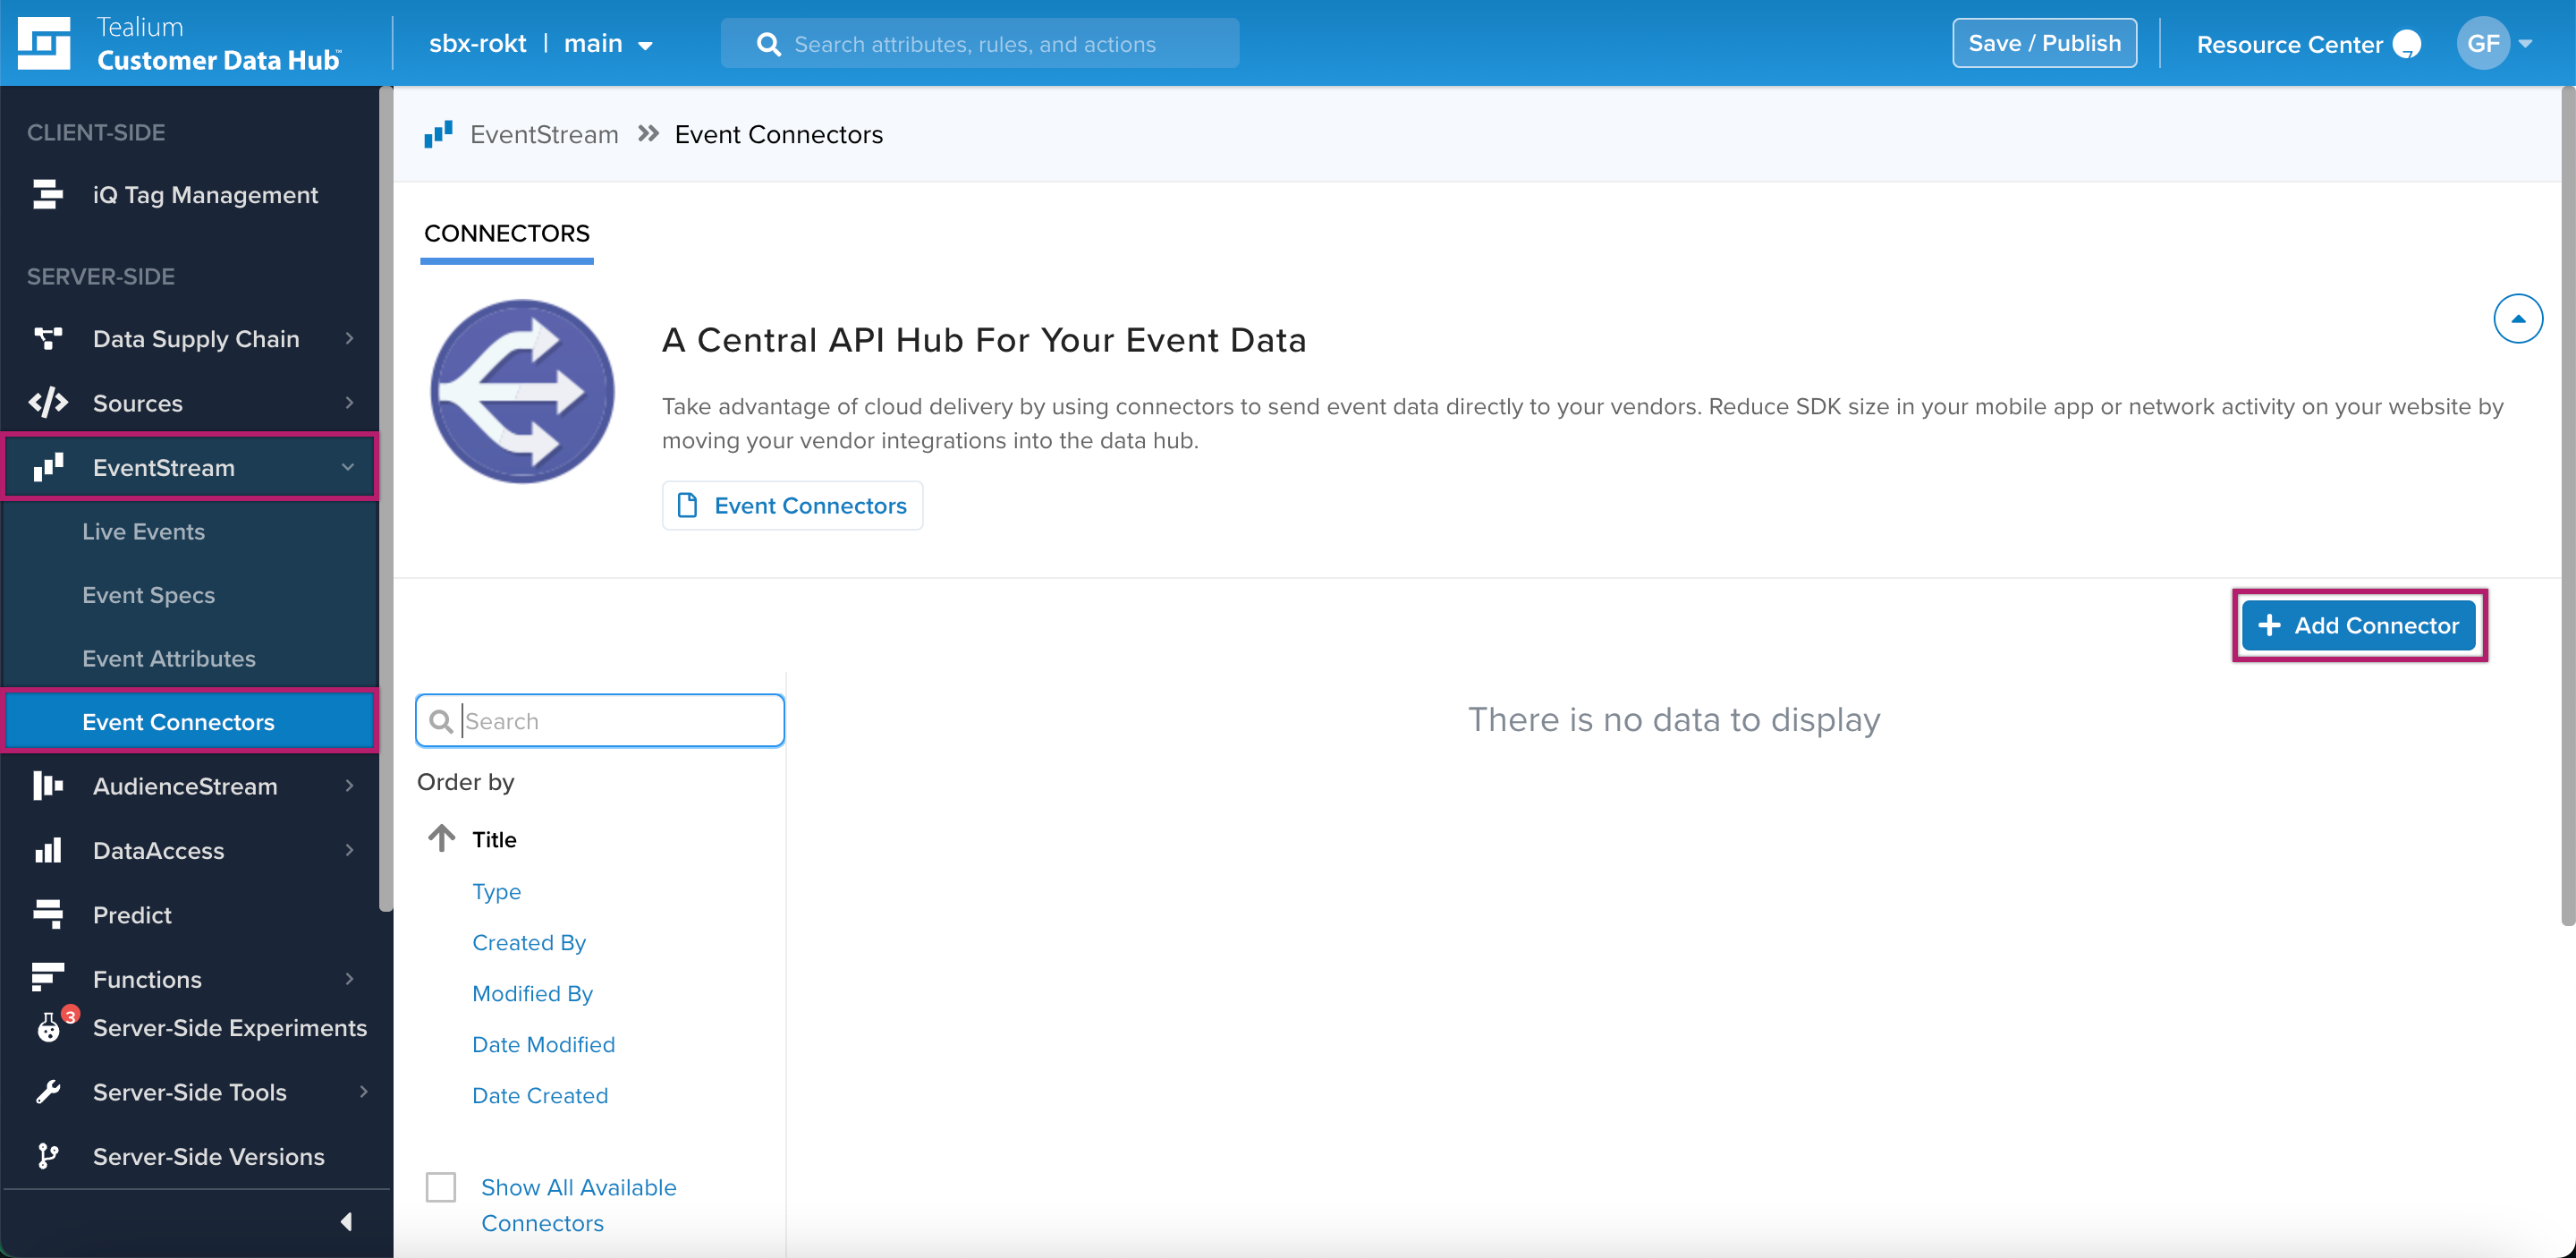
- Log in to Tealium Customer Data Hub and click Event Stream > Event Connectors.
- Click Add Connector.
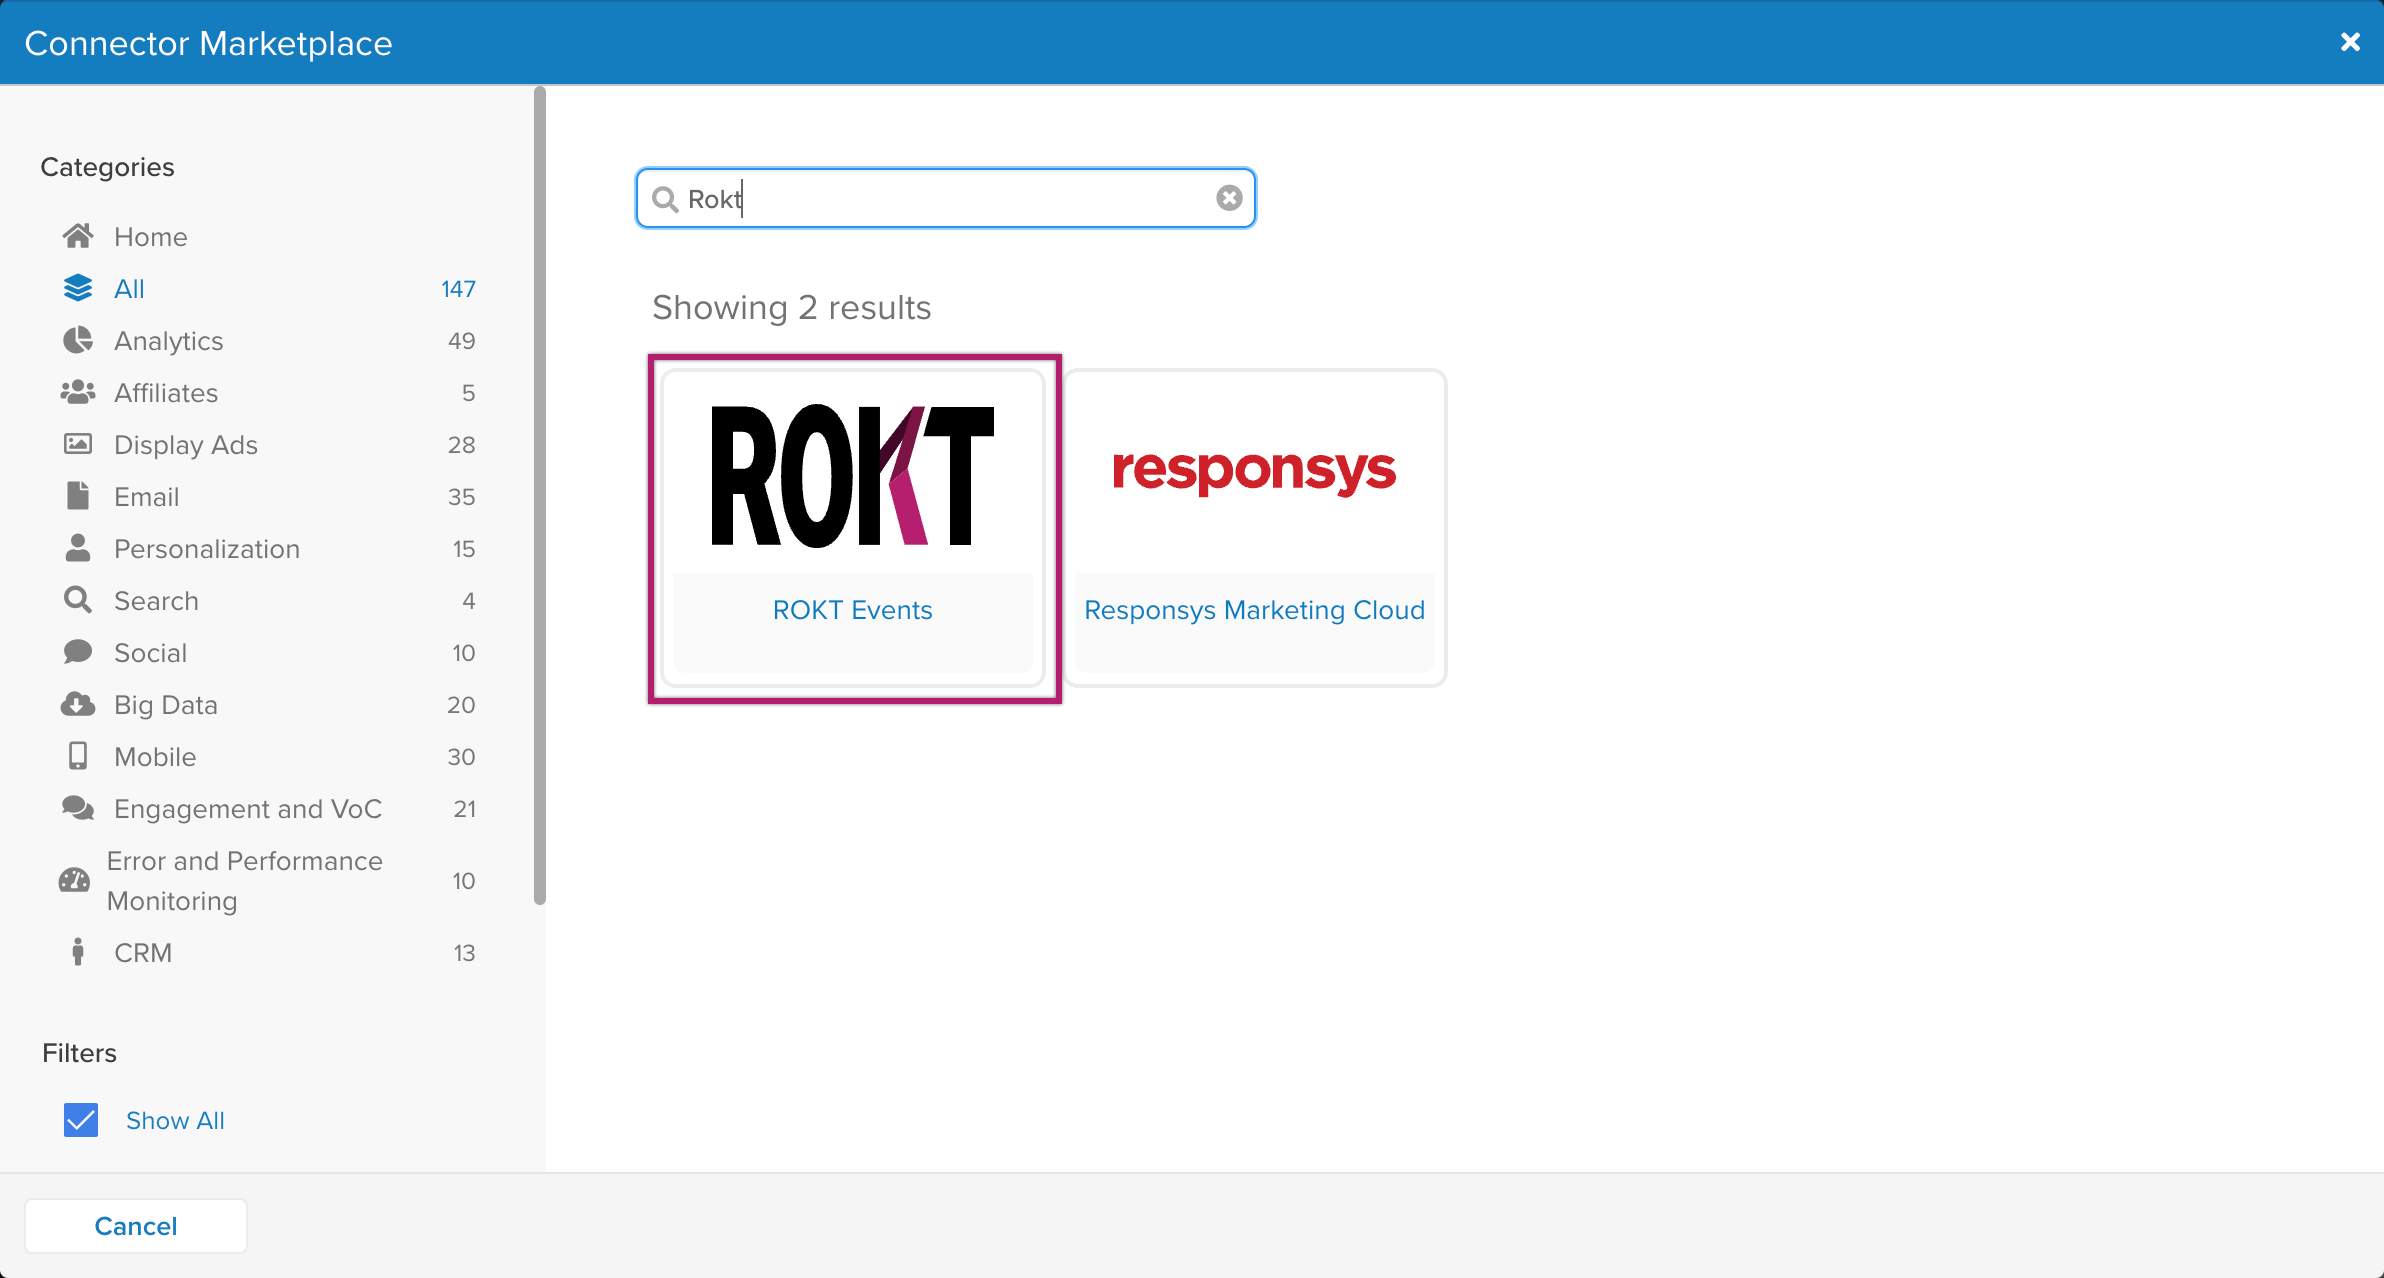
- Search for and select the Rokt connector.
- Click Continue.
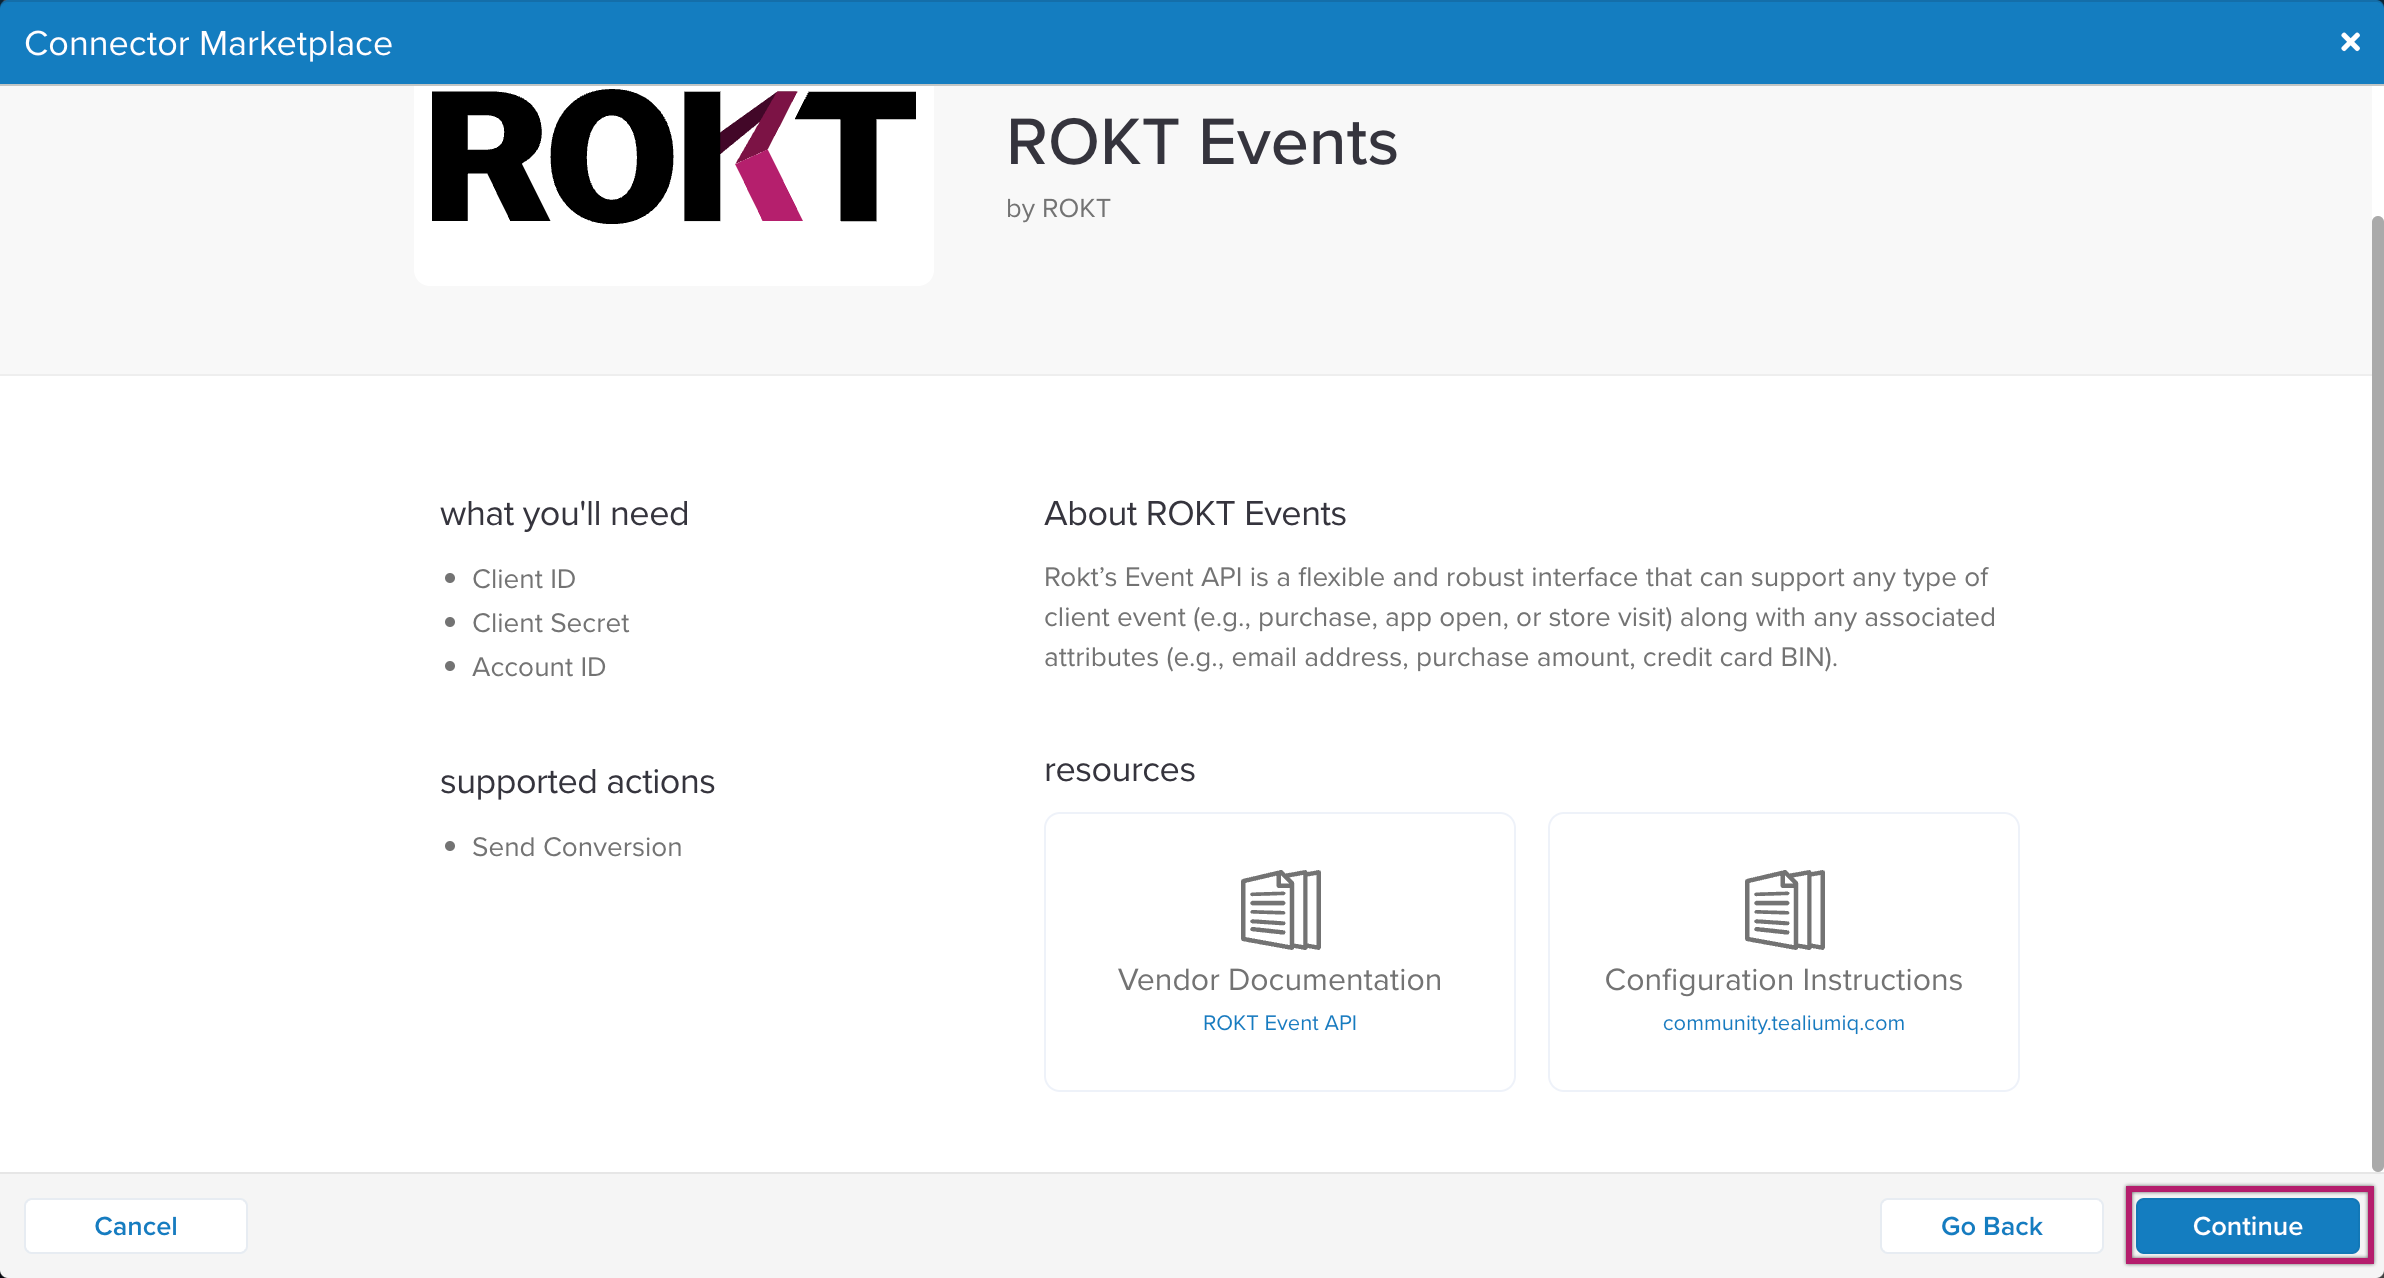
- The Data Source and Event Feed are automatically selected for you. Click Continue.
- Click Add Connector.
- Complete the following:
- Name: Give the connector a name.
- Notes: Make any notes as needed.
- Client ID: Enter your App ID. Click for information on how to Generate your App ID and Secret.
- Client Secret: Enter your App Secret.
- Account ID - Enter the Rokt Account ID provided by your account manager.
- Click Done.
- Click Continue.
- Enter a name for the action and then select the action type from the drop-down menu.
Action — Send Conversion
| PARAMETER | DESCRIPTION |
|---|---|
| Event Type | (Required) Type of event. |
| Event ID | An identifier used to uniquely identify an event. |
| Event Time | Time of the event in UTC. |
| Email passed as plain text, lowercase and without trailing spaces. | |
| Email - emailsha256 (already SHA256 hashed) | SHA-256 hash of email address, already hashed. |
| Email - emailsha256 (apply SHA256 hash) | SHA-256 hash of email address. Tealium will hash. |
| Rokt Tracking ID | A Rokt-generated ID used to match conversion events to the originating click. |
| Conversion Amount | Transaction amount. |
| Currency Code | Currency code. |
| Quantity | The quantity (integer) of item within the specific conversion. |
| Conversion Type | Used to differentiate between different conversion events. |
| Product Names | The name of the product(s) purchased. |
| Product SKUs | The identifier of the product purchased (Note: Only accepts one SKU). |
| Payment Type | The payment method used during the transaction. |
| Credit �Сard BIN | Credit card BIN of converting payment. |
| Margin | Profit margin of conversion in absolute terms - ie 10.12 for a $10.12 profit margin. |
| Transaction ID | Transaction ID, used to identify a unique transaction. |
| Confirmation Reference ID | Confirmation reference ID. |
| Customer First Name | Customer's first name. |
| Customer First Name (already SHA256 hashed) | SHA-256 hash of first name, already hashed. |
| Customer First Name (apply SHA256 hash) | SHA-256 hash of first name. Tealium to hash. |
| Customer Last Name | Customer's last name. |
| Customer Last Name (already SHA256 hashed) | SHA-256 hash of last name, already hashed. |
| Customer Last Name (apply SHA256 hash) | SHA-256 hash of last name. Tealium to hash. |
| Mobile Phone Number | Mobile phone number of converting customer. |
| Mobile Phone Number (already SHA256 hashed) | SHA-256 hash of phone number, already hashed. |
| Mobile Phone Number (apply SHA256 hash) | SHA-256 hash of phone number. Tealium to hash. |
| Customer IP Address | Customer's IP address. |
| Customer IP Address (already SHA256 hashed) | SHA-256 hash of customer's IP address, already hashed. |
| Customer IP Address (apply SHA256 hash) | SHA-256 hash of customer's IP address. Tealium to hash. |
| User Agent | Browser user agent of converting customer. |
| Device Type | Type of device. |
| Device Operating System | Device operating system. |
| OS Version | Operating system version. |
| Browser | Browser. |
| Browser Version | Browser version. |
| Customer Title | Title of the customer. |
| Customer Gender | Gender of the customer. |
| Customer Date of Birth | In the format yyyymmdd. |
| Customer Age | Age of the customer. |
| Language | Language associated with the purchase. |
| Unit Number | Unit number associated with address. |
| Address 1 | First line of street address. |
| Address 2 | Second line of street address. |
| Customer Postal Code | Customer postal code. |
| Customer City | Customer city. |
| Customer State | Customer state. |
| Customer Country | Customer country. |
| Meta Data | Non-business critical information about the event. |
- Complete Conversion Data and Meta Data sections as required. See POST Events for further information.
- Click Finish.
- Click Save and Publish.
- Give your Connector a Title and Description.
- Click OK.