Set up Tealium
There are two ways to connect with Tealium to track conversions: through the Rokt Web SDK or the Rokt Event API.
Rokt Web SDK setupDirect link to Rokt Web SDK setup
To properly match conversions to campaign events, Rokt requires a customer identifier; either raw email, hashed email (SHA-256) or Rokt Tracking ID.
Including contextual data in your conversion reporting helps Rokt optimize your campaigns.
Add the Rokt Web SDKDirect link to Add the Rokt Web SDK
- Log in to Tealium Customer Data Hub.
- Click iQ Tag Management > Tags.
- Click + Add Tag.
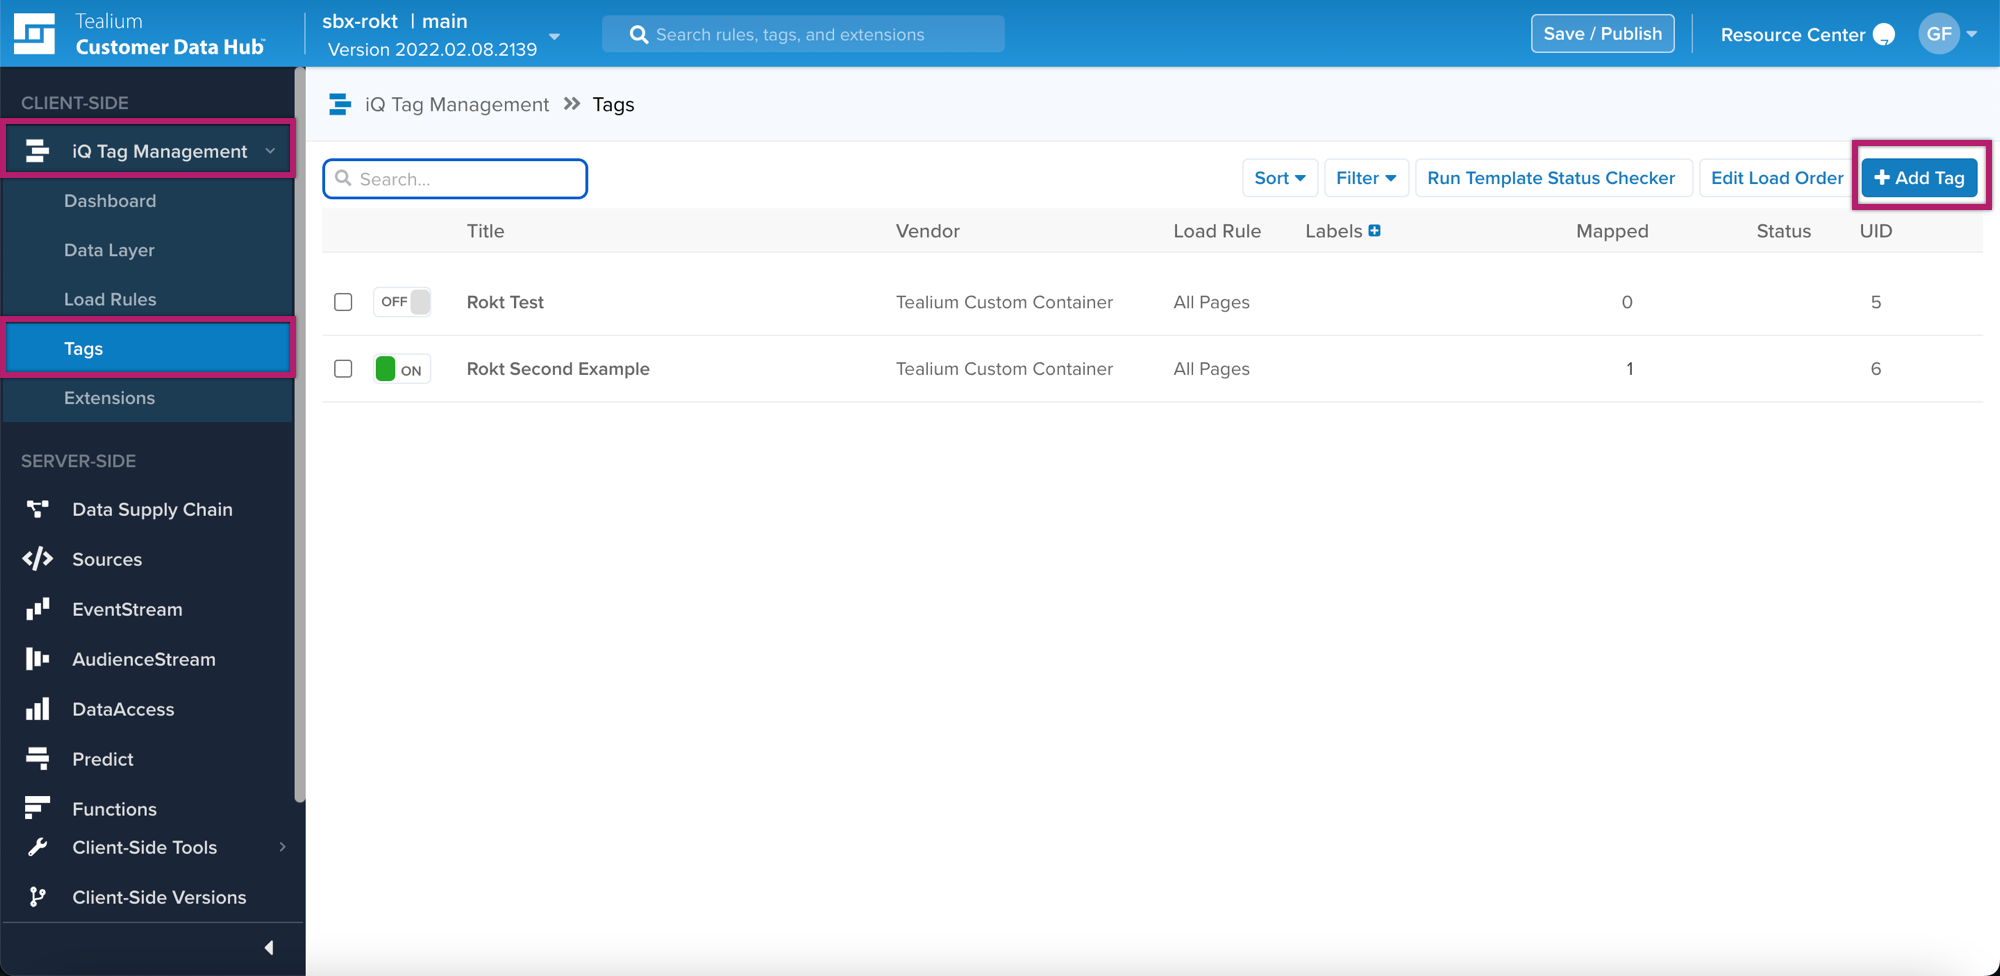
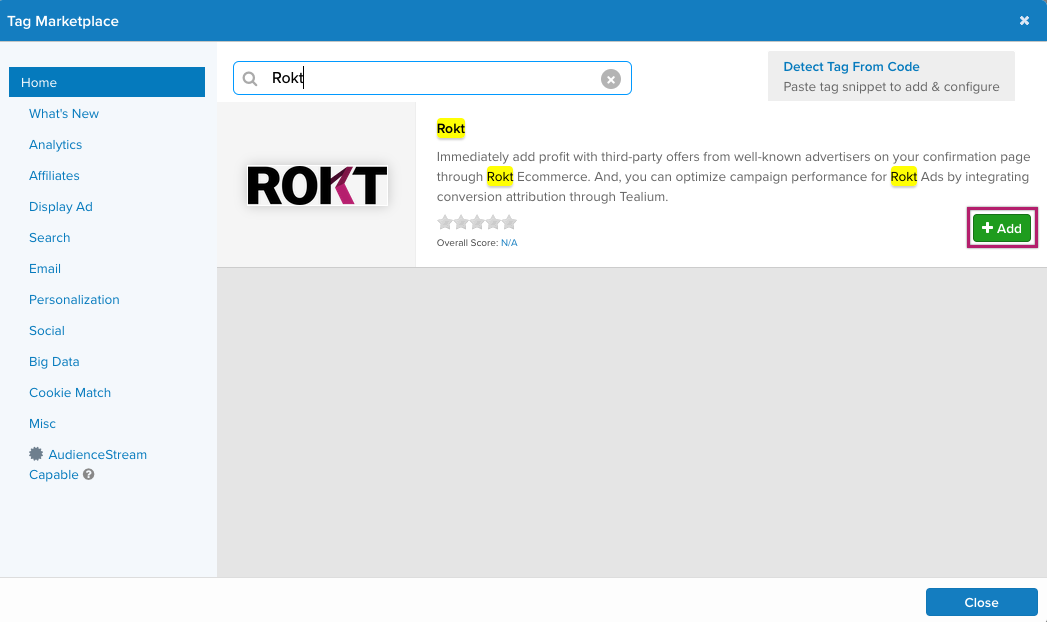
- Search for Rokt.
- Click +Add.
Configure the Rokt Web SDKDirect link to Configure the Rokt Web SDK
- Configure the following settings:
- Rokt Account ID: Enter the Rokt account ID provided by your account manager.
- Two-step Email (Optional - Ecommerce only): Select True if you would like to send an email on positive engagement.
- Use Sandbox (Optional - Ecommerce only): Select True if you wold like to send events to a sandbox account for testing.
- PUBLISH LOCATIONS: Select Yes or No for publish locations and whether you want to use the Bundle Flag.
- ADVANCED SETTINGS:
- Tag Timing: Determines the timing of the tag firing.
- Send Flag: Determines whether or not this library has event level data sent to it for tracking.
- Synchronous Load Type: Set when the library needs to load synchronously.
- Custom Script Source: Set when the library that supports this tag is served from an alternate location.
- Click Next.
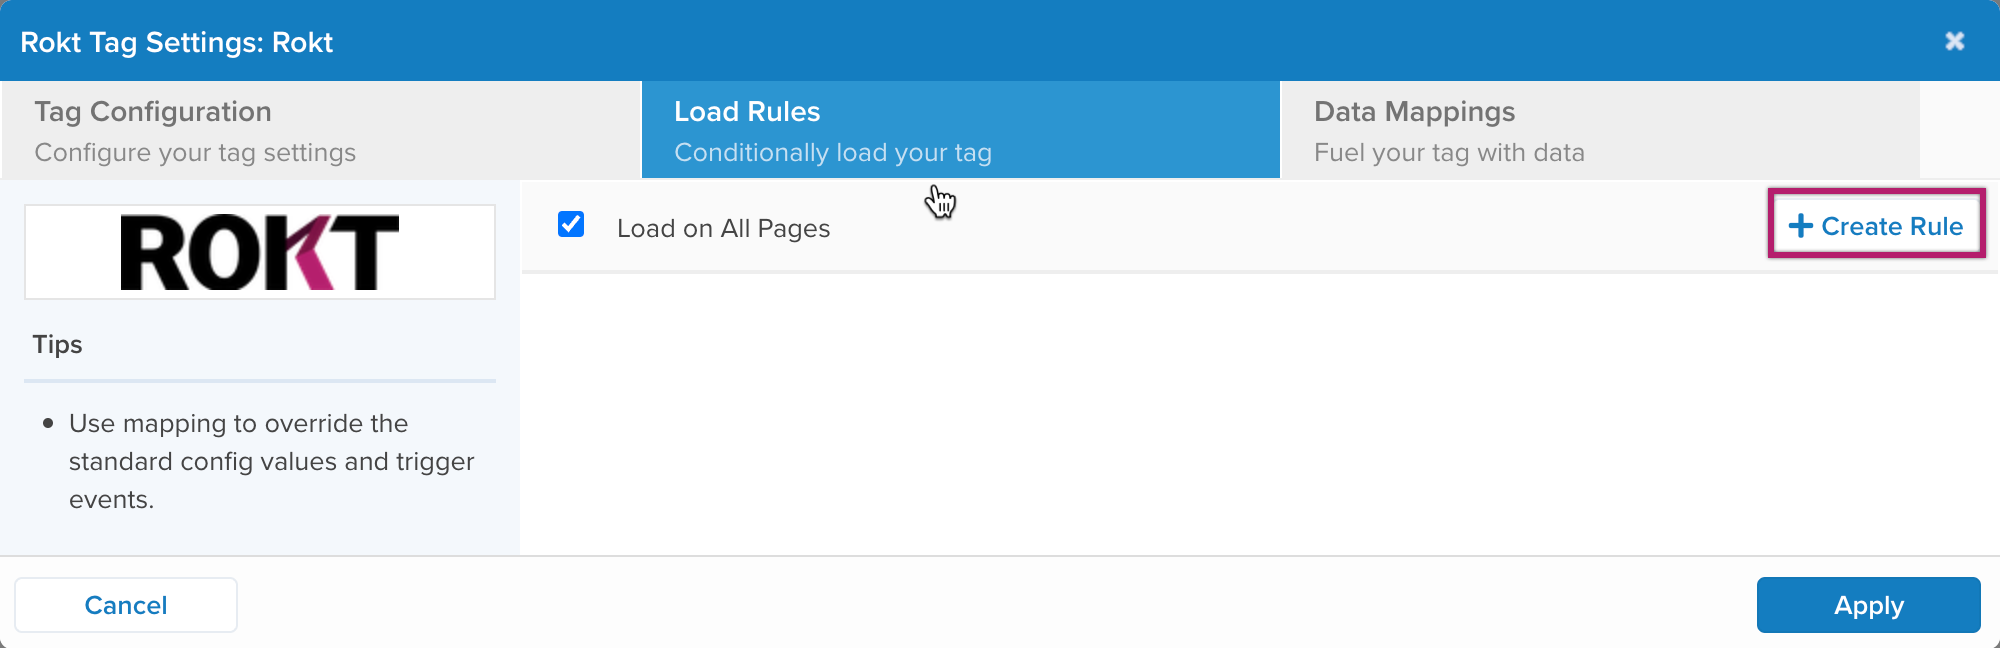
Create a Load RuleDirect link to Create a Load Rule
Load Rules in Tealium determine when and where to load an instance of the Rokt Web SDK on your site.
- Click + Create Rule.
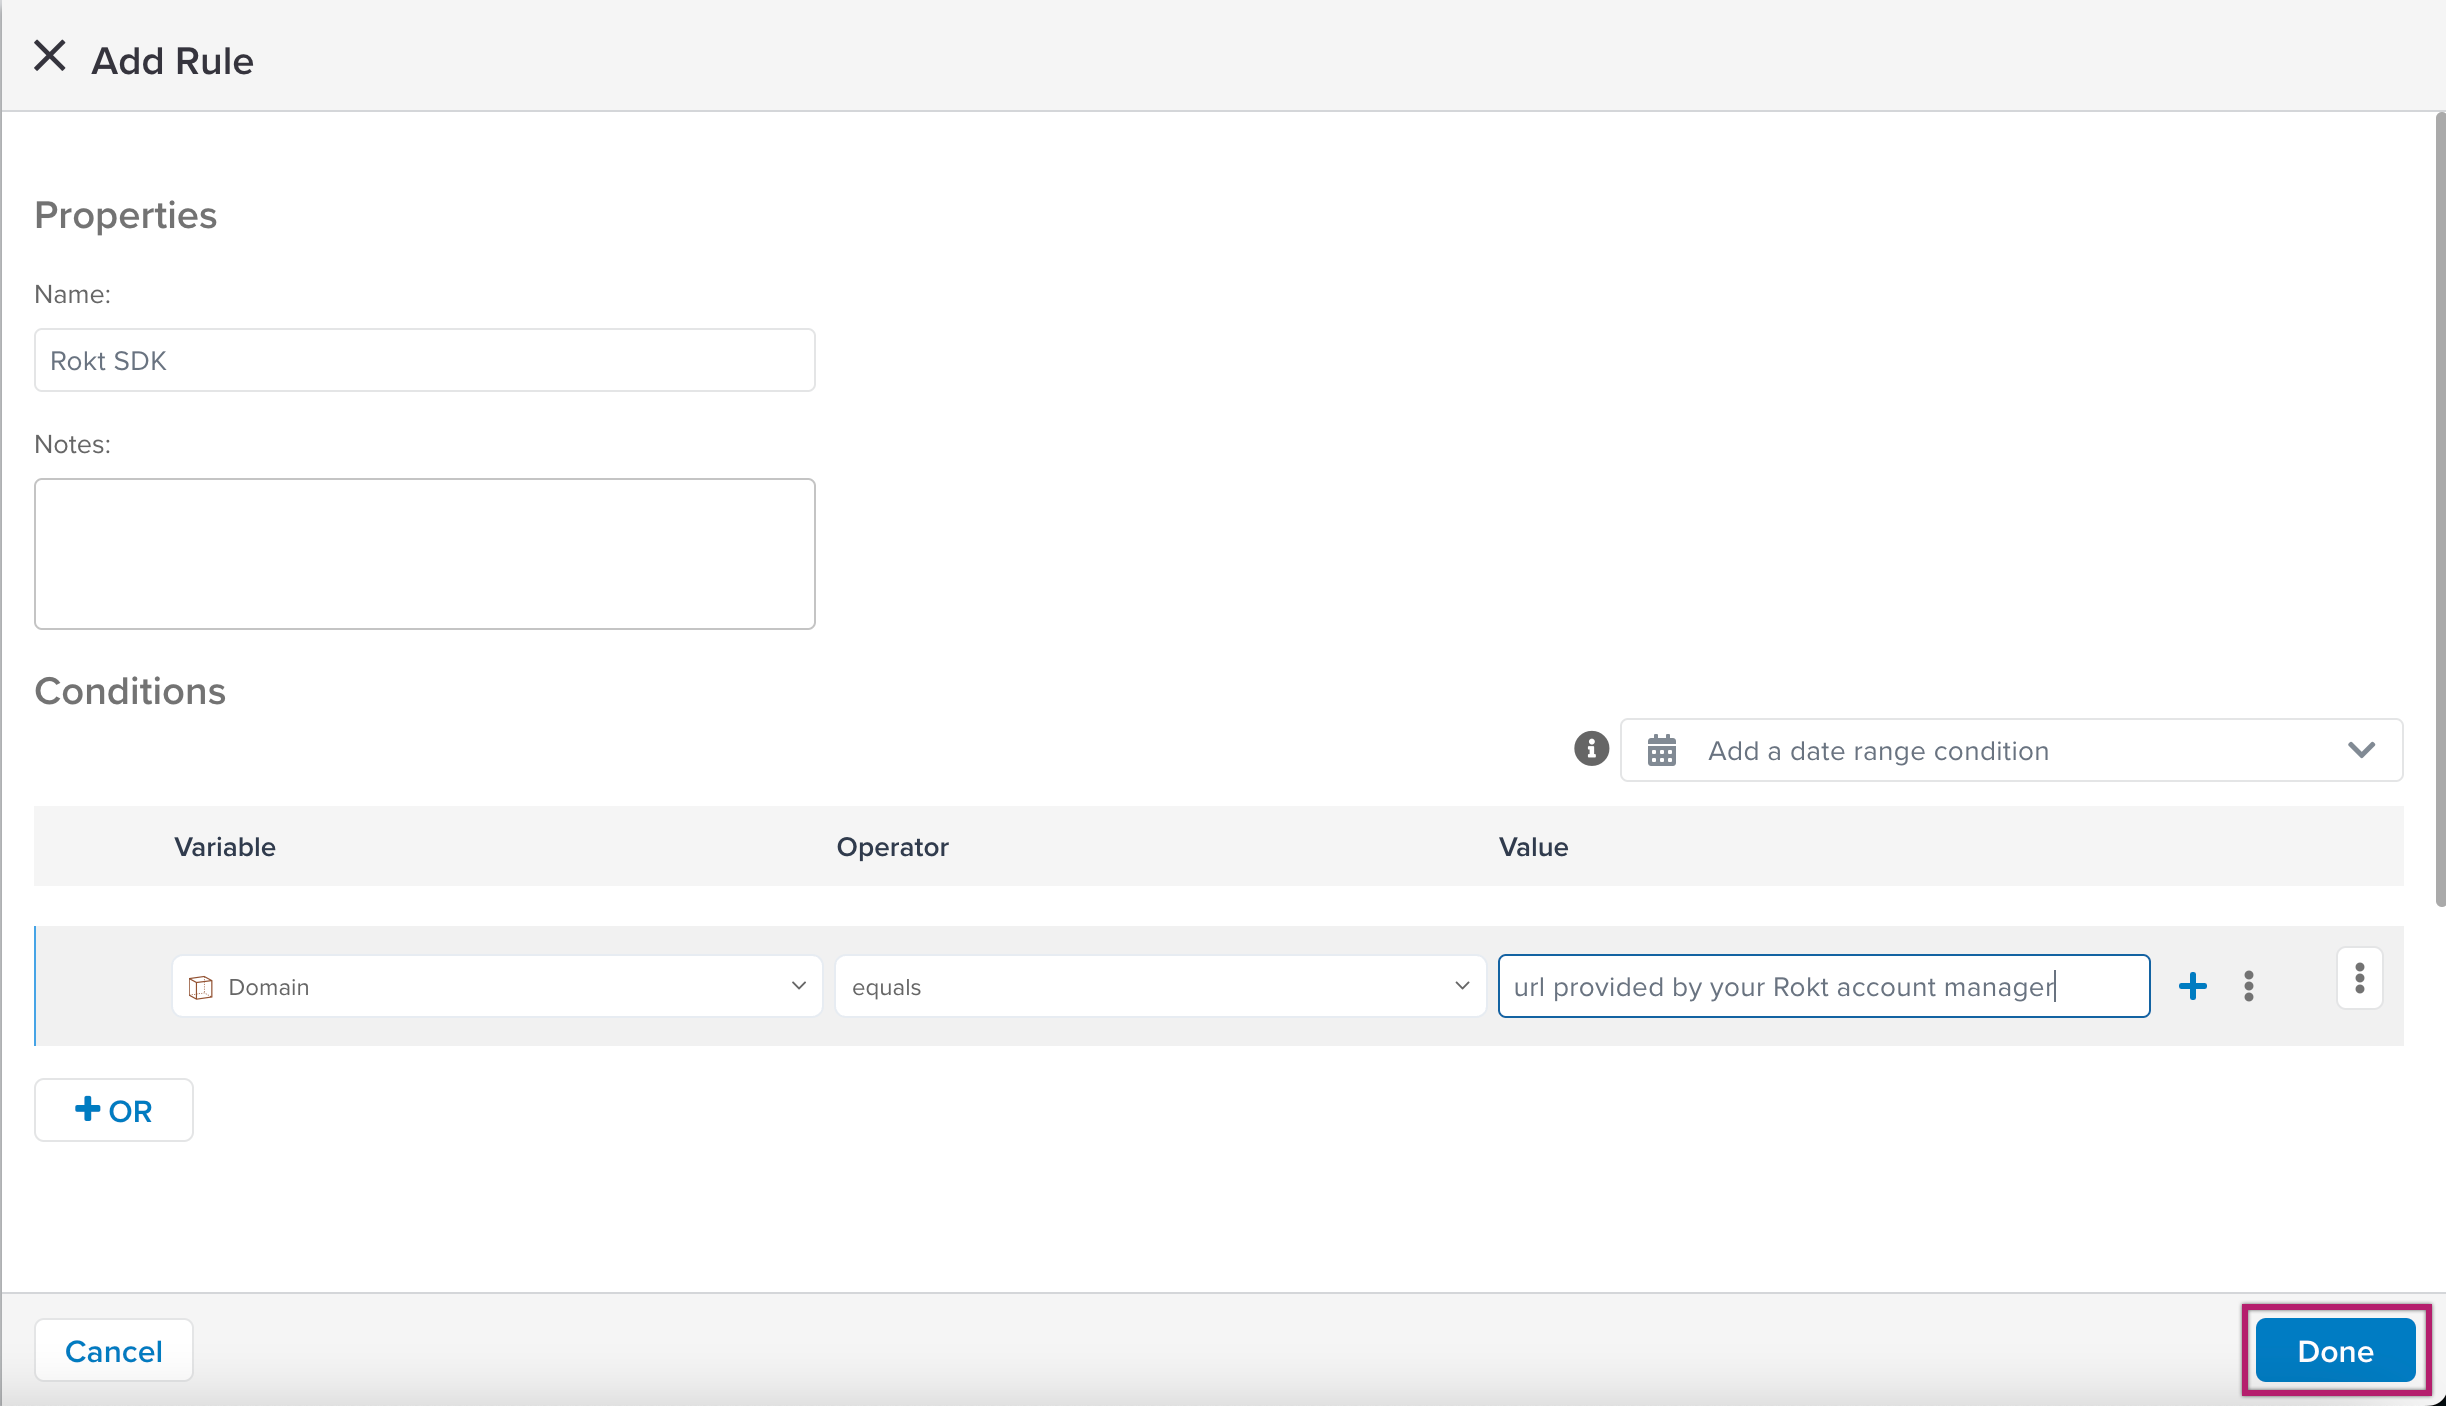
- Enter the following information:
- Name: Give your rule a descriptive name.
- Notes: Enter any notes about the rule.
- Variable: Select Domain.
- Operator: Select equals.
- Value: Enter the URL provided by your Rokt account manager.
- Click Done.
- Click Next.
Data MappingDirect link to Data Mapping
Mapping is the process of integrating a data layer variable with the corresponding destination variable of the vendor tag.
The most common variable used is the JS emailAddress variable which the below process shows. Other variable categories are listed below.
- Click the dropdown and search for JS.
- Click the Use Custom Variable.
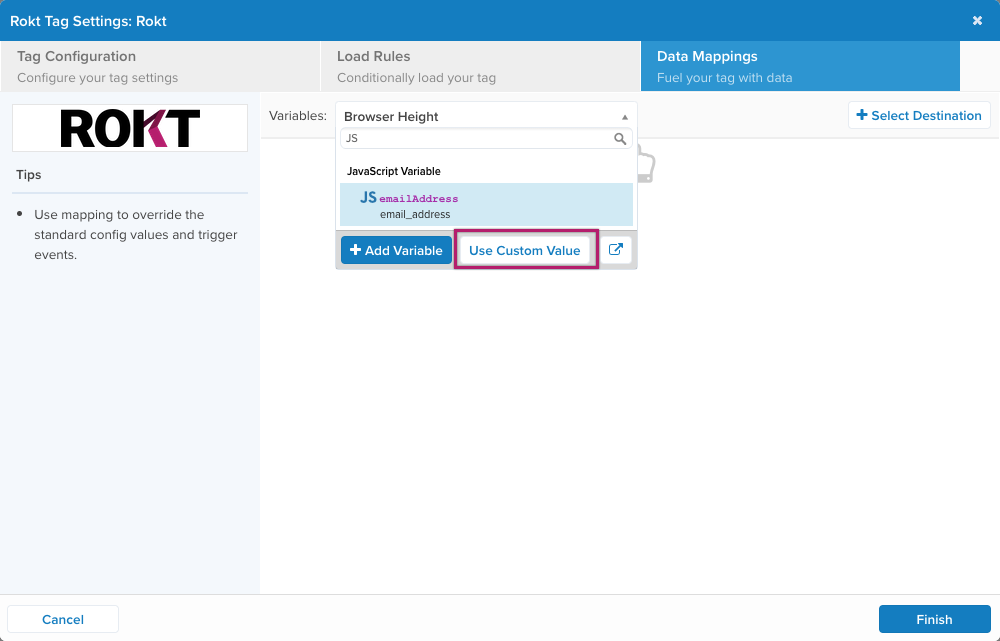
- Select Email and click Done.
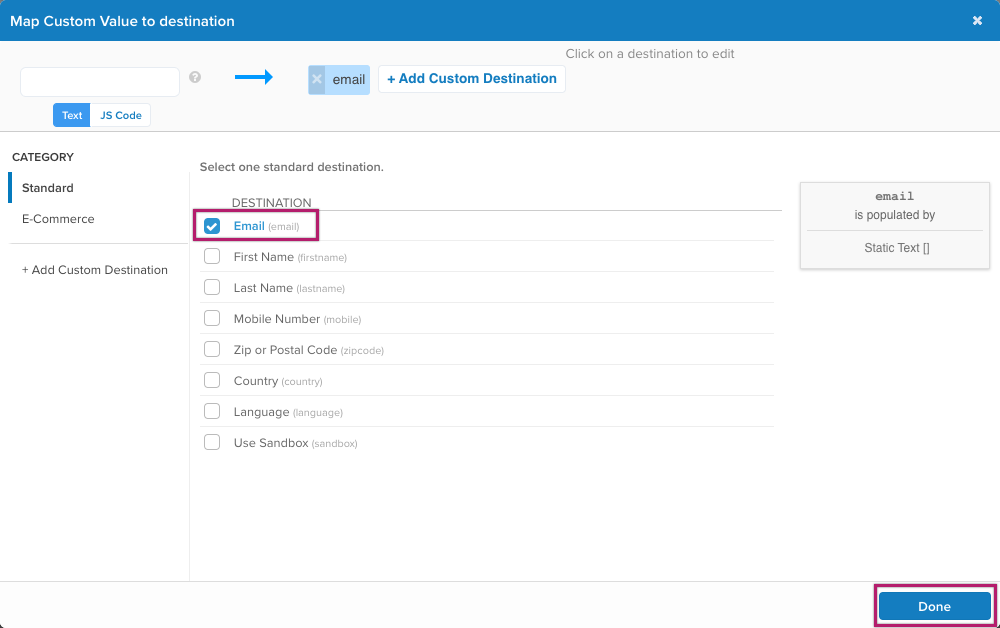
- Add any further variables as needed.
The categories Standard and Ecommerce in Tealium corelate to Core and Suplemental in Rokt.
The available categories are:
StandardDirect link to Standard
| VARIABLE | DESCRIPTION |
|---|---|
| (email) | |
| First Name | (firstname) |
| Last Name | (lastname) |
| Mobile Number | (in-app-web-pages.md -> mobile-in-app-web-pages.mdx) |
| Zip or Postal Code | (zipcode) |
| Country | (country) |
| Language | (language) |
| Use Sandbox | (sandbox) |
EcommerceDirect link to Ecommerce
| VARIABLE | ATTRIBUTE | DESCRIPTION |
|---|---|---|
| Confirmation Number | (confirmationref) | This variable overrides the _corder variable. |
| Amount | (amount) | This variable overrides the _ctotal variable. |
| Currency | (currency) | This variable overrides the _ccurrency variable. |
| Payment Type | (paymenttype) | |
| ccbin | (ccbin) | |
| List of Item Prices | (price) | [Array] This array overrides the_cprice variable. |
| List of Item Quantites | (quantity) | [Array] This array overrides the_cquan variable. |
| List of Item Major Categories | (majorcat) | [Array] This array overrides the_ccat variable. |
| List of Item Major Category IDs | (majorcatid) | [Array] |
| List of Item Minor Categories | (minorcat) | [Array] This array overrides the _ccat2 variable. |
| List of Item Minor Category IDs | (minorcatid) | [Array] |
| List of Product Names | (productname) | [Array] This array overrides the_cprodname variable. |
| List of Item SKUs | (sku) | [Array] This array overrides the_csku variable. |
- Click Finish and you are returned to the Tags Dashboard.
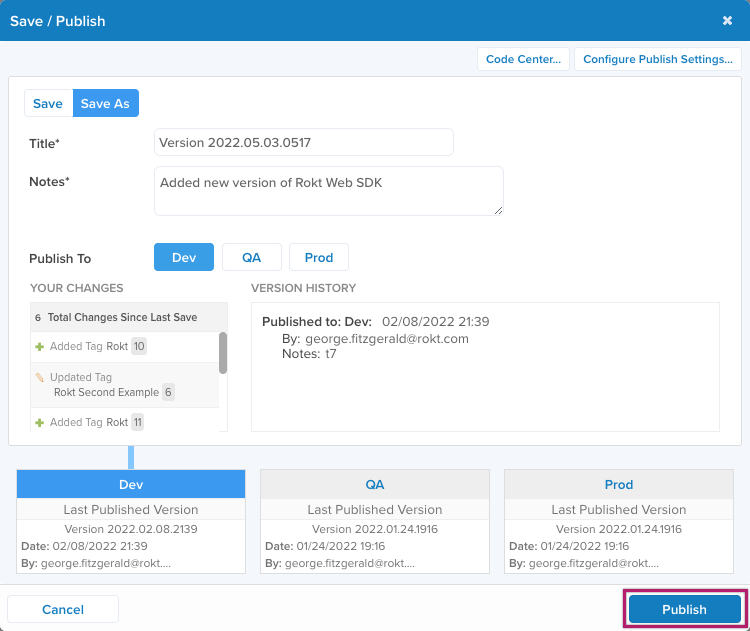
Publish the Rokt Web SDK for TealiumDirect link to Publish the Rokt Web SDK for Tealium
- From the Tags Dashboard, click Save/Publish.
- Enter a Title (mandatory).
- Enter version Notes (mandatory).
- Select where you would like to publish to Dev and/or QA and/or Prod.
- Click Publish.
Rokt Event API ConnectorDirect link to Rokt Event API Connector
To extend this implementation to enable the Rokt Events Connector from Tealium, refer to our Tealium CDP Documentation.