Target an audience
Create a new audienceDirect link to Create a new audience
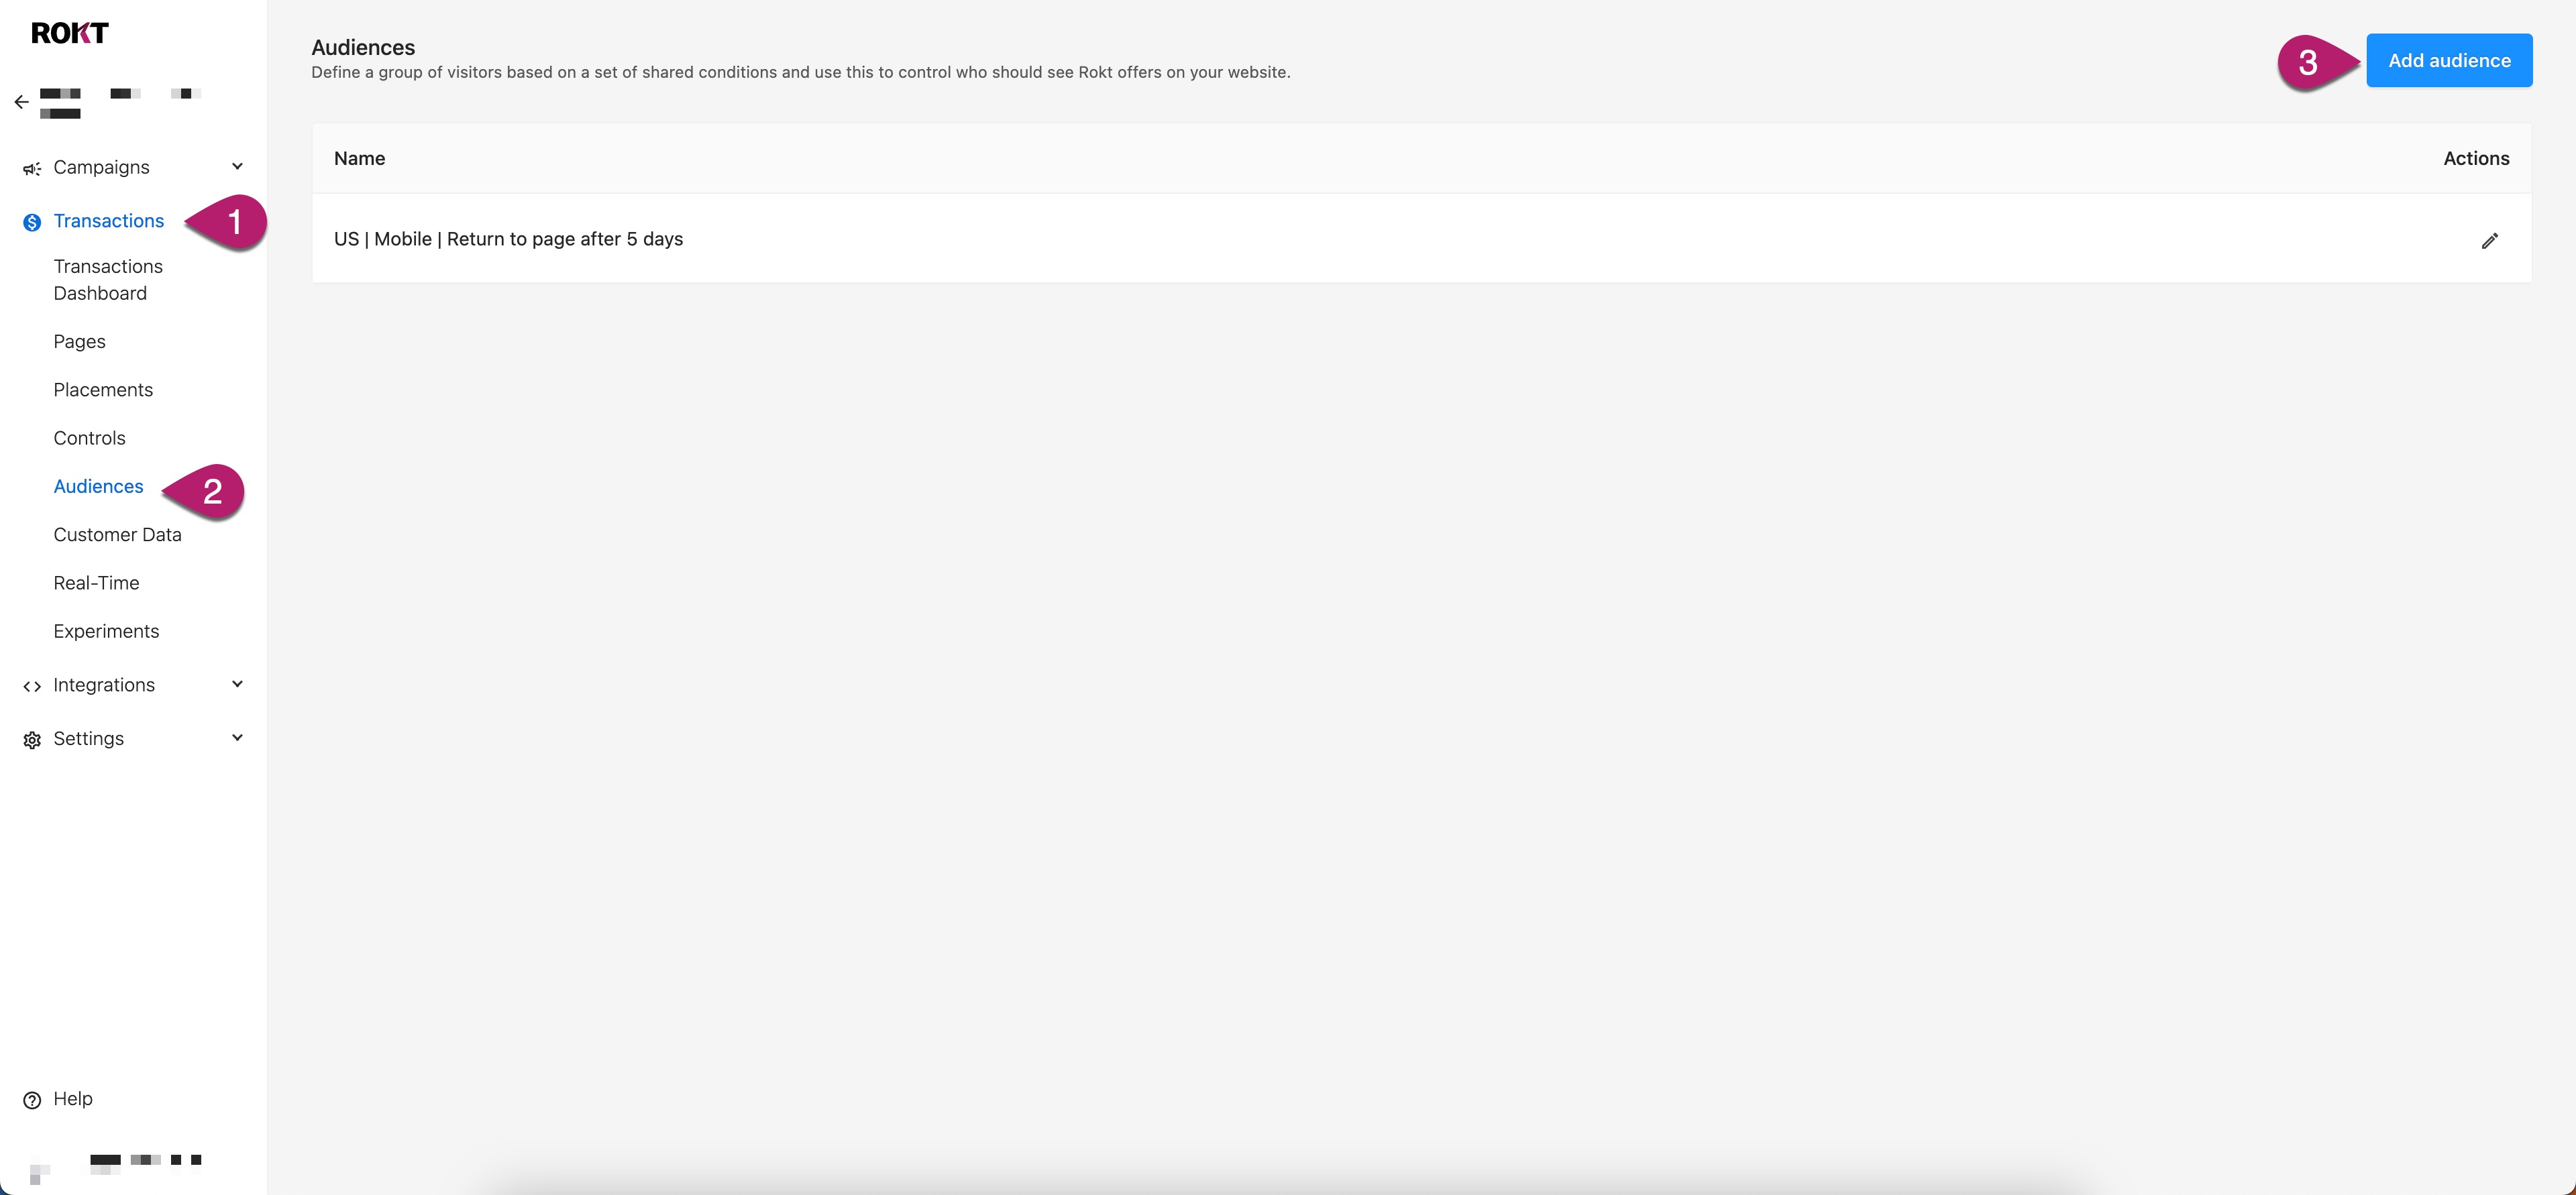
- Log on to your Rokt account
- Click Transactions.
- Click Audiences.
- Click Add Audience.
- Click Add a rule.
- Select from the available rule types:
- Device.
- Country.
- Custom audience.
- Tag attribute.
After you create an audience, associate it to a page variant by going to Transactions > Pages and editing an existing page or creating a new page. Once you add a page variant to a page, you can select the audience that you would like to associate to the page variant.
Target different versions of a layout on the same page?Direct link to Target different versions of a layout on the same page?
There are two scenarios where you may want to show different versions of the same layout to customers on your page.
-
To control which offers show on the layout. For example:
-
You have a list of event IDs with a different blocklist of verticals or advertisers to the standard experience.
-
You have a custom audience list of customers who should see only internal offers.
-
Major categories have different vertical allow/block rules.
-
-
To test different UX variations of your layout for specific customer groups.
To configure, create multiple page variants and associate each with a different layout and audience. This ensures layouts within the variant only show to visitors who match your desired targeting conditions.
We recommend only using targeting in this way when you allow Rokt to optimize the traffic distribution for the page variant. This allows Rokt to maximize the possible value per transaction on the page, while also respecting your targeting rules. It also ensures that we always show a Rokt layout to eligible visitors.