Singular
Rokt Events Connection via SingularRokt Events Connection via Singular への直接リンク
This guide provides a straightforward process for integrating Rokt Events with Singular. It covers the event integration only.
注記
You will need an API Key from your Rokt team.
- Navigate to https://app.singular.net and log in.
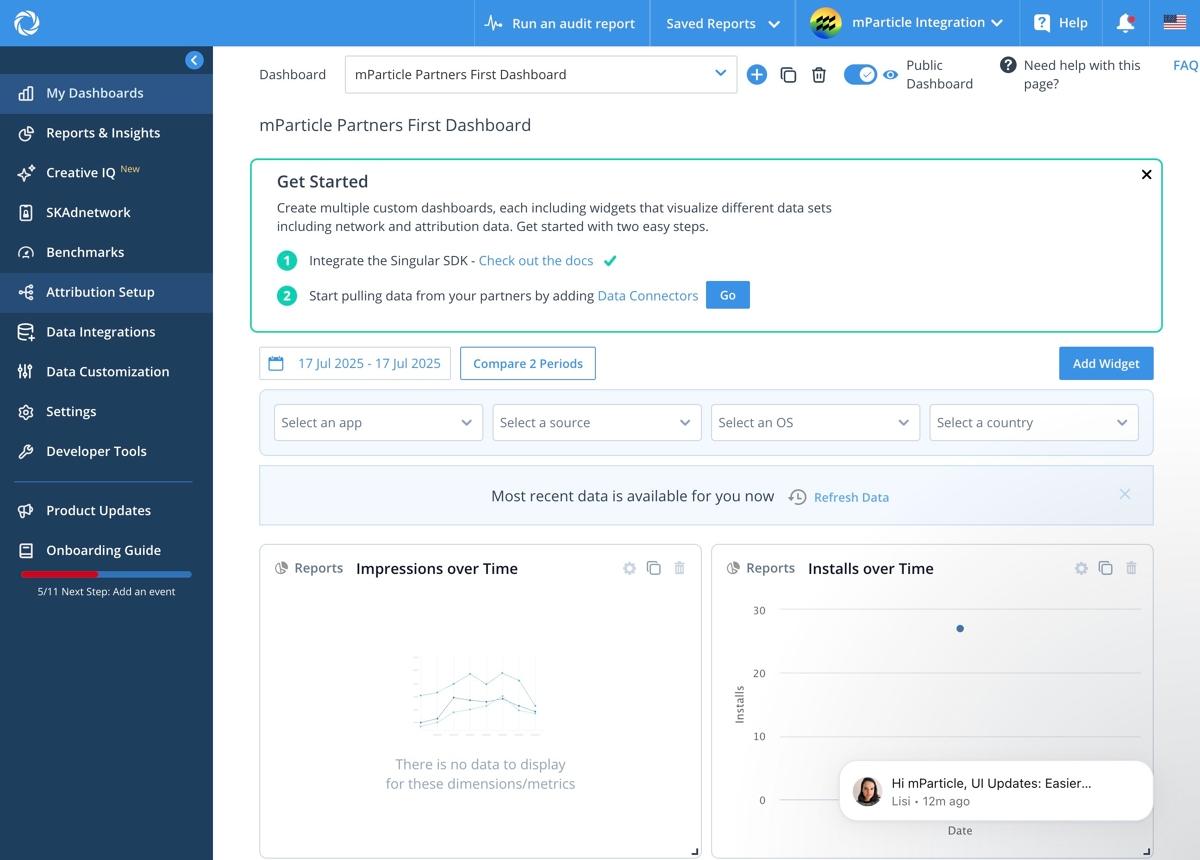
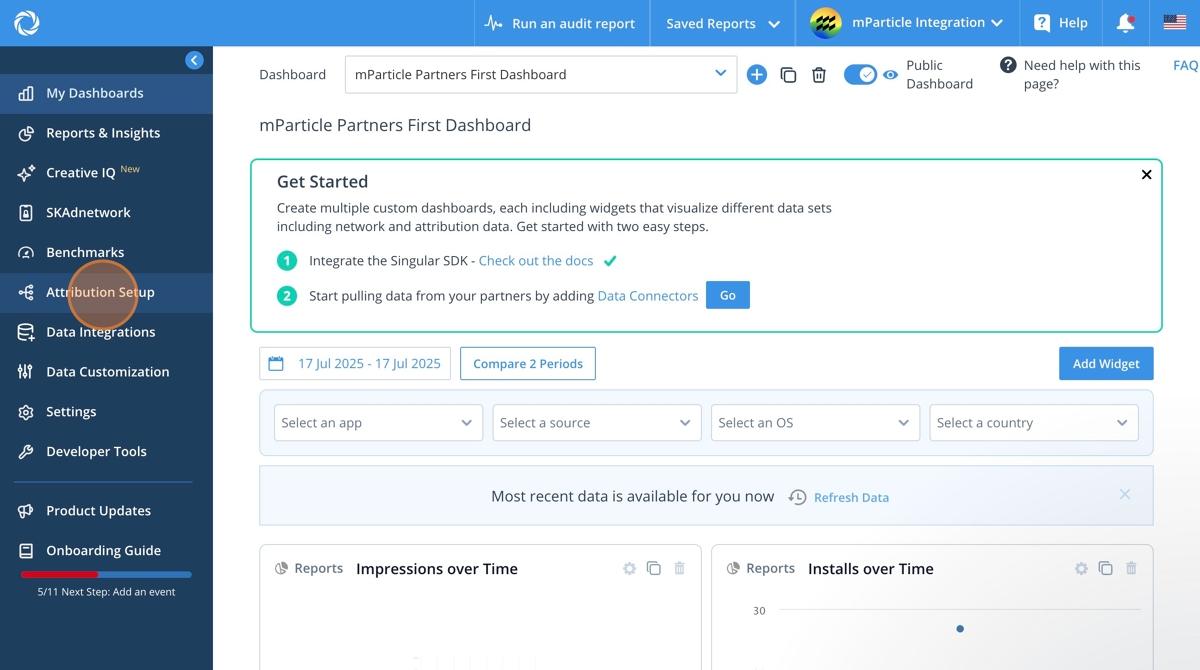
- Click Attribution Setup in the left hand menu.
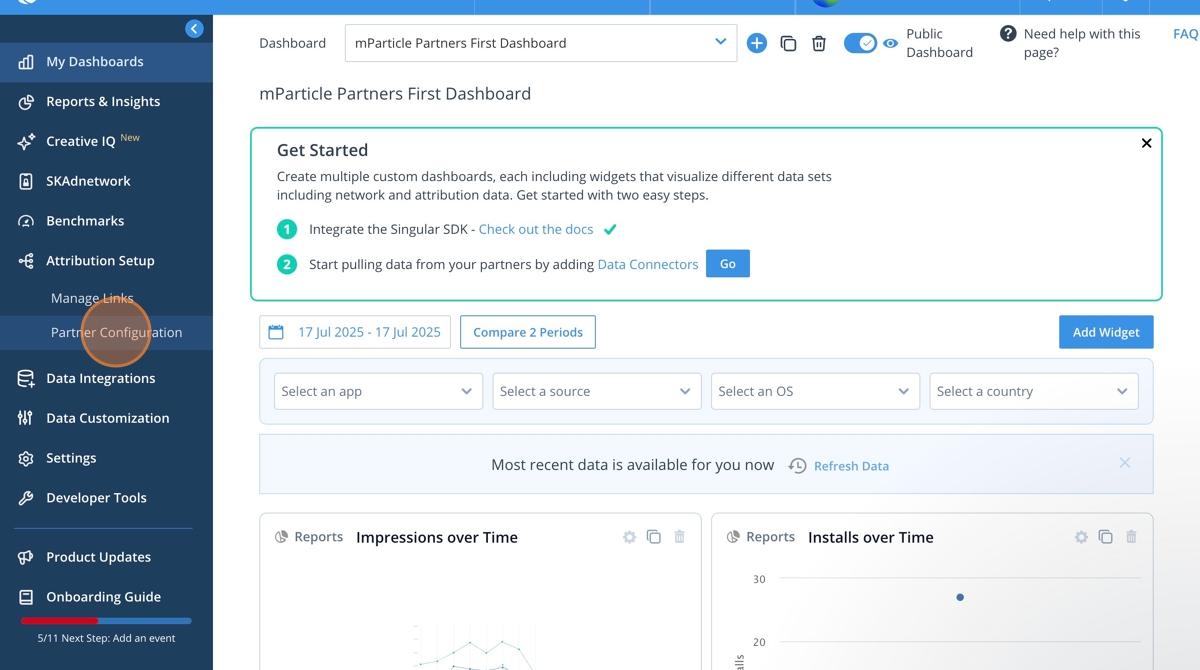
- Click Partner Configuration.
- Click in the search bar.
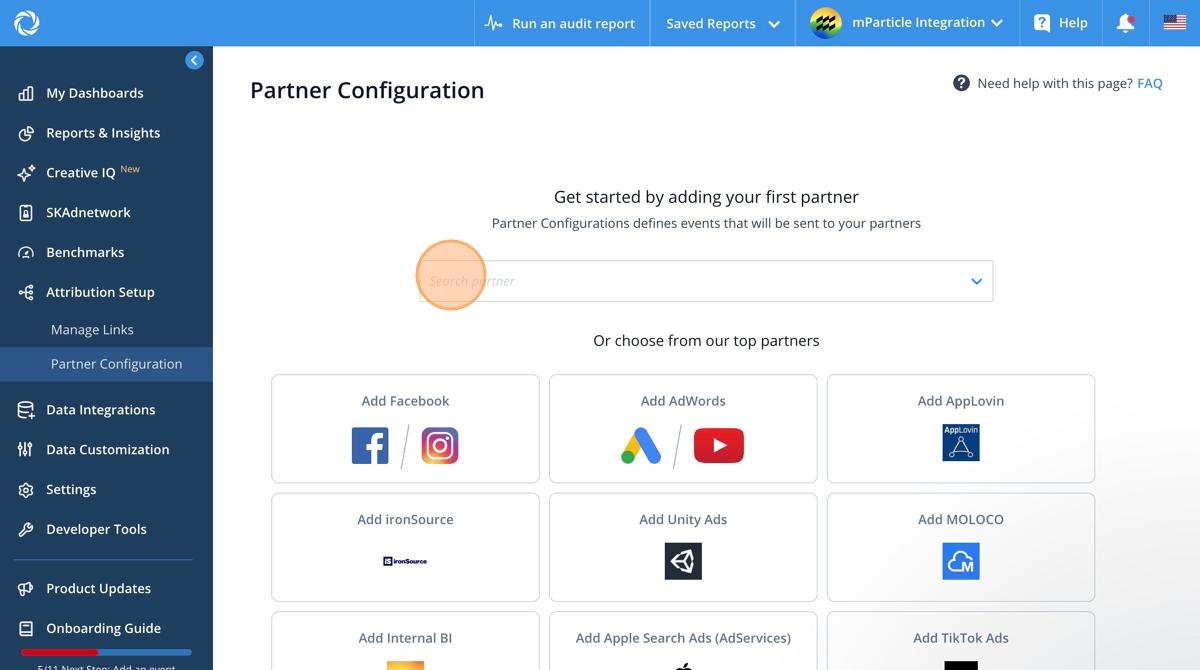
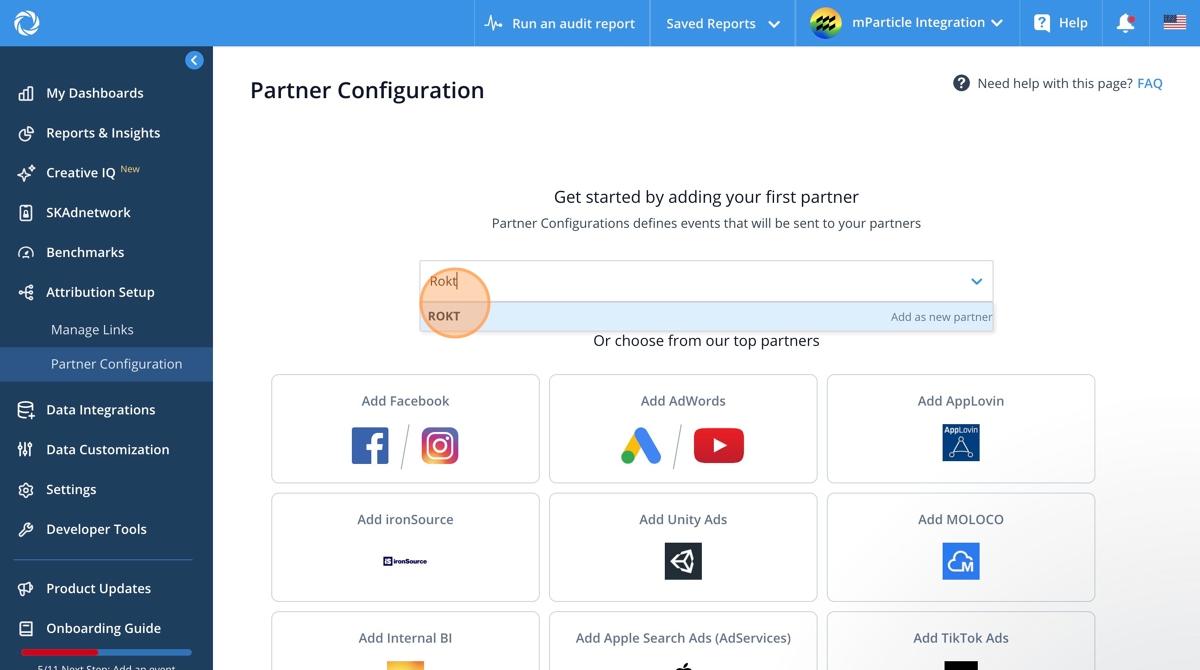
- Search Rokt.
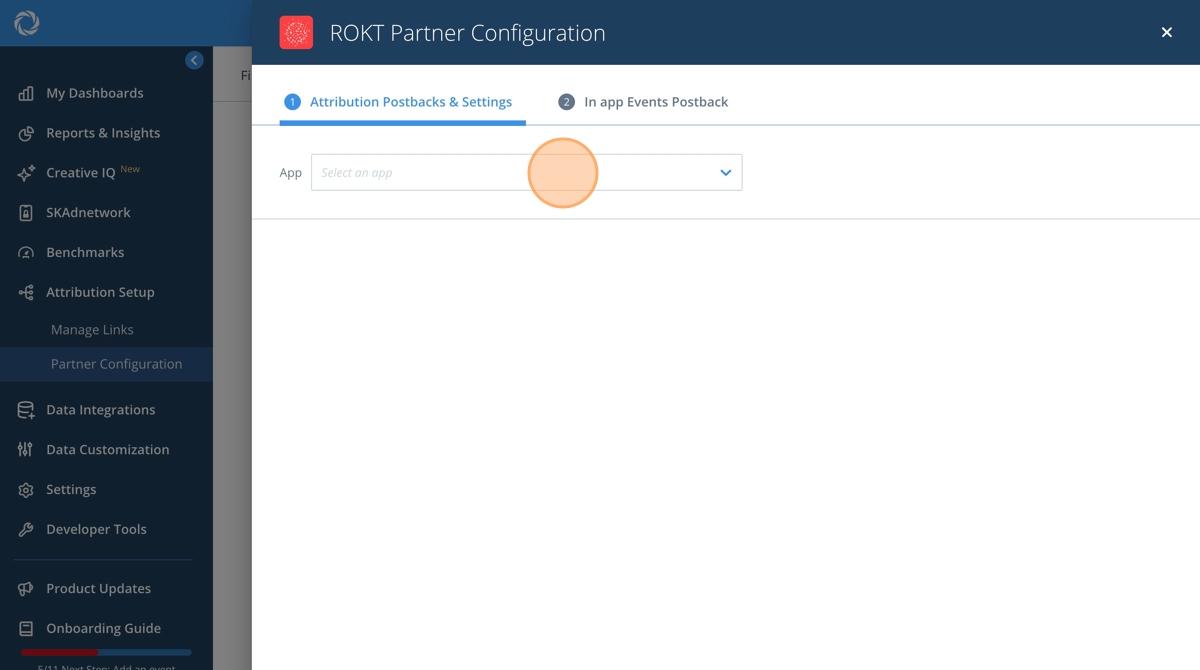
- Click Select an app to choose the app to integrate events from.
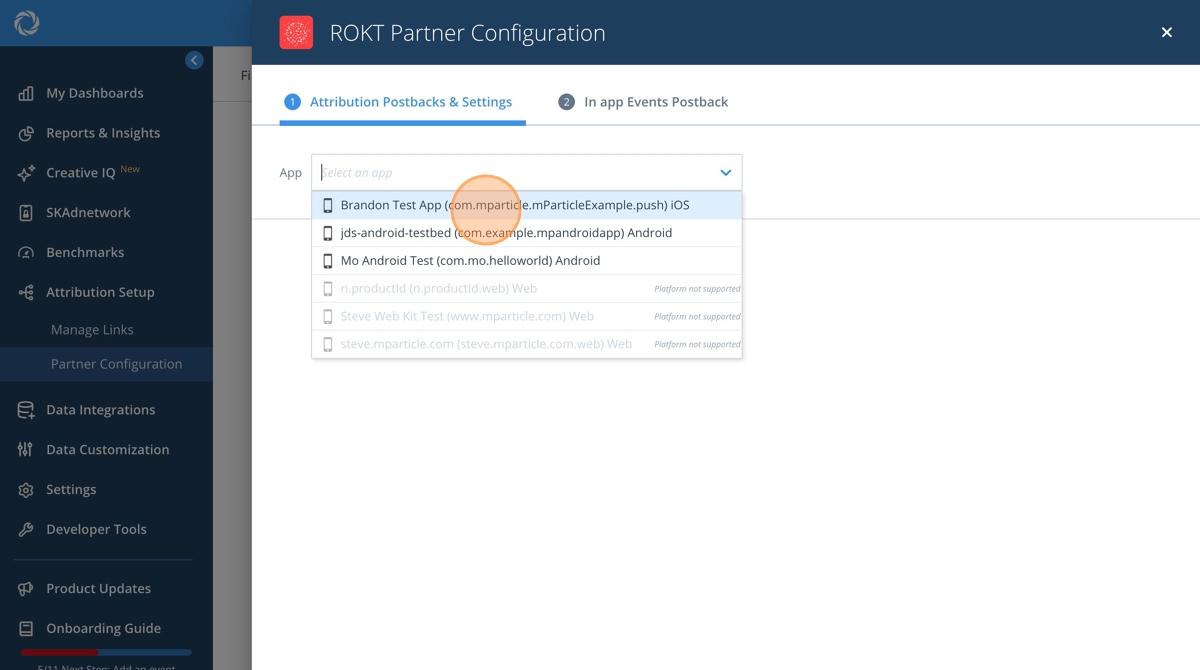
- Choose the app you are integrating data from.
- Click the Token field.
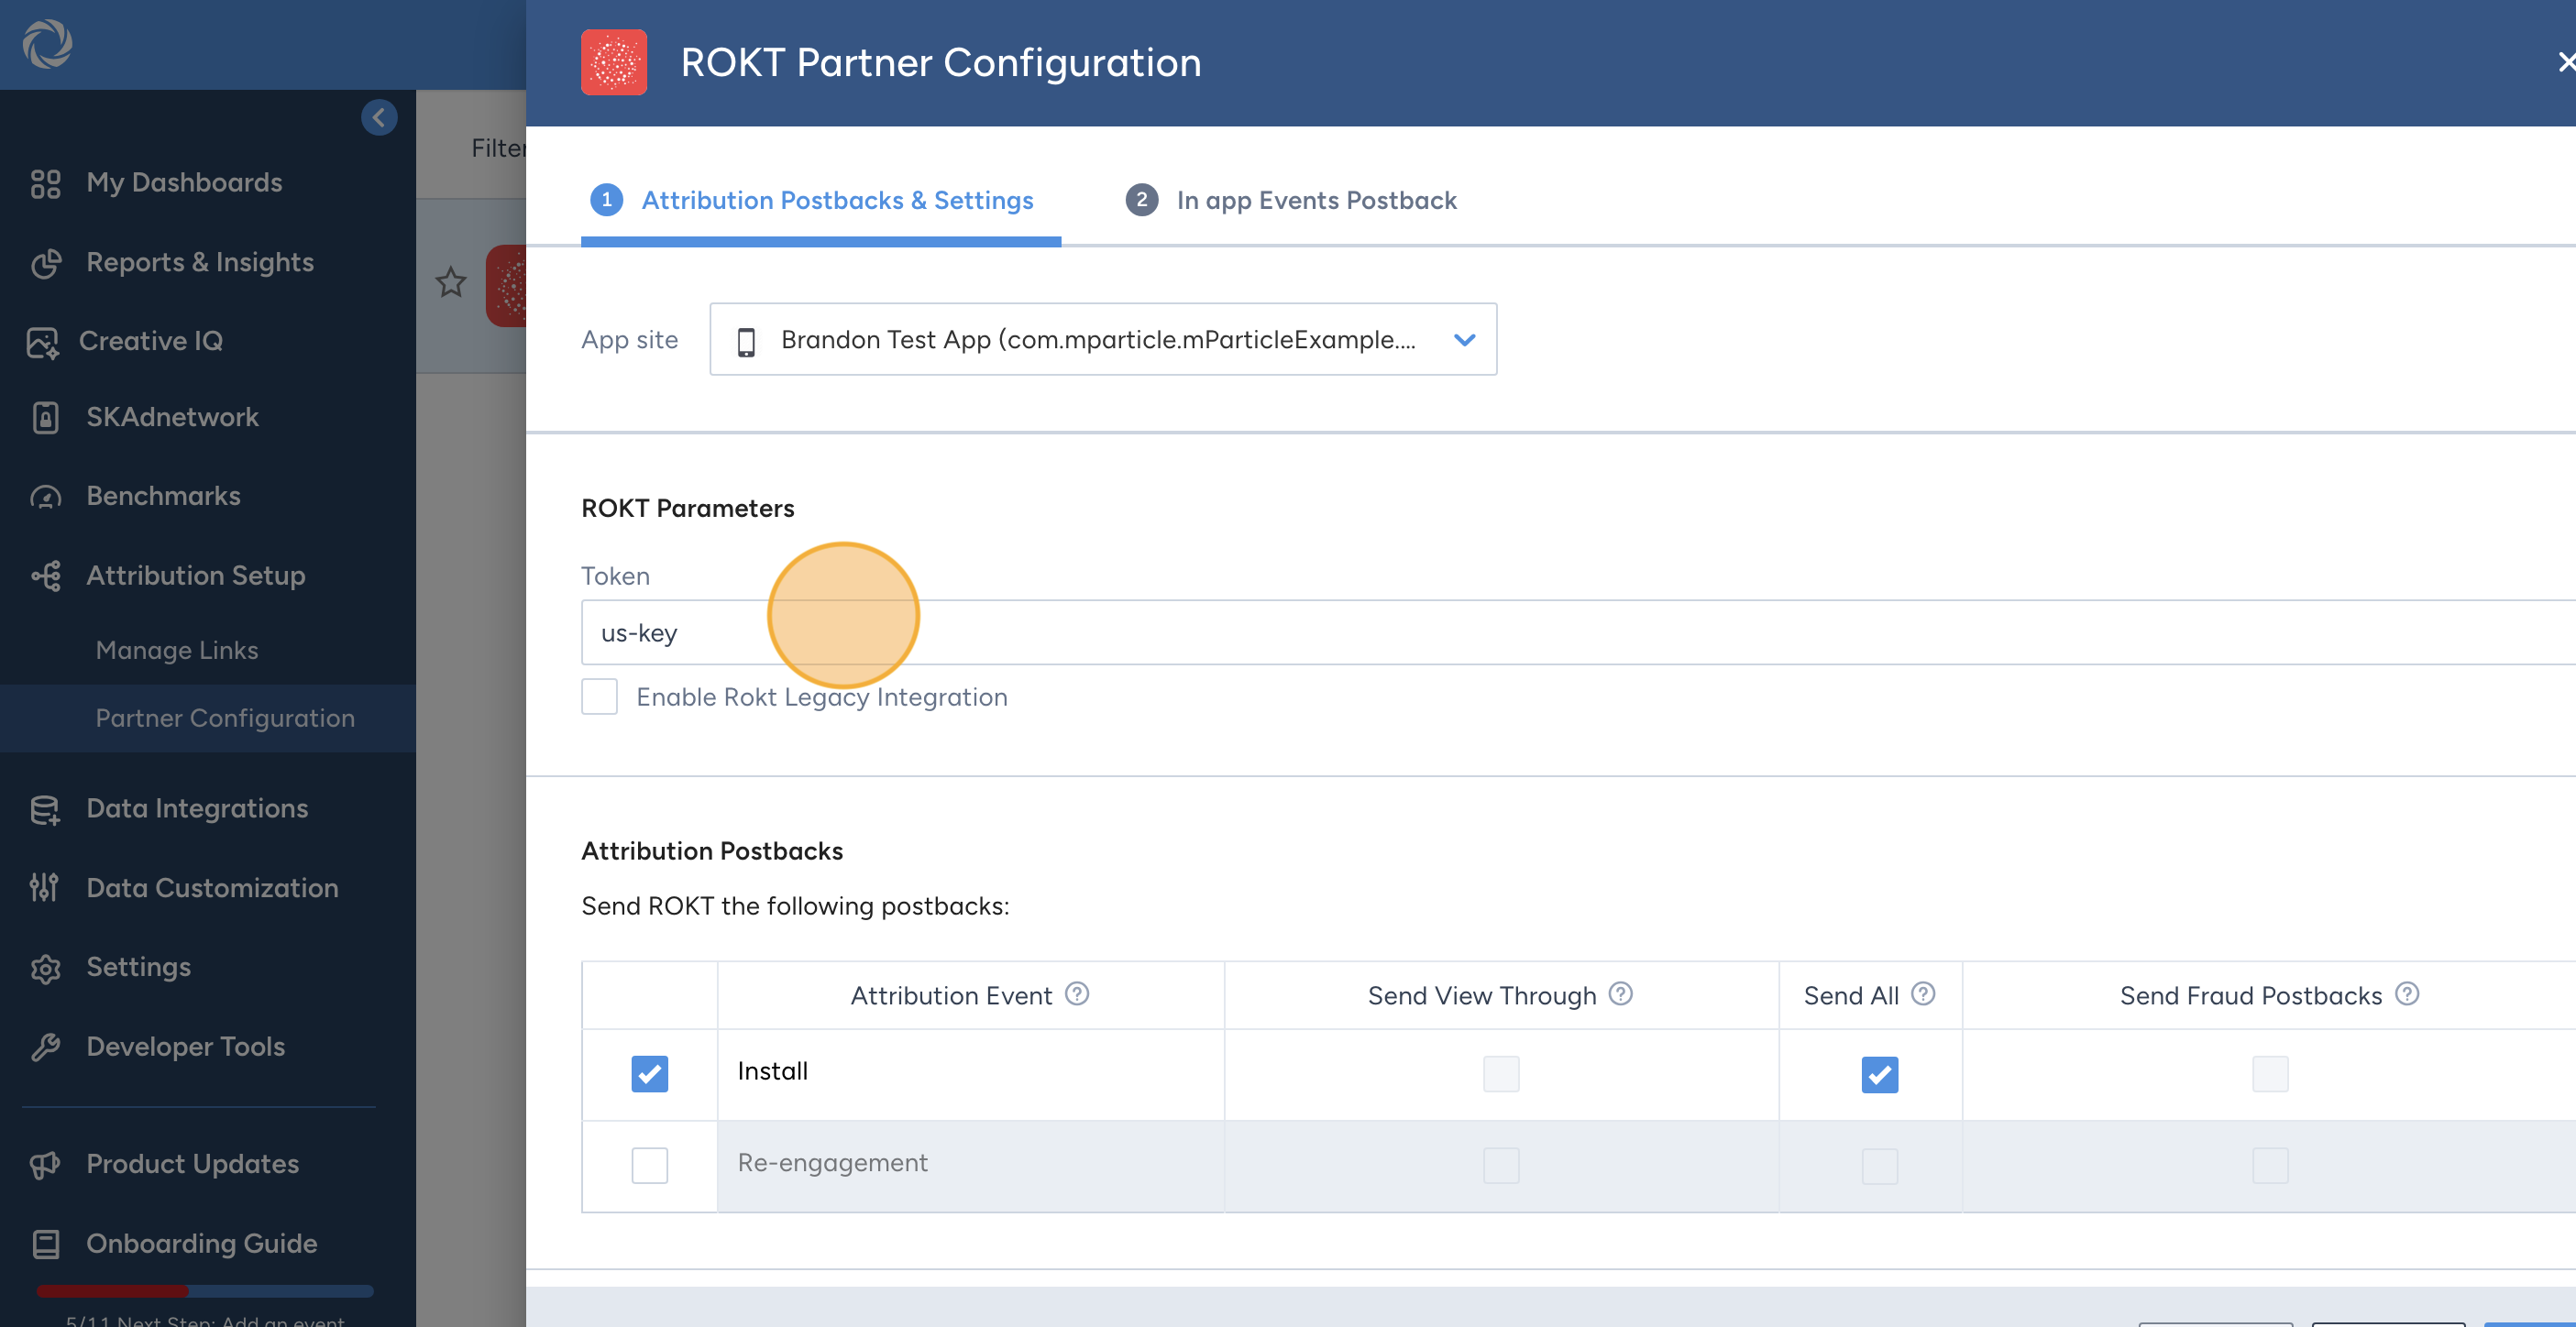
- Enter the API Key provided by your Rokt account manager.
- Leave "Enable Rokt Legacy Integration" unchecked. This setting is disabled by default. Rokt recommends using the standard (non-legacy) Rokt integration as it provides improved handling of user identity, device information, and user attributes. If your implementation specifically requires the legacy integration, contact your Rokt account manager before enabling this setting.
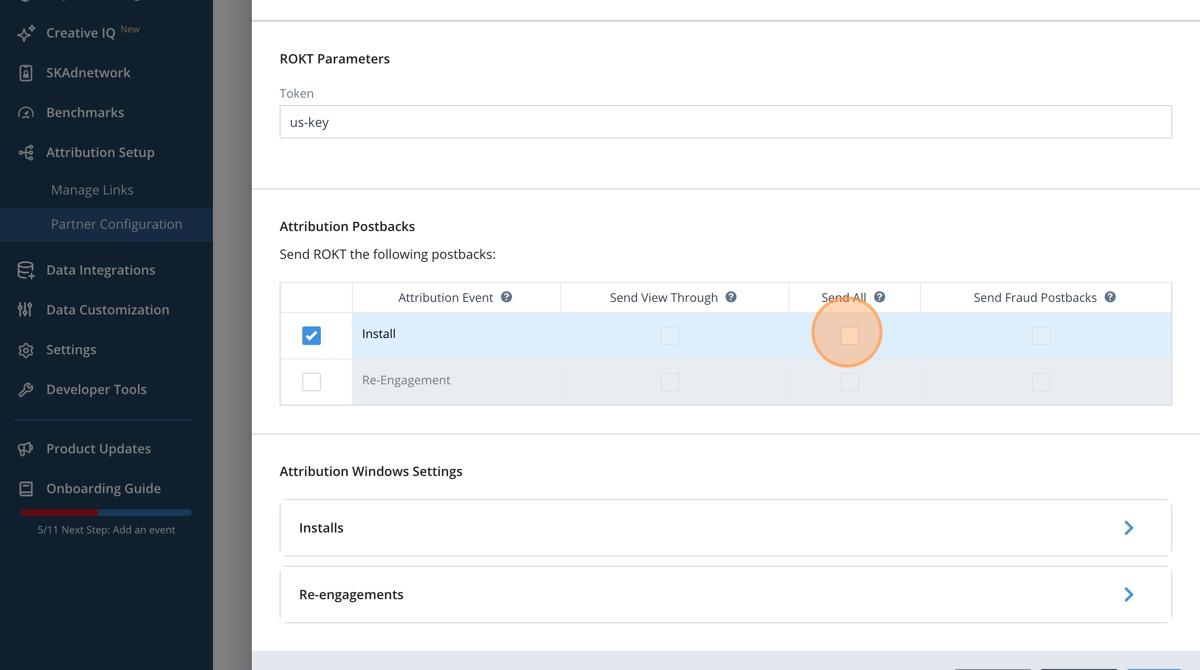
- For the Install event, click Send All to integrate unfiltered data.
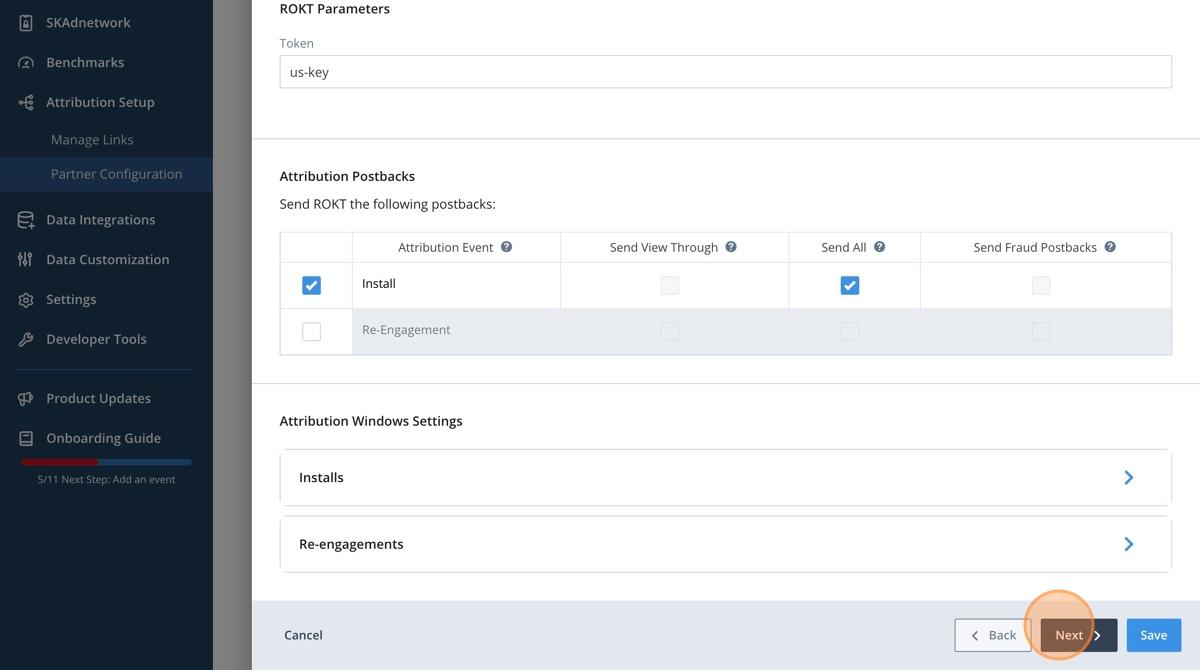
- Click Next.
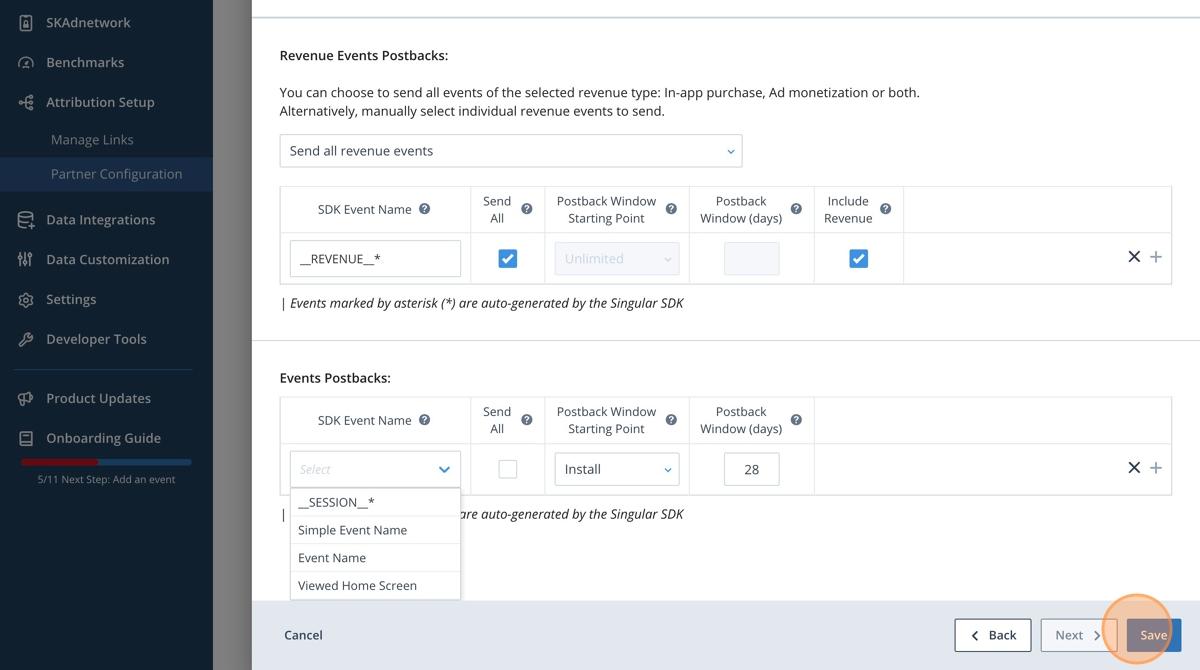
- Click Select under Revenue Events Postbacks.
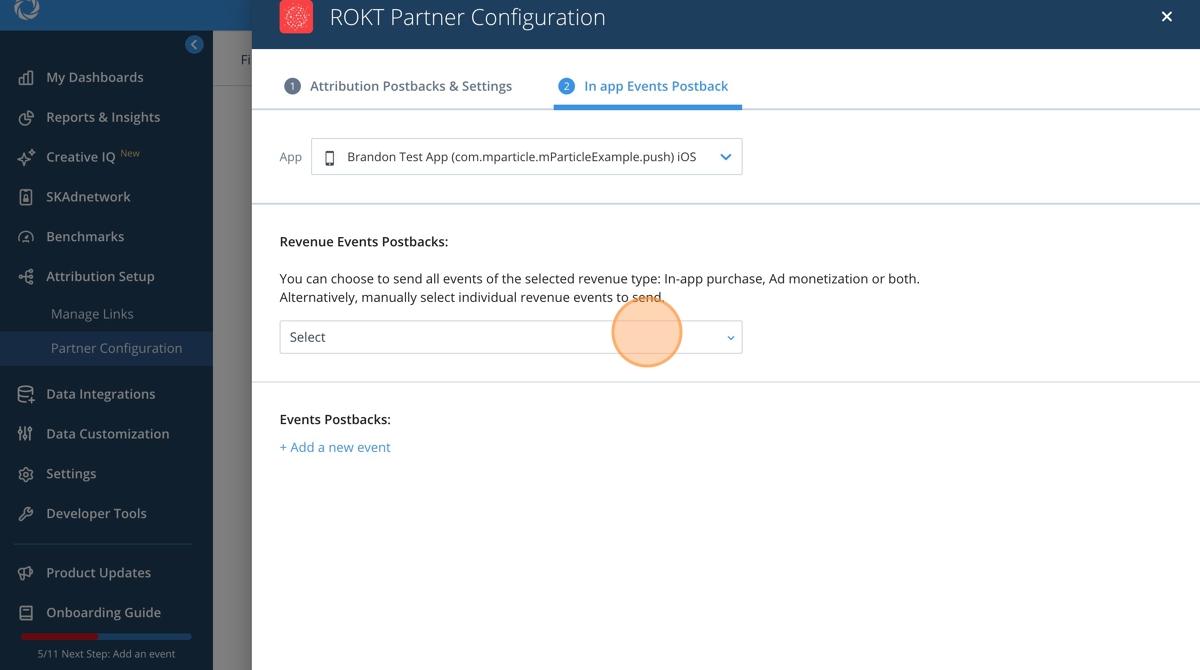
- Choose which in-app events you want to integrate (e.g. registration, purchase).
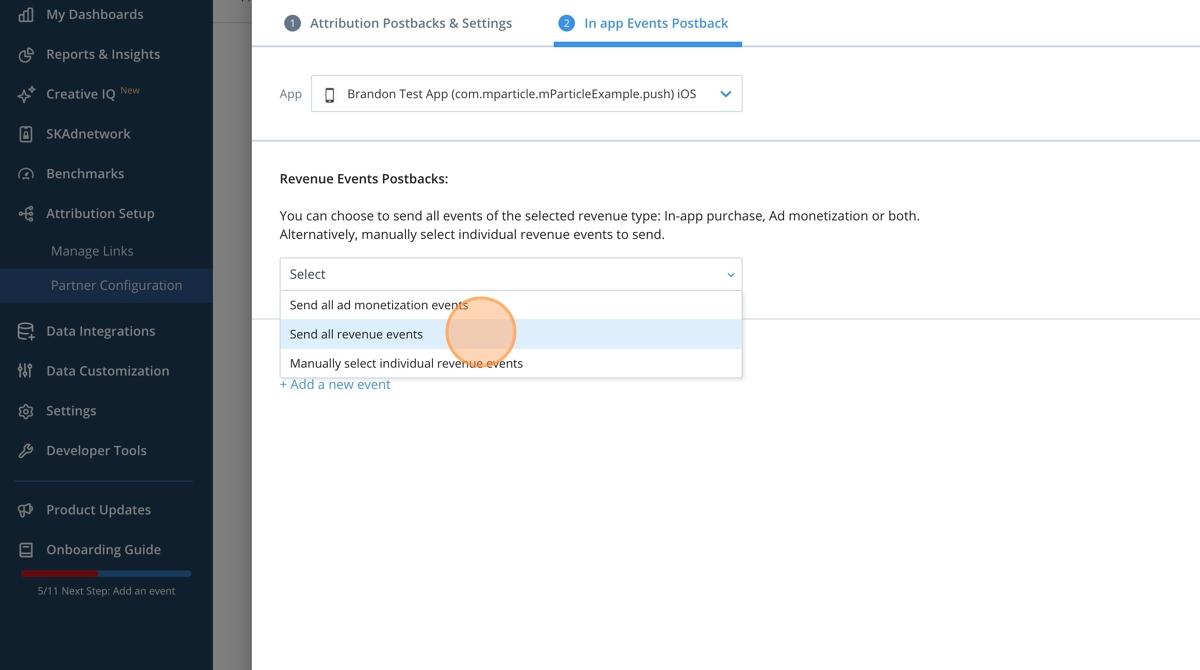
- Configure the events you want to integrate.
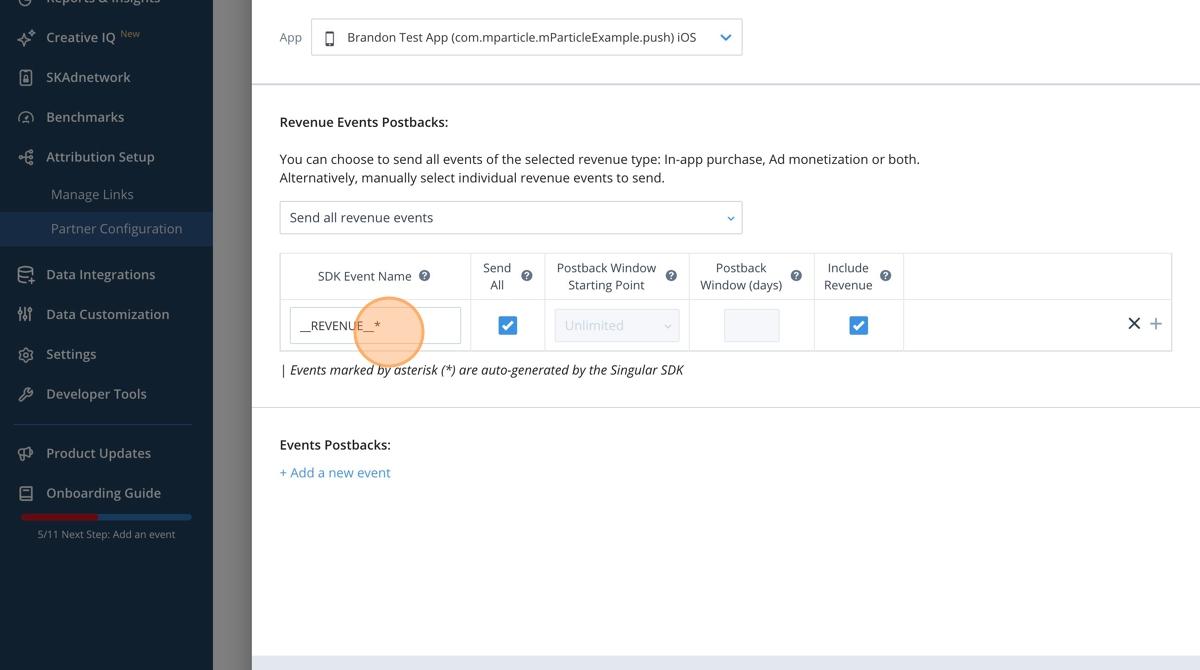
- Click Send All to integrate unfiltered events.
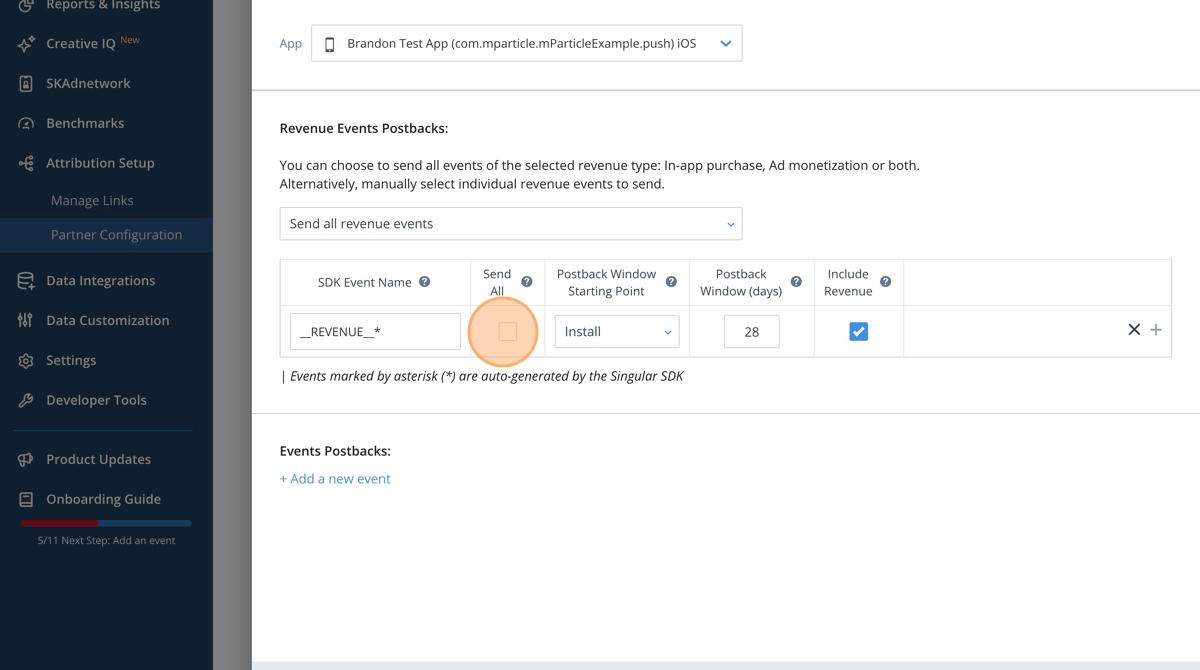
- Repeat for all necessary events.
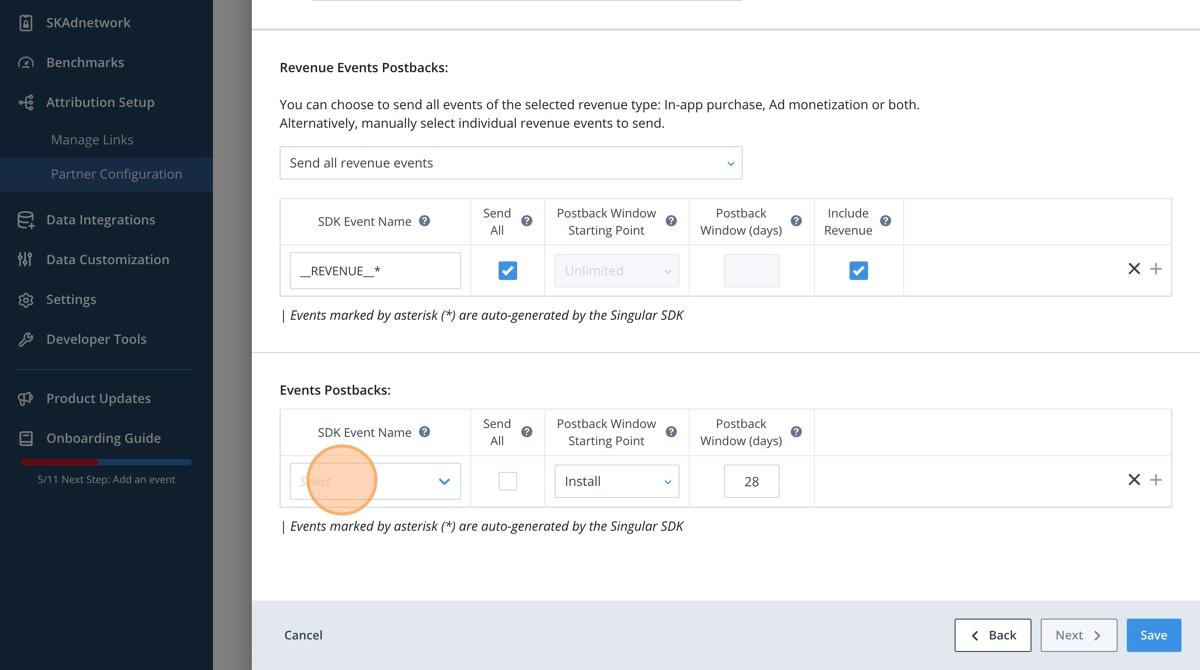
- Click Save.