GTMCustomHTML
カスタムHTMLタグ�を使用した統合カスタムHTMLタグを使用した統合 への直接リンク
カスタムHTMLタグの設定カスタムHTMLタグの設定 への直接リンク
- Google Tag Managerから、Tagsに移動します。
- Newをクリックします。
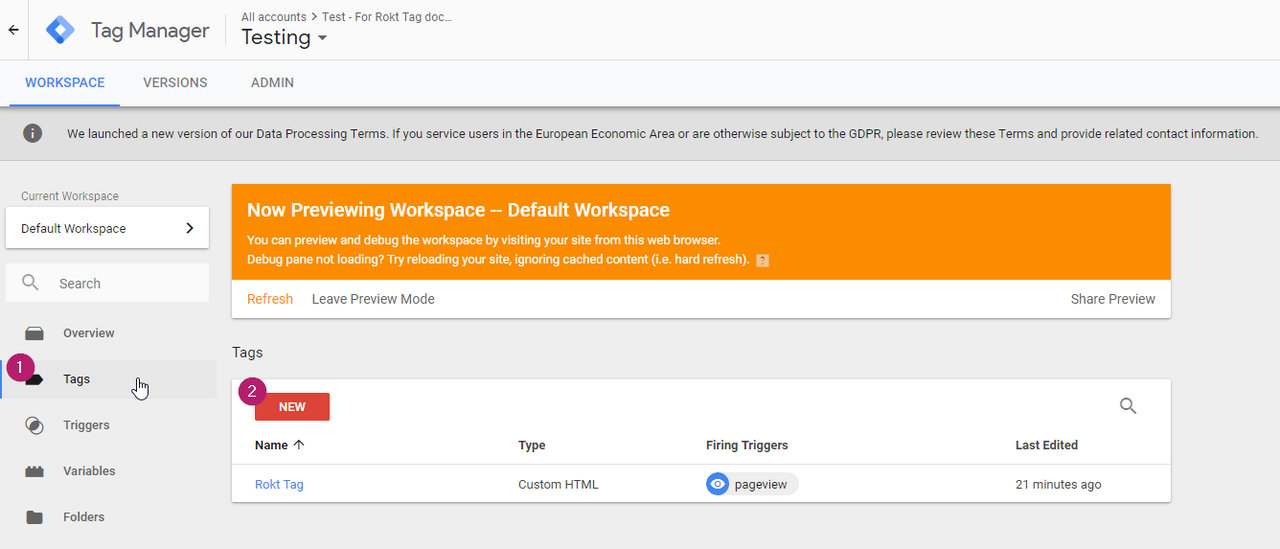
- Tag Typeには、Custom HTMLを選択します。
- Rokt統合コードを追加します。カスタムスニペットを持っていない場合は、以下を使用できます:
<script type="module">
  const attributes = {
    email: "",
    firstname: "",
    lastname: "",
    mobile: "",
    confirmationref: "",
    amount: "",
    currency: "",
    paymenttype: "",
    ccbin: "",
    zipcode: "",
    country: "",
    language: "",
  };

  if(!window.roktLauncher){
    const target = document.head || document.body;
    const script = document.createElement("script");
    script.type = "text/javascript";
    script.src = "https://apps.rokt.com/wsdk/integrations/launcher.js";
    script.importance = "high";
    script.crossOrigin = "anonymous";
    script.async = true;
    script.id = "rokt-launcher";
    target.appendChild(script);
    await new Promise((resolve) =>
    window.Rokt
      ? resolve()
      : document
        .getElementById("rokt-launcher")
        .addEventListener("load", () => resolve())
    );
    window.roktLauncher = await window.Rokt.createLauncher({
      accountId: "rokt-account-id",
      sandbox: true,
    });
  }

  const selection = await window.roktLauncher.selectPlacements({
    attributes,
    identifier: "payment_page"
  });
</script>
- dataLayer変数を対応する属性フィールドに割り当てます(例: email:
{{dl_email}})。
注記
document.writeチェックボックスが有効になっていることを確認してください。そうしないと、Googleが変更の公開を防ぎます。また、accountIdをアカウントマネージャーから提供された値に更新し、テスト中はsandboxをtrueに設定してください。
-
トリガーを追加します。
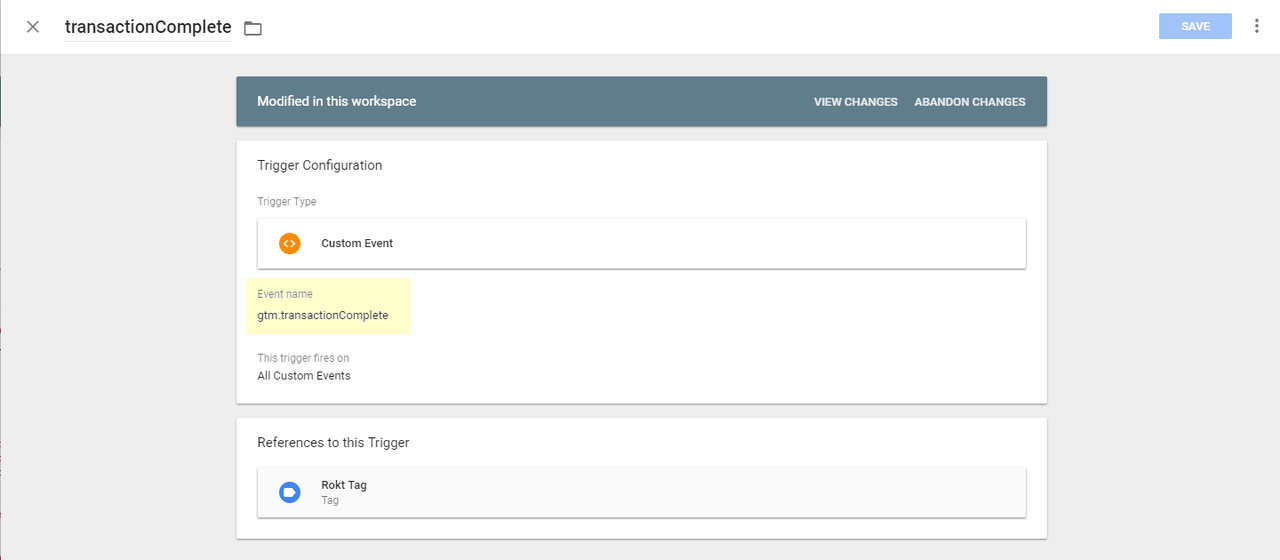
-
保存して公開します。